

body
30
Mar
A bit more progress..
- By basil
- No Comments
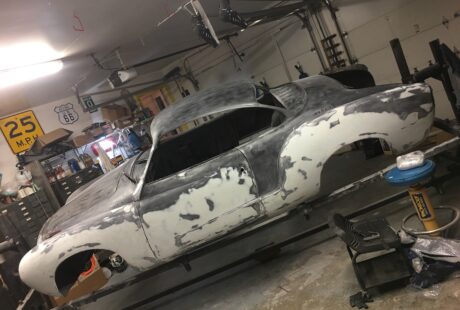
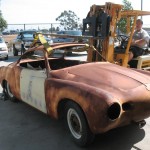
CJ has made a good big of progress. The doors have been fitted and adjusted. Early skim coats applied. We have a bit more to go on the passenger side and then we’ll hire some corn-fed country boys to get the sanding done. :)

13
May
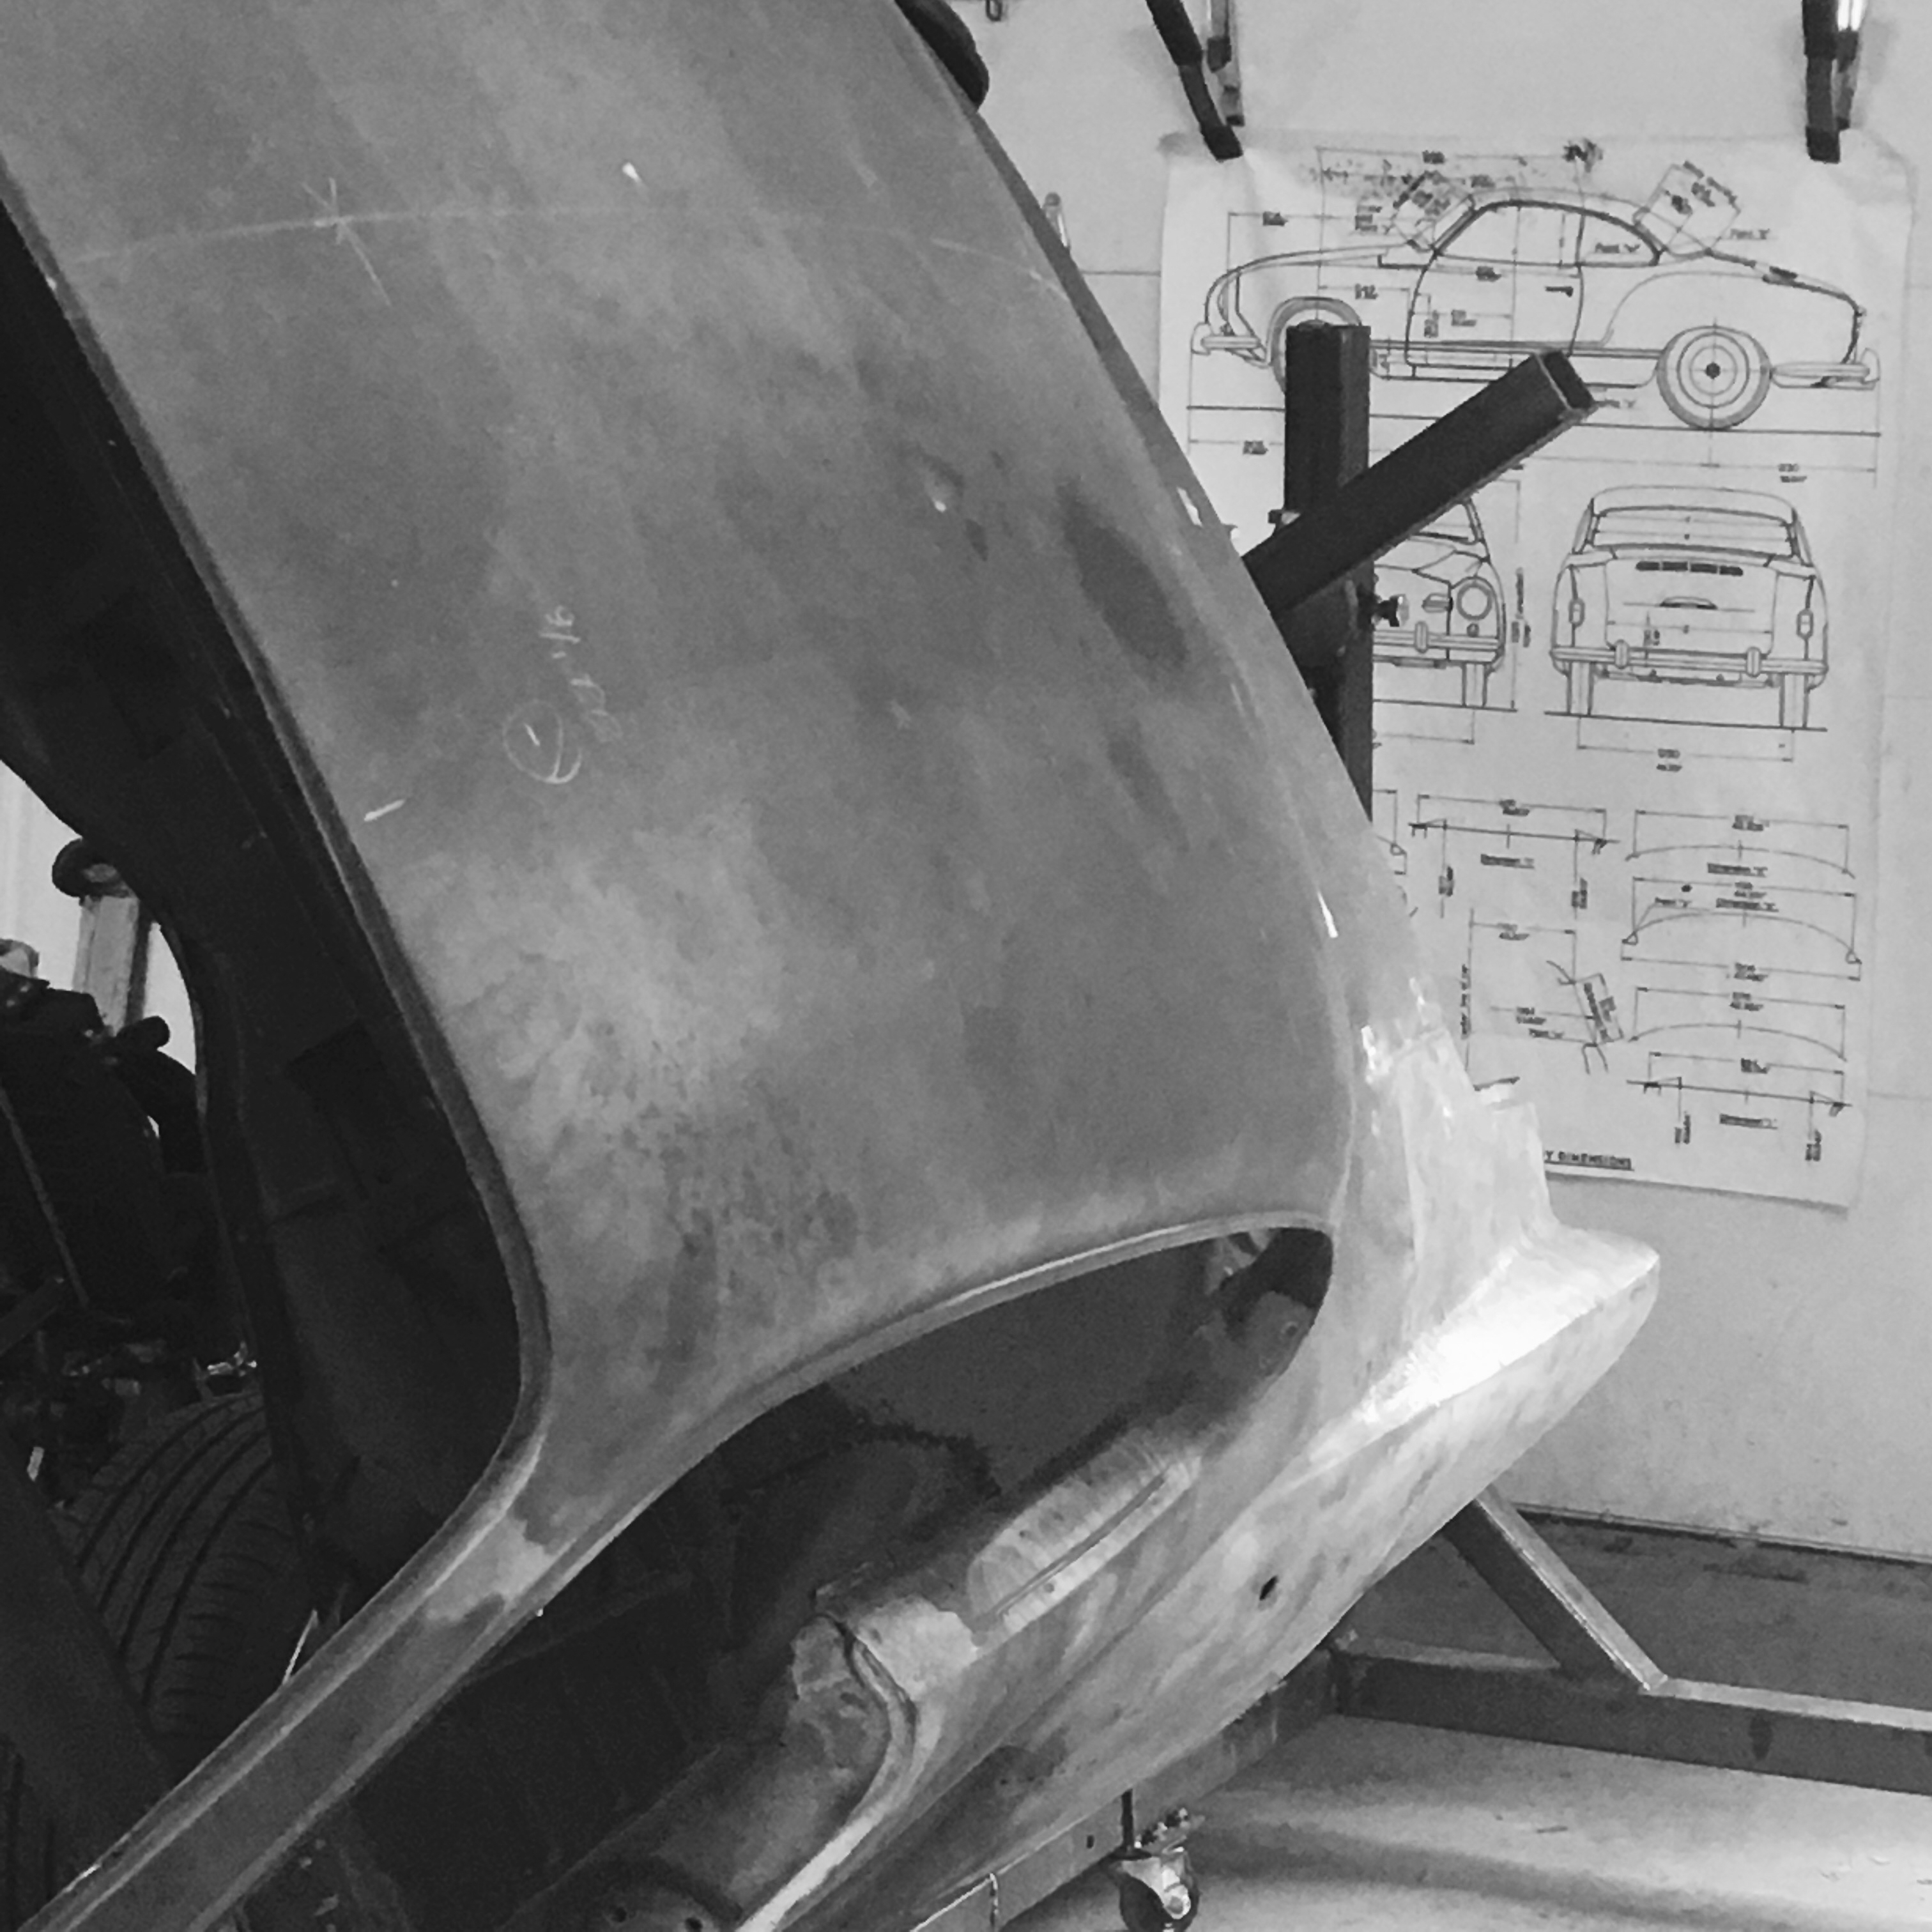
Left front panel replaced.
- By basil
- No Comments
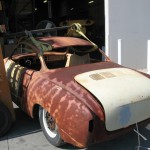
We replaced the left front panel with the new one we sourced from Wagner-Blechteile. Slowly, but surely.
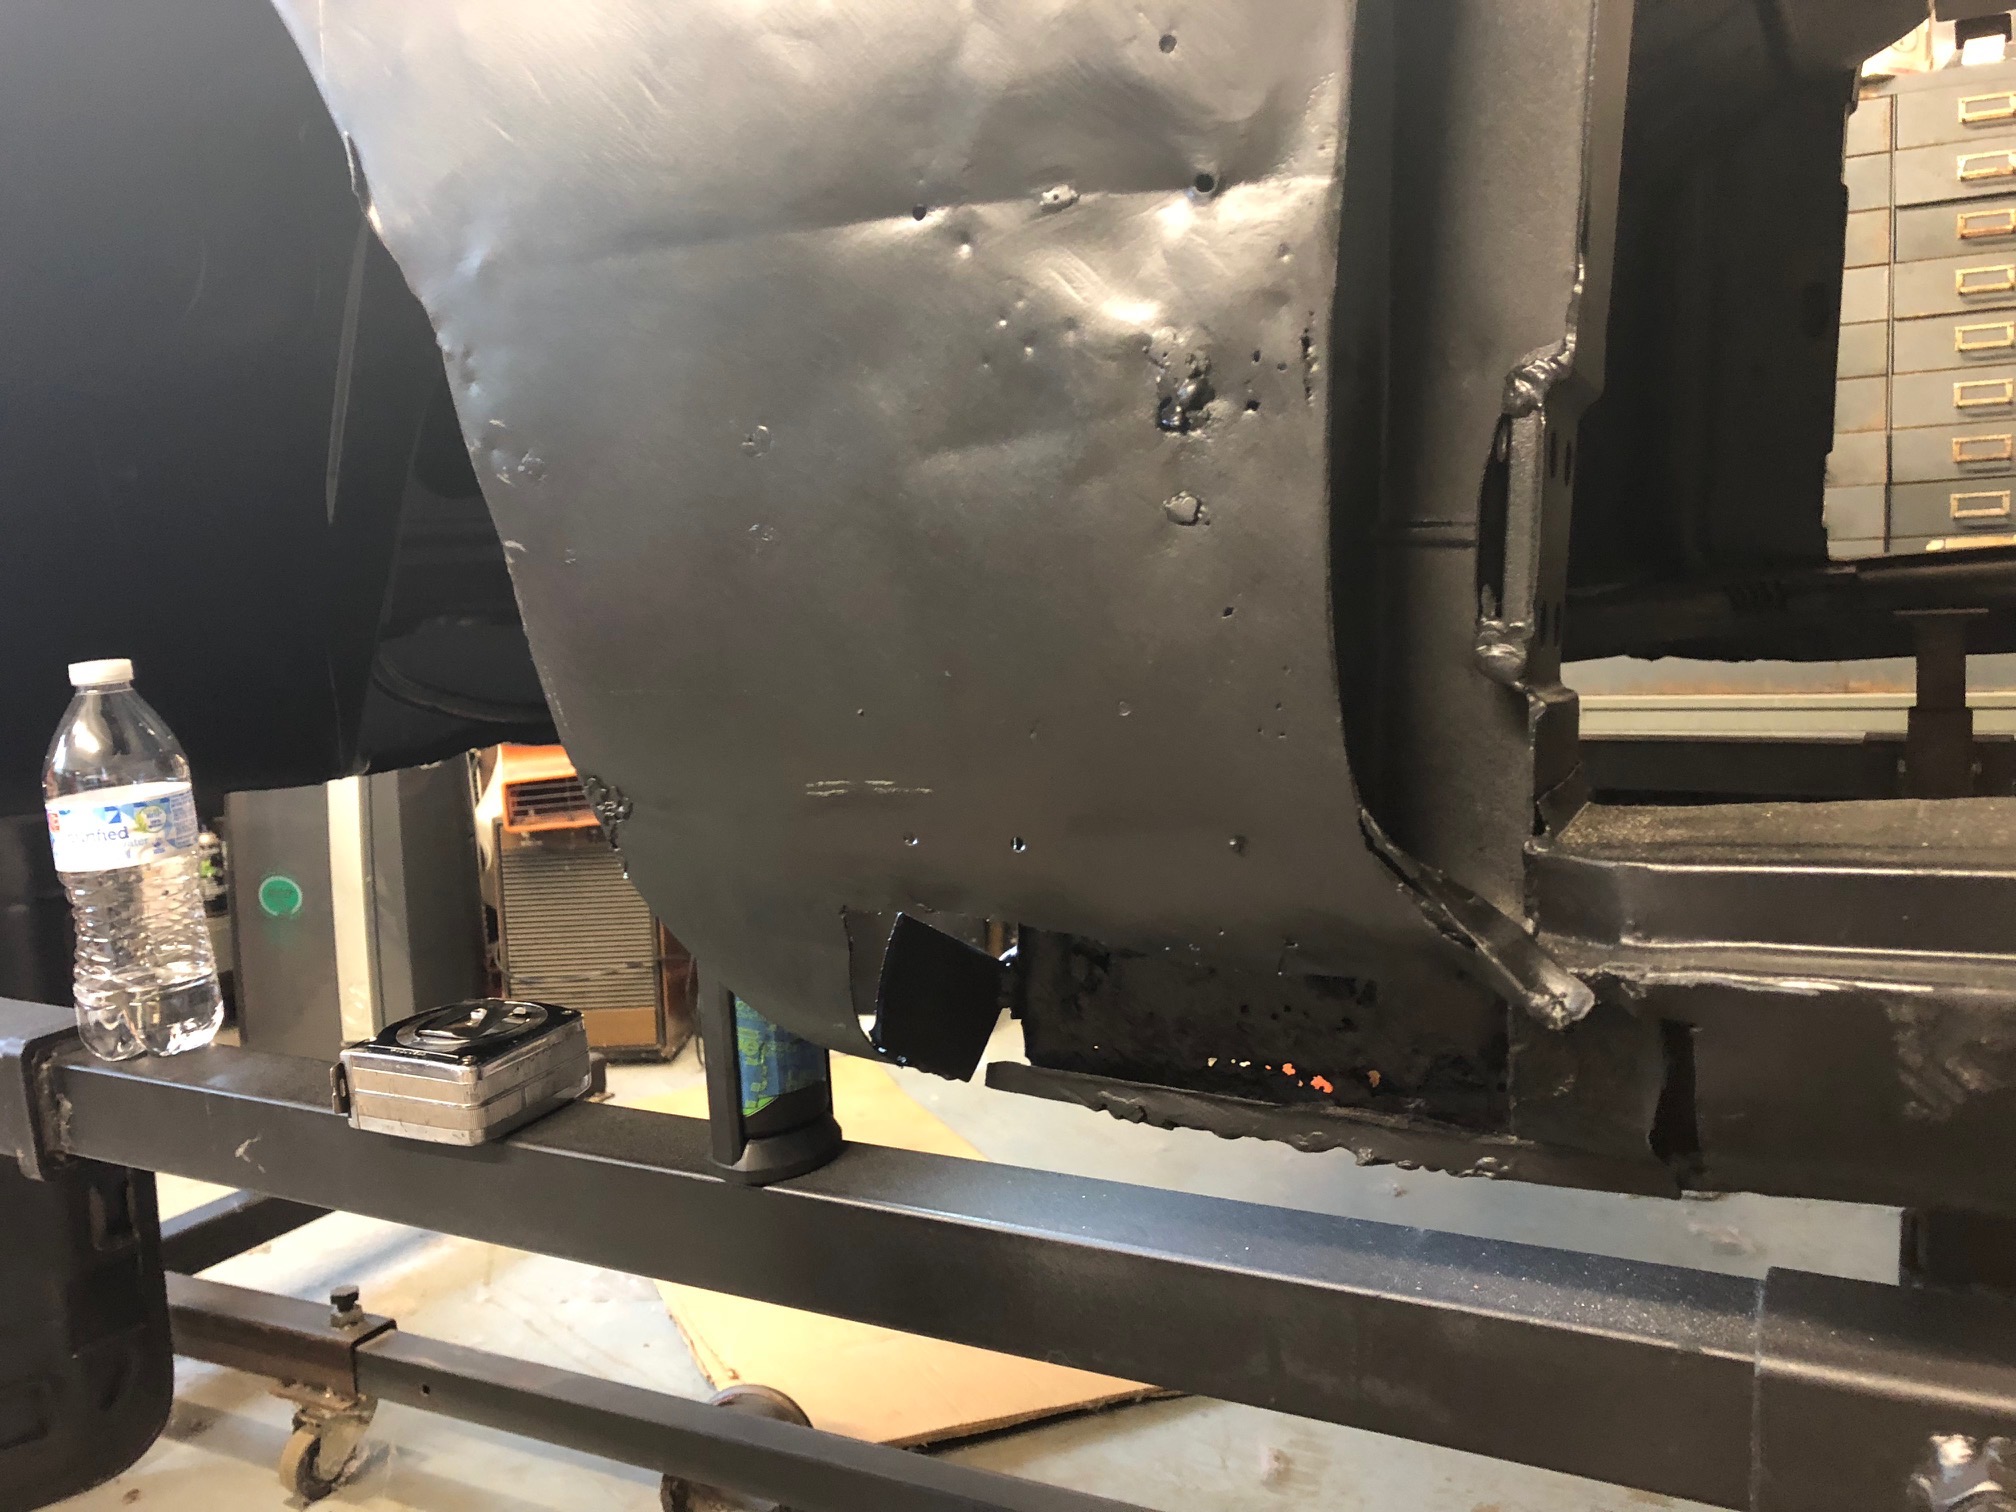
before

after
03
Apr
Media blasting – before and after.
- By basil
- No Comments
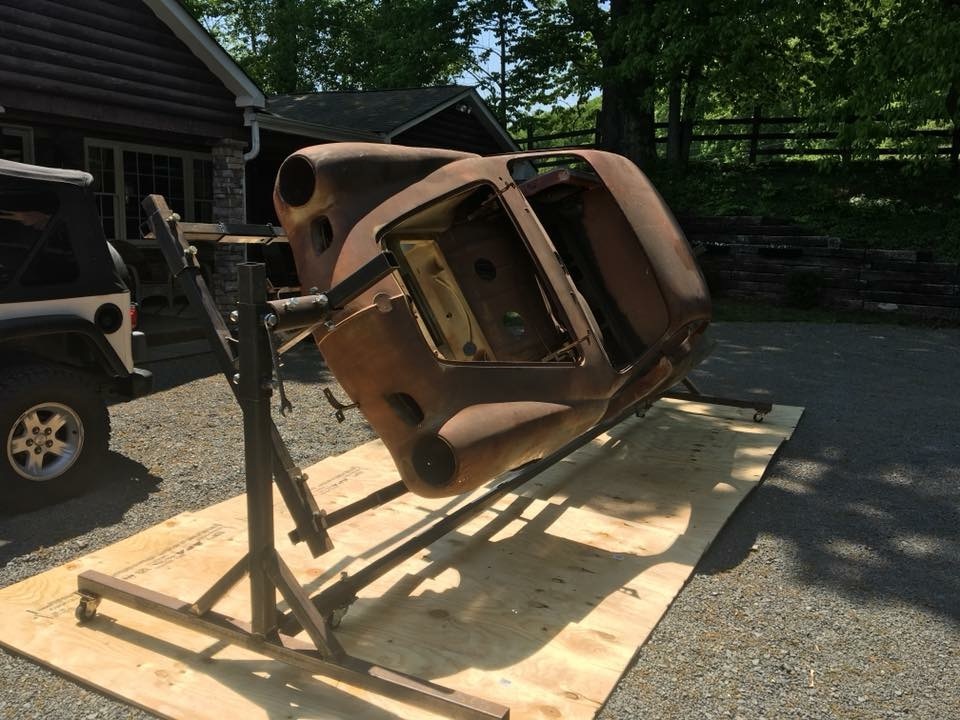
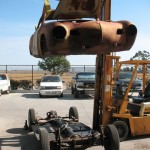
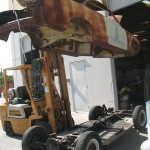
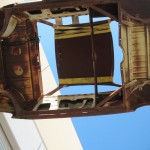
Racked and ready for media blasting.
Partially media blasted.
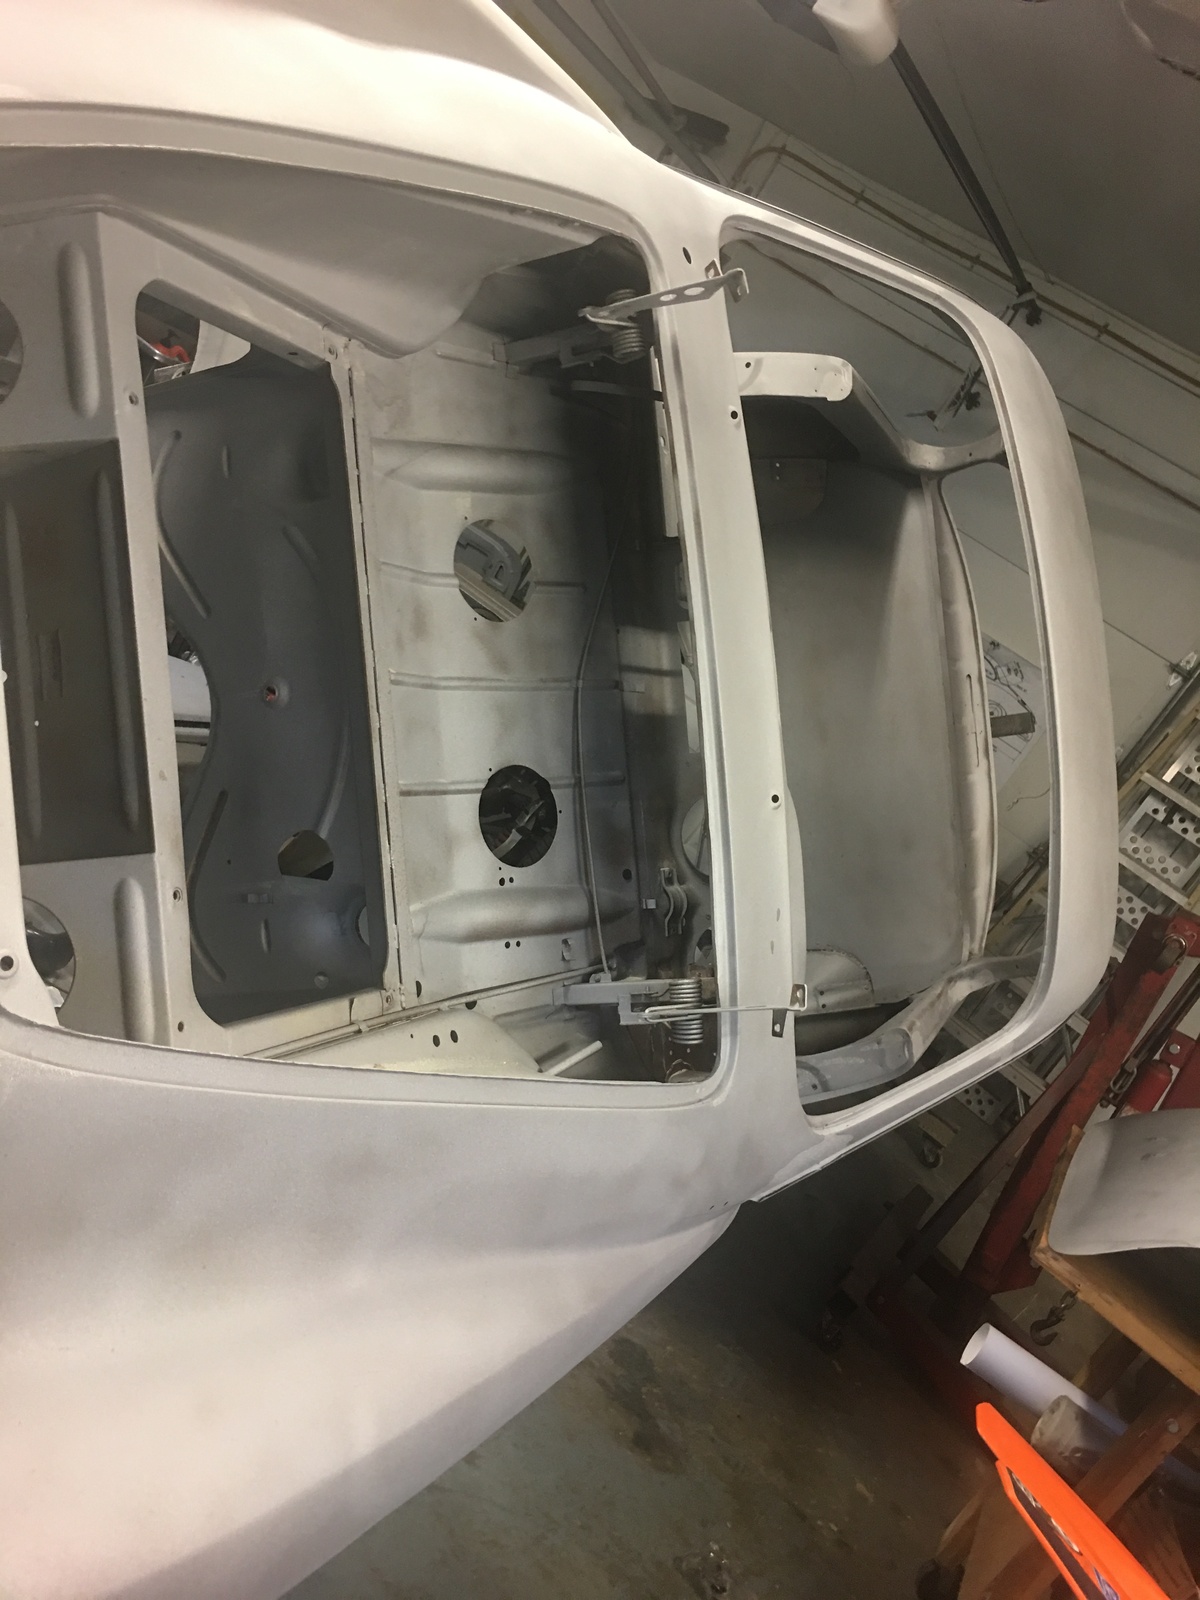
Fully blasted. Feels like 1958 all over again.
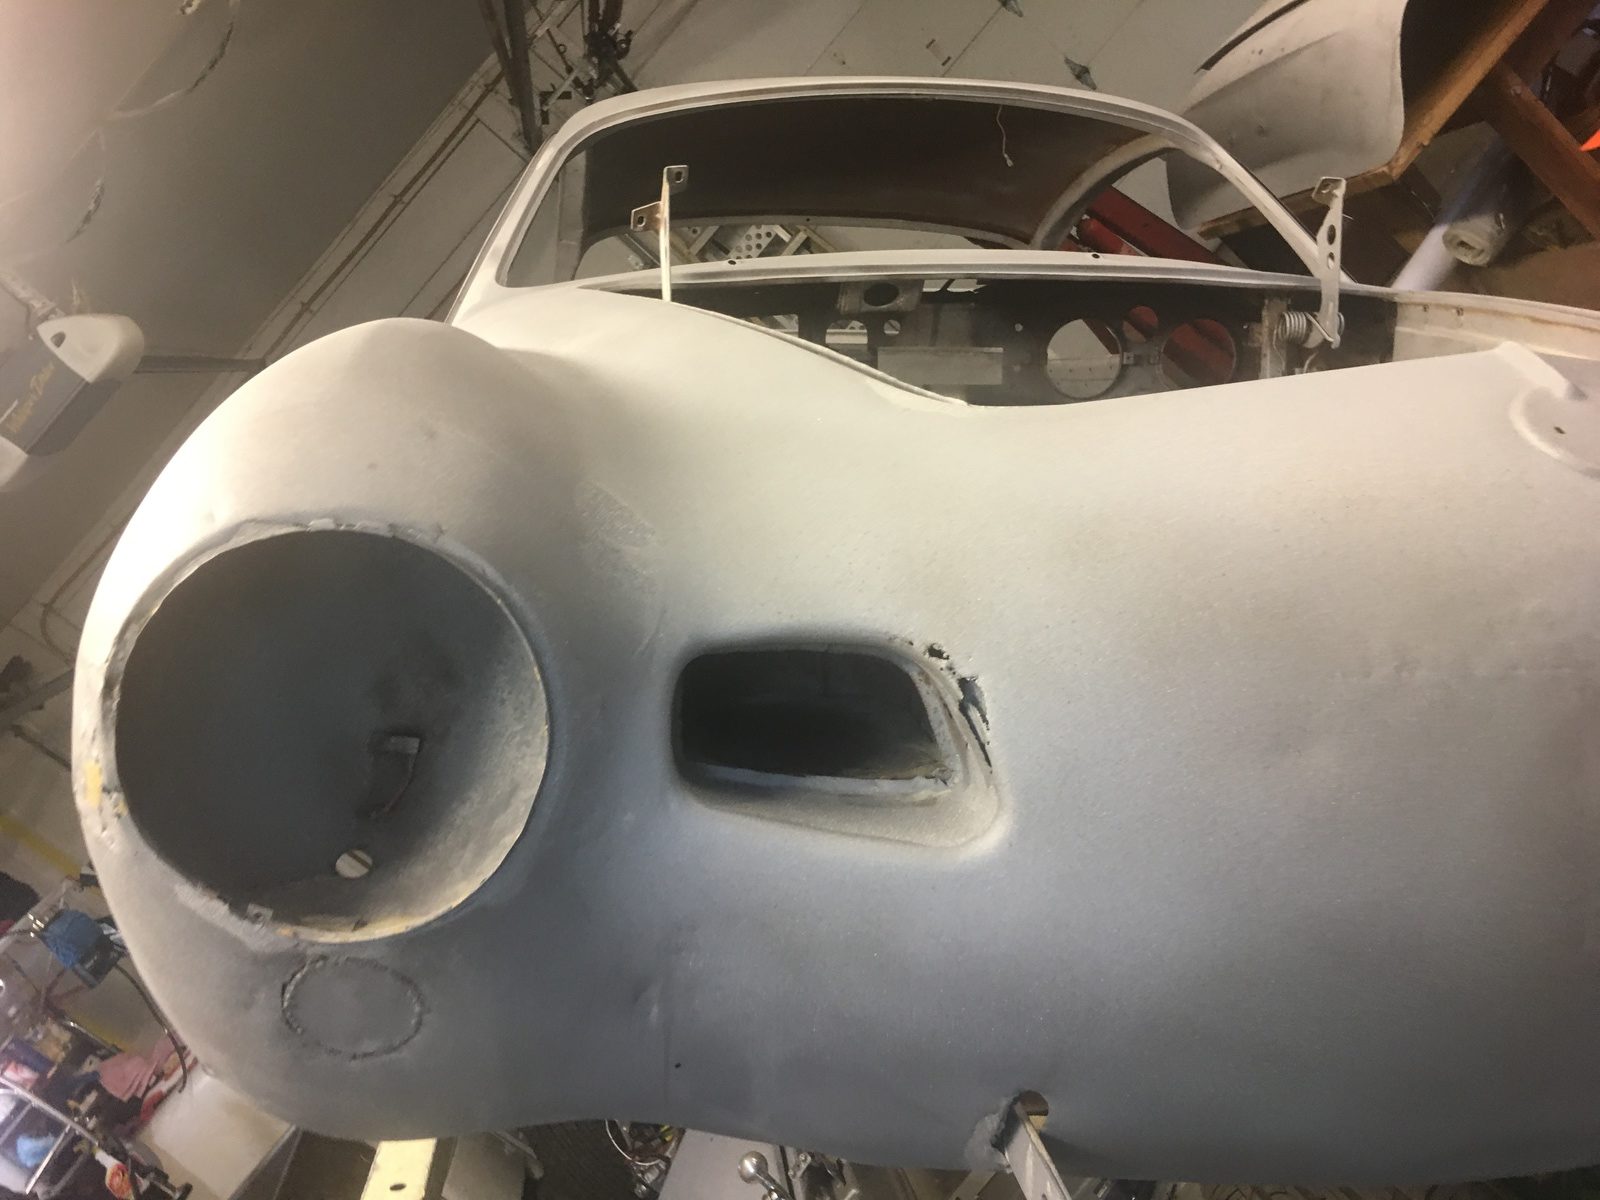
Different view.
We’ll need to start on the replacement body panels now.
03
Apr
Media blasting
- By basil
- No Comments
Ace Dustless Blasting hard at work. Thanks CJ for the video work.
Ace Dustless Blasting hard at work.
Posted by Revenant Garage on Saturday, May 12, 2018
15
May
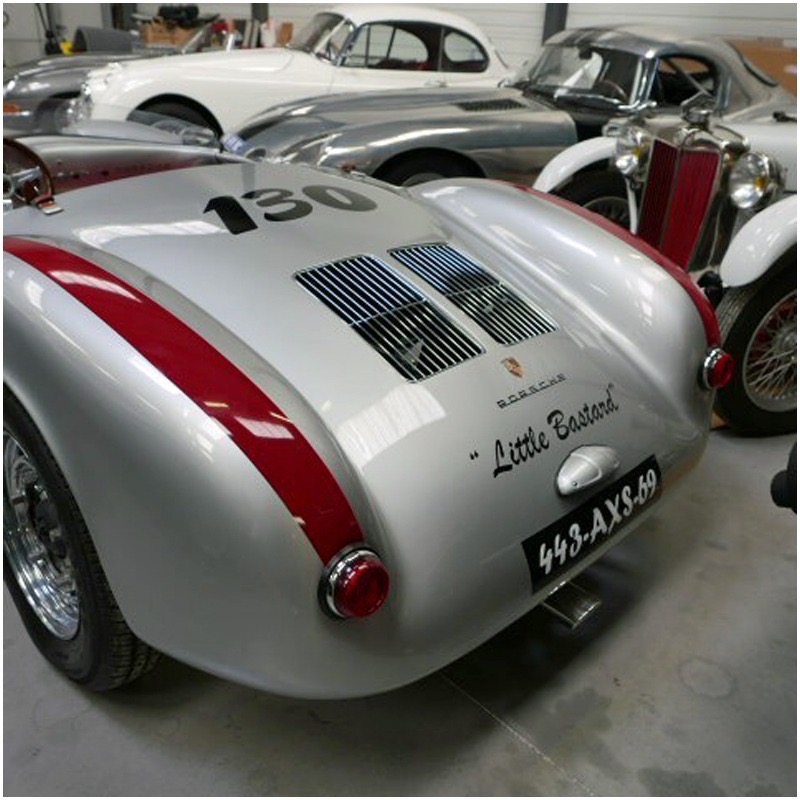
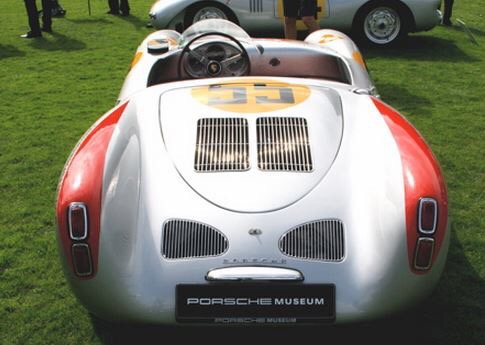
Rear vent placement
- By basil
- No Comments
The Revenant team did a mockup of the rear vent some time ago. I didn’t particularly like it when I first saw it, but it has grown on me. The 50s early inspiration is seen in its distant slightly older, cousin the Porsche 550.

10
May
Spring cleaning (blasting) preparation
- By basil
- No Comments
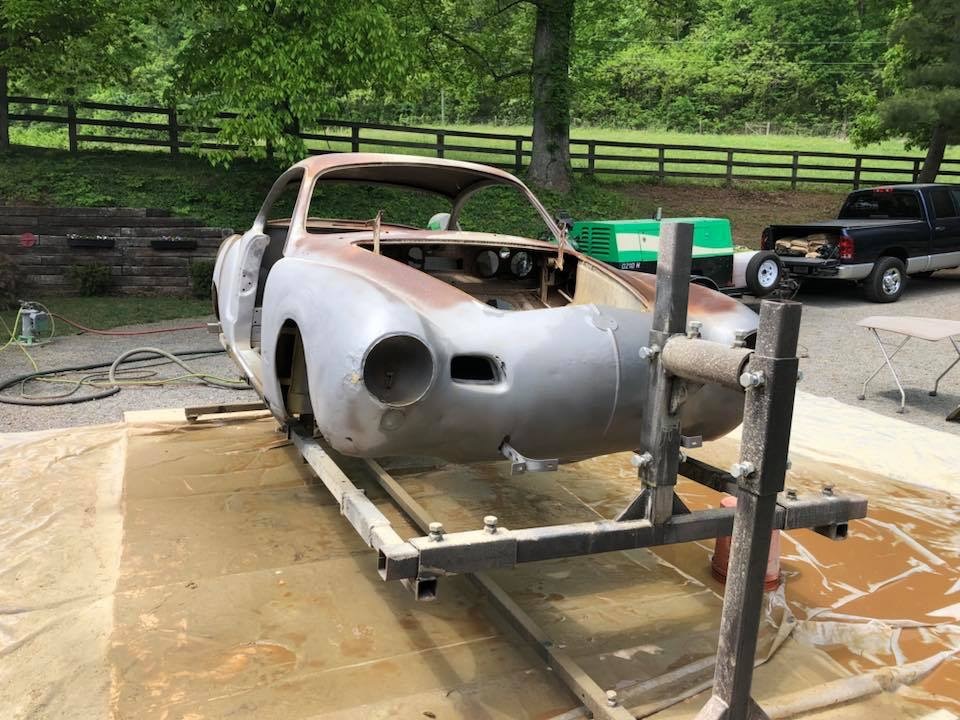
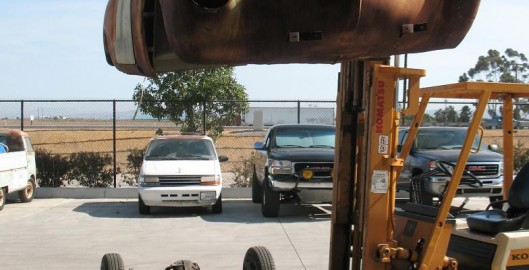
Spring has taken her sweet time showing up this year. Doesn’t she know we’re pushing to be on the road this summer?
Revenant sourced a used rotisserie and adapted it to the Ghia. Locally, we found Ace Dustless Blasting which is a mobile media blasting service. We’re ready to roll on our side and just waiting for a break in the weather to have Randy come out and do his thing.
There are somethings we’re working on in parallel. Very disappointed that when we shipped our 1958 Ghia steering wheel to our California builder, it came back without the rare horn cover! We can not get in touch with anyone over there to inquire about it.

23
Mar
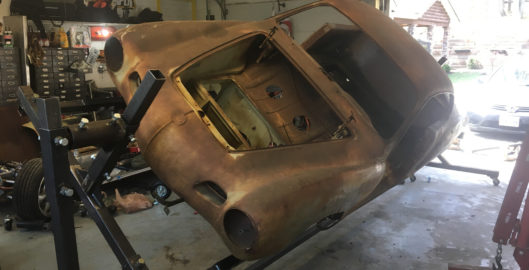
No Turning Back Now
- By basil
- No Comments
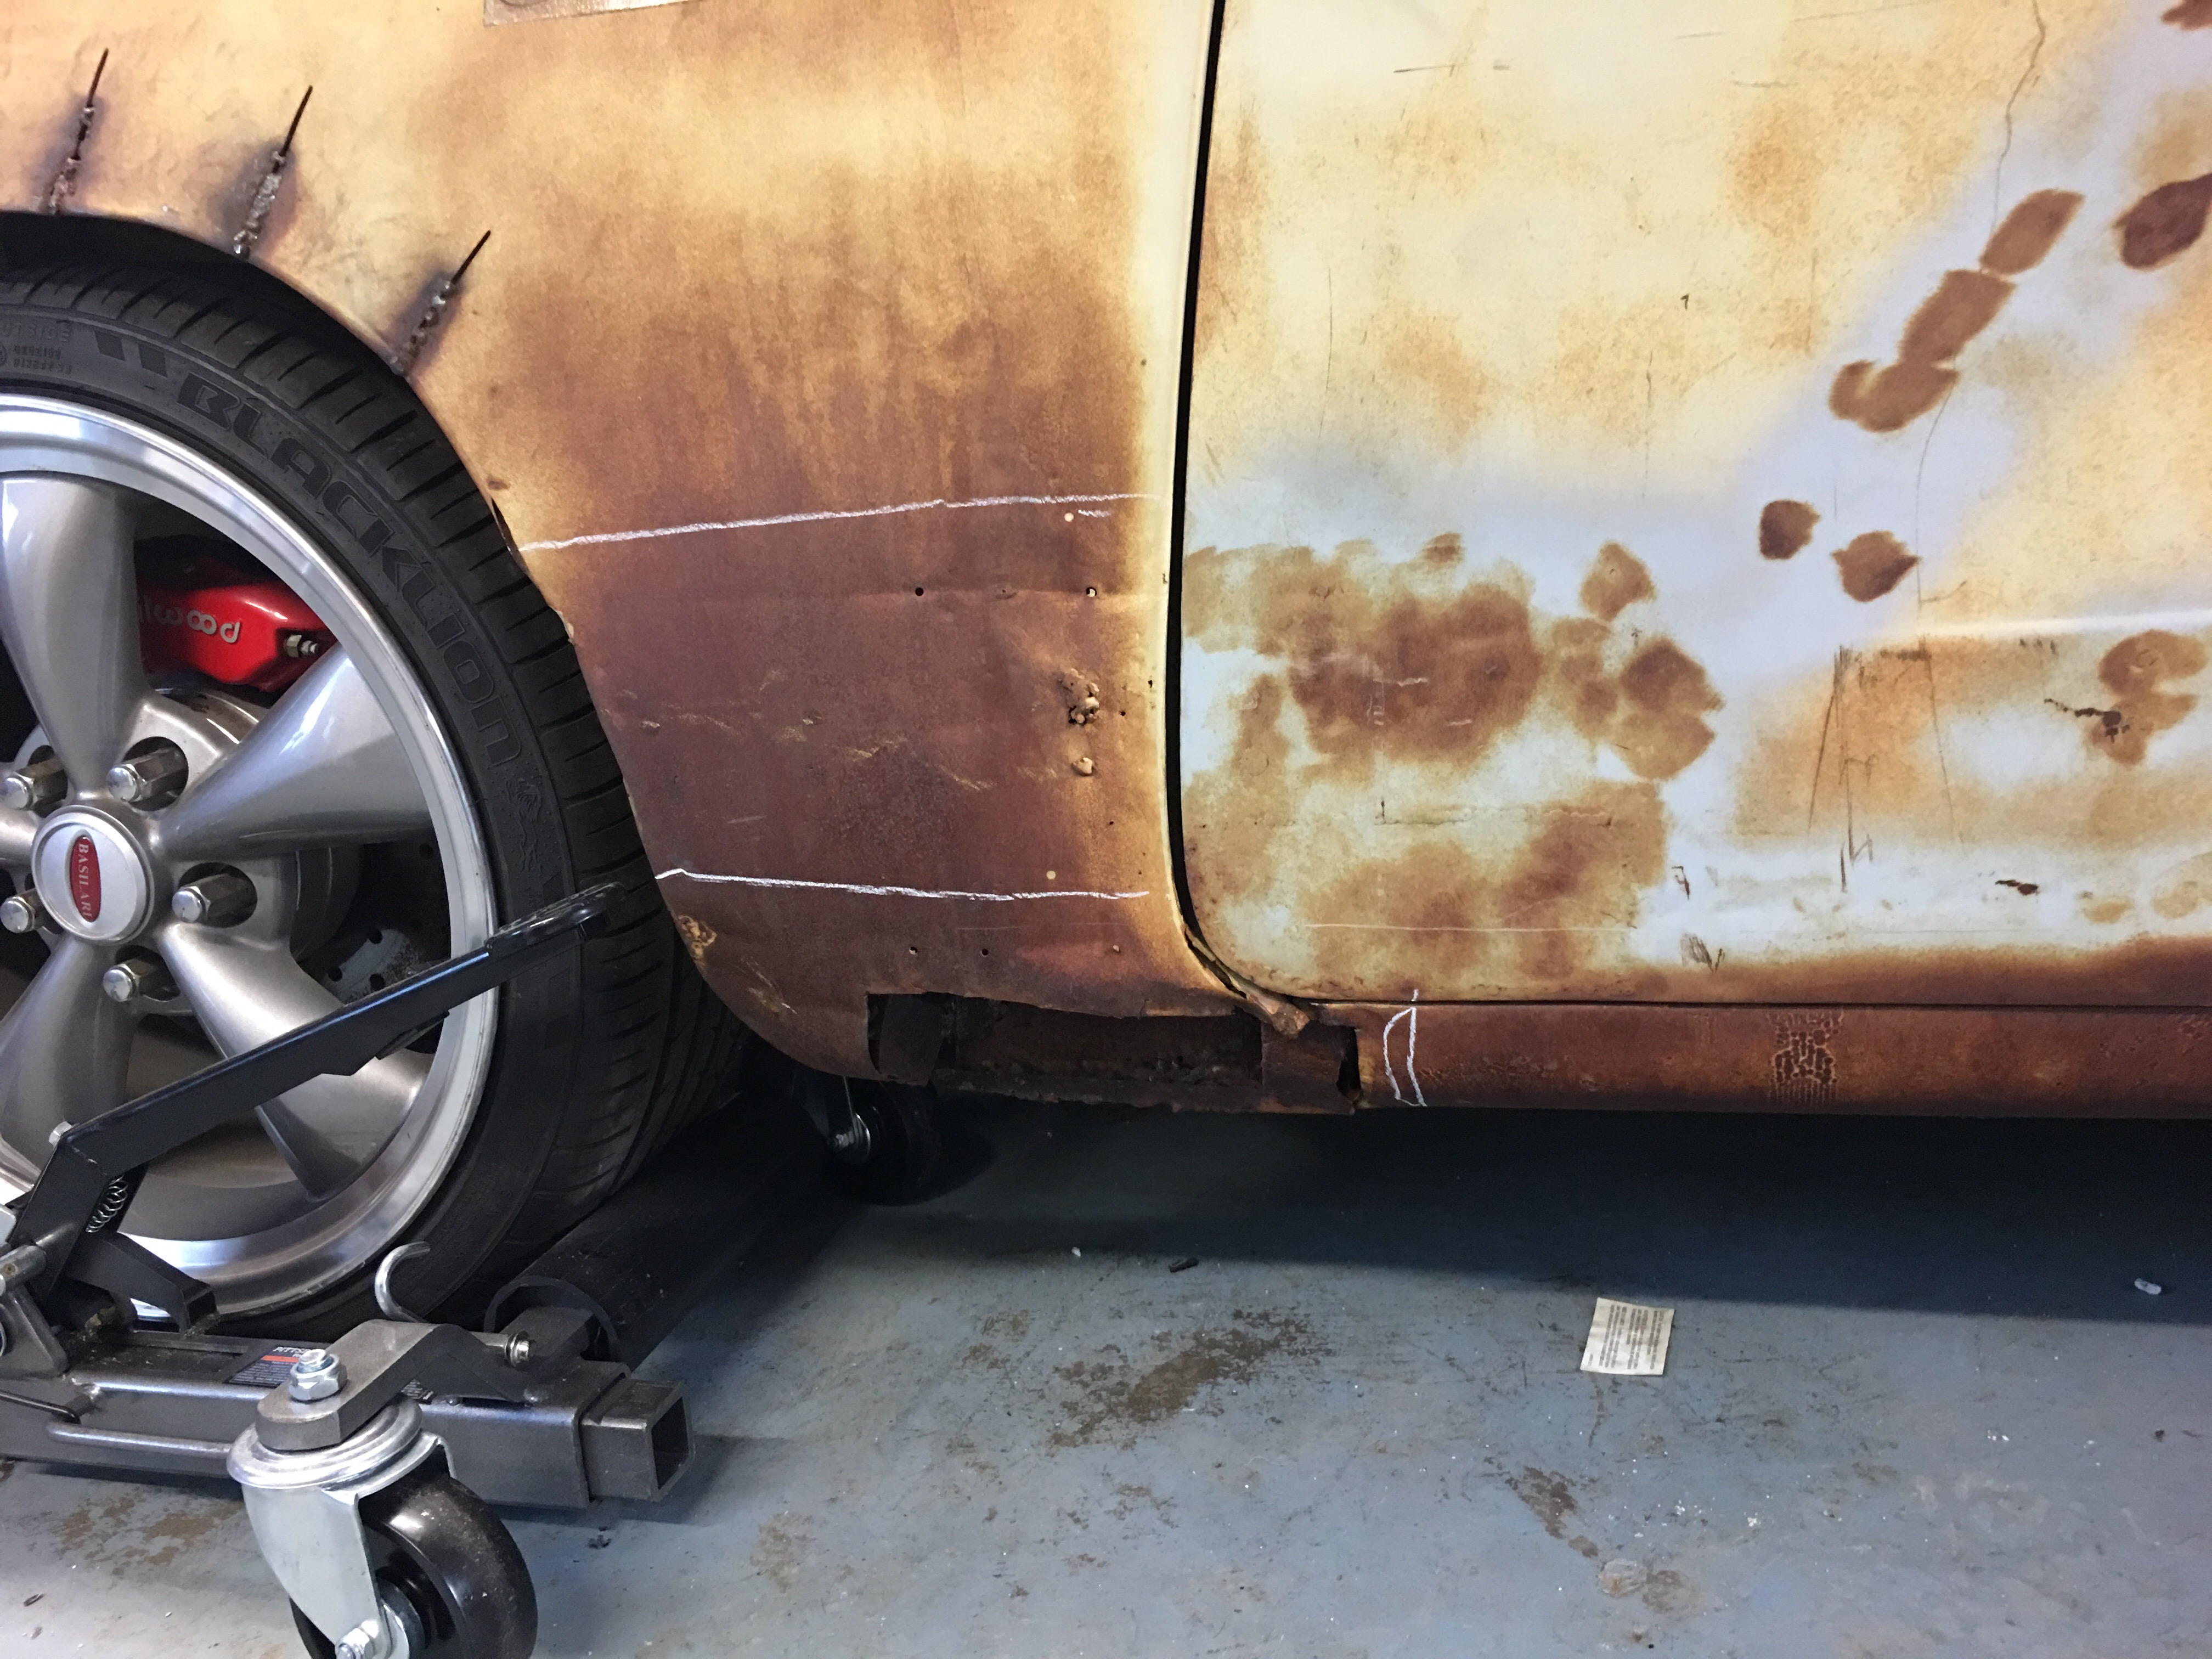
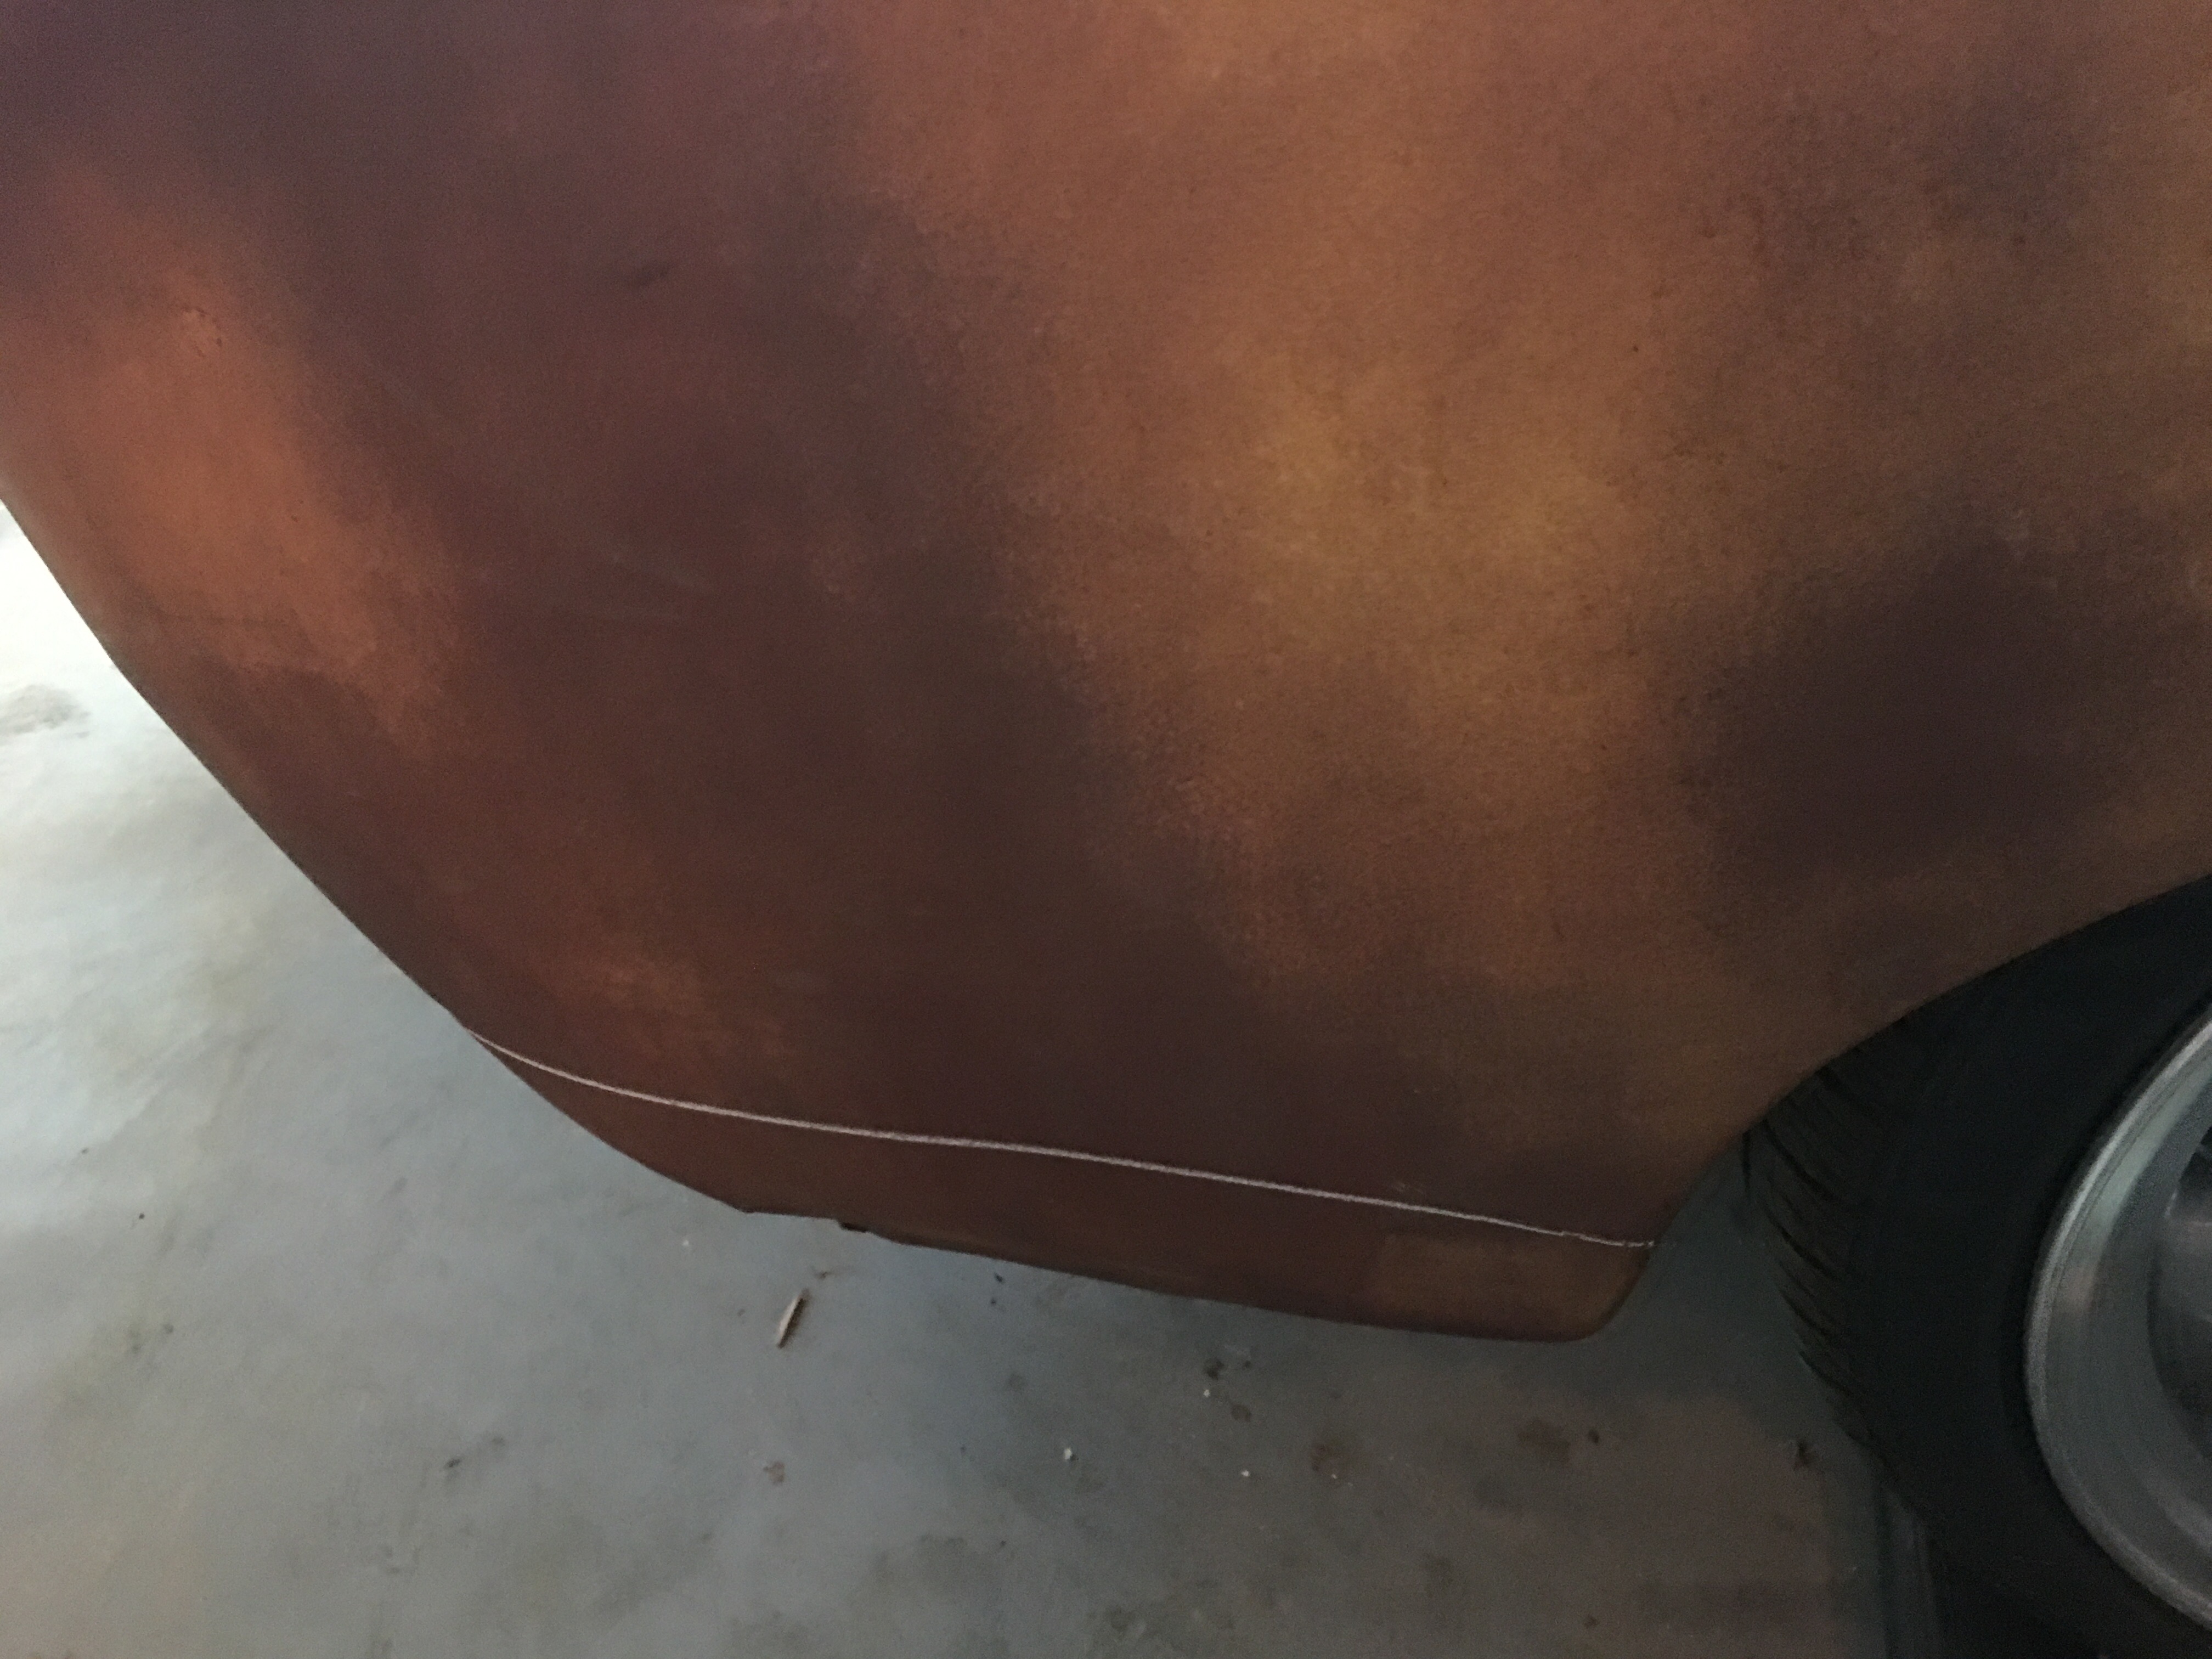
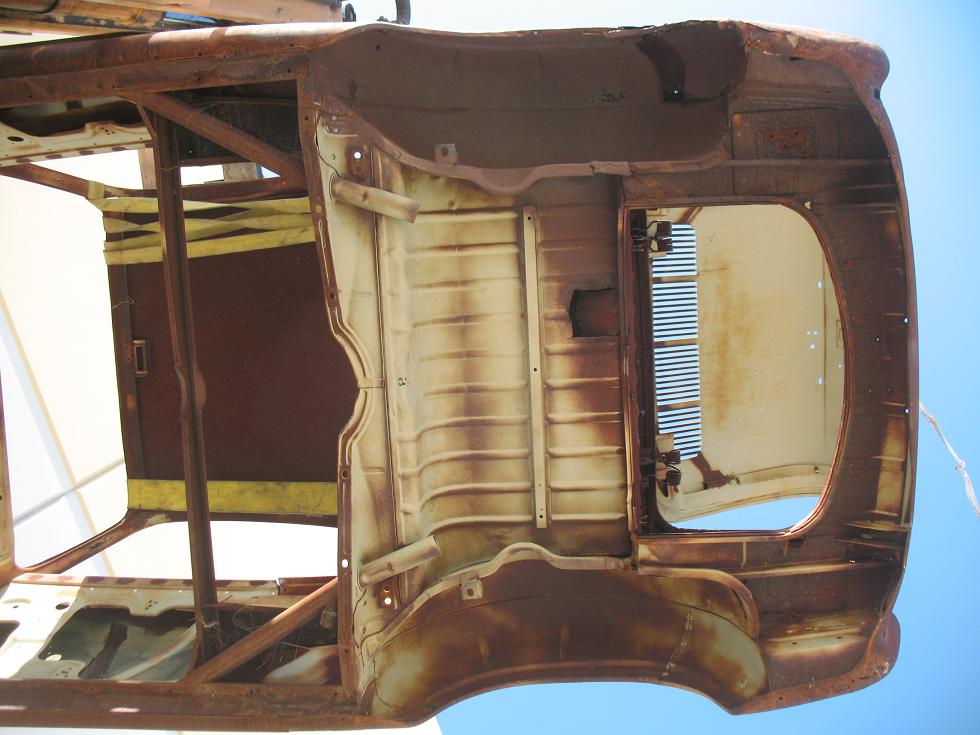
Revenant started the body work in earnest.

Donor car, carved up like a Thanksgiving Day turkey

Removed right rear quarter panel

Donor rear panel getting prepped
18
Feb
Let the body (panels) hit the floor!!
- By basil
- No Comments
Always time for a laugh. :)
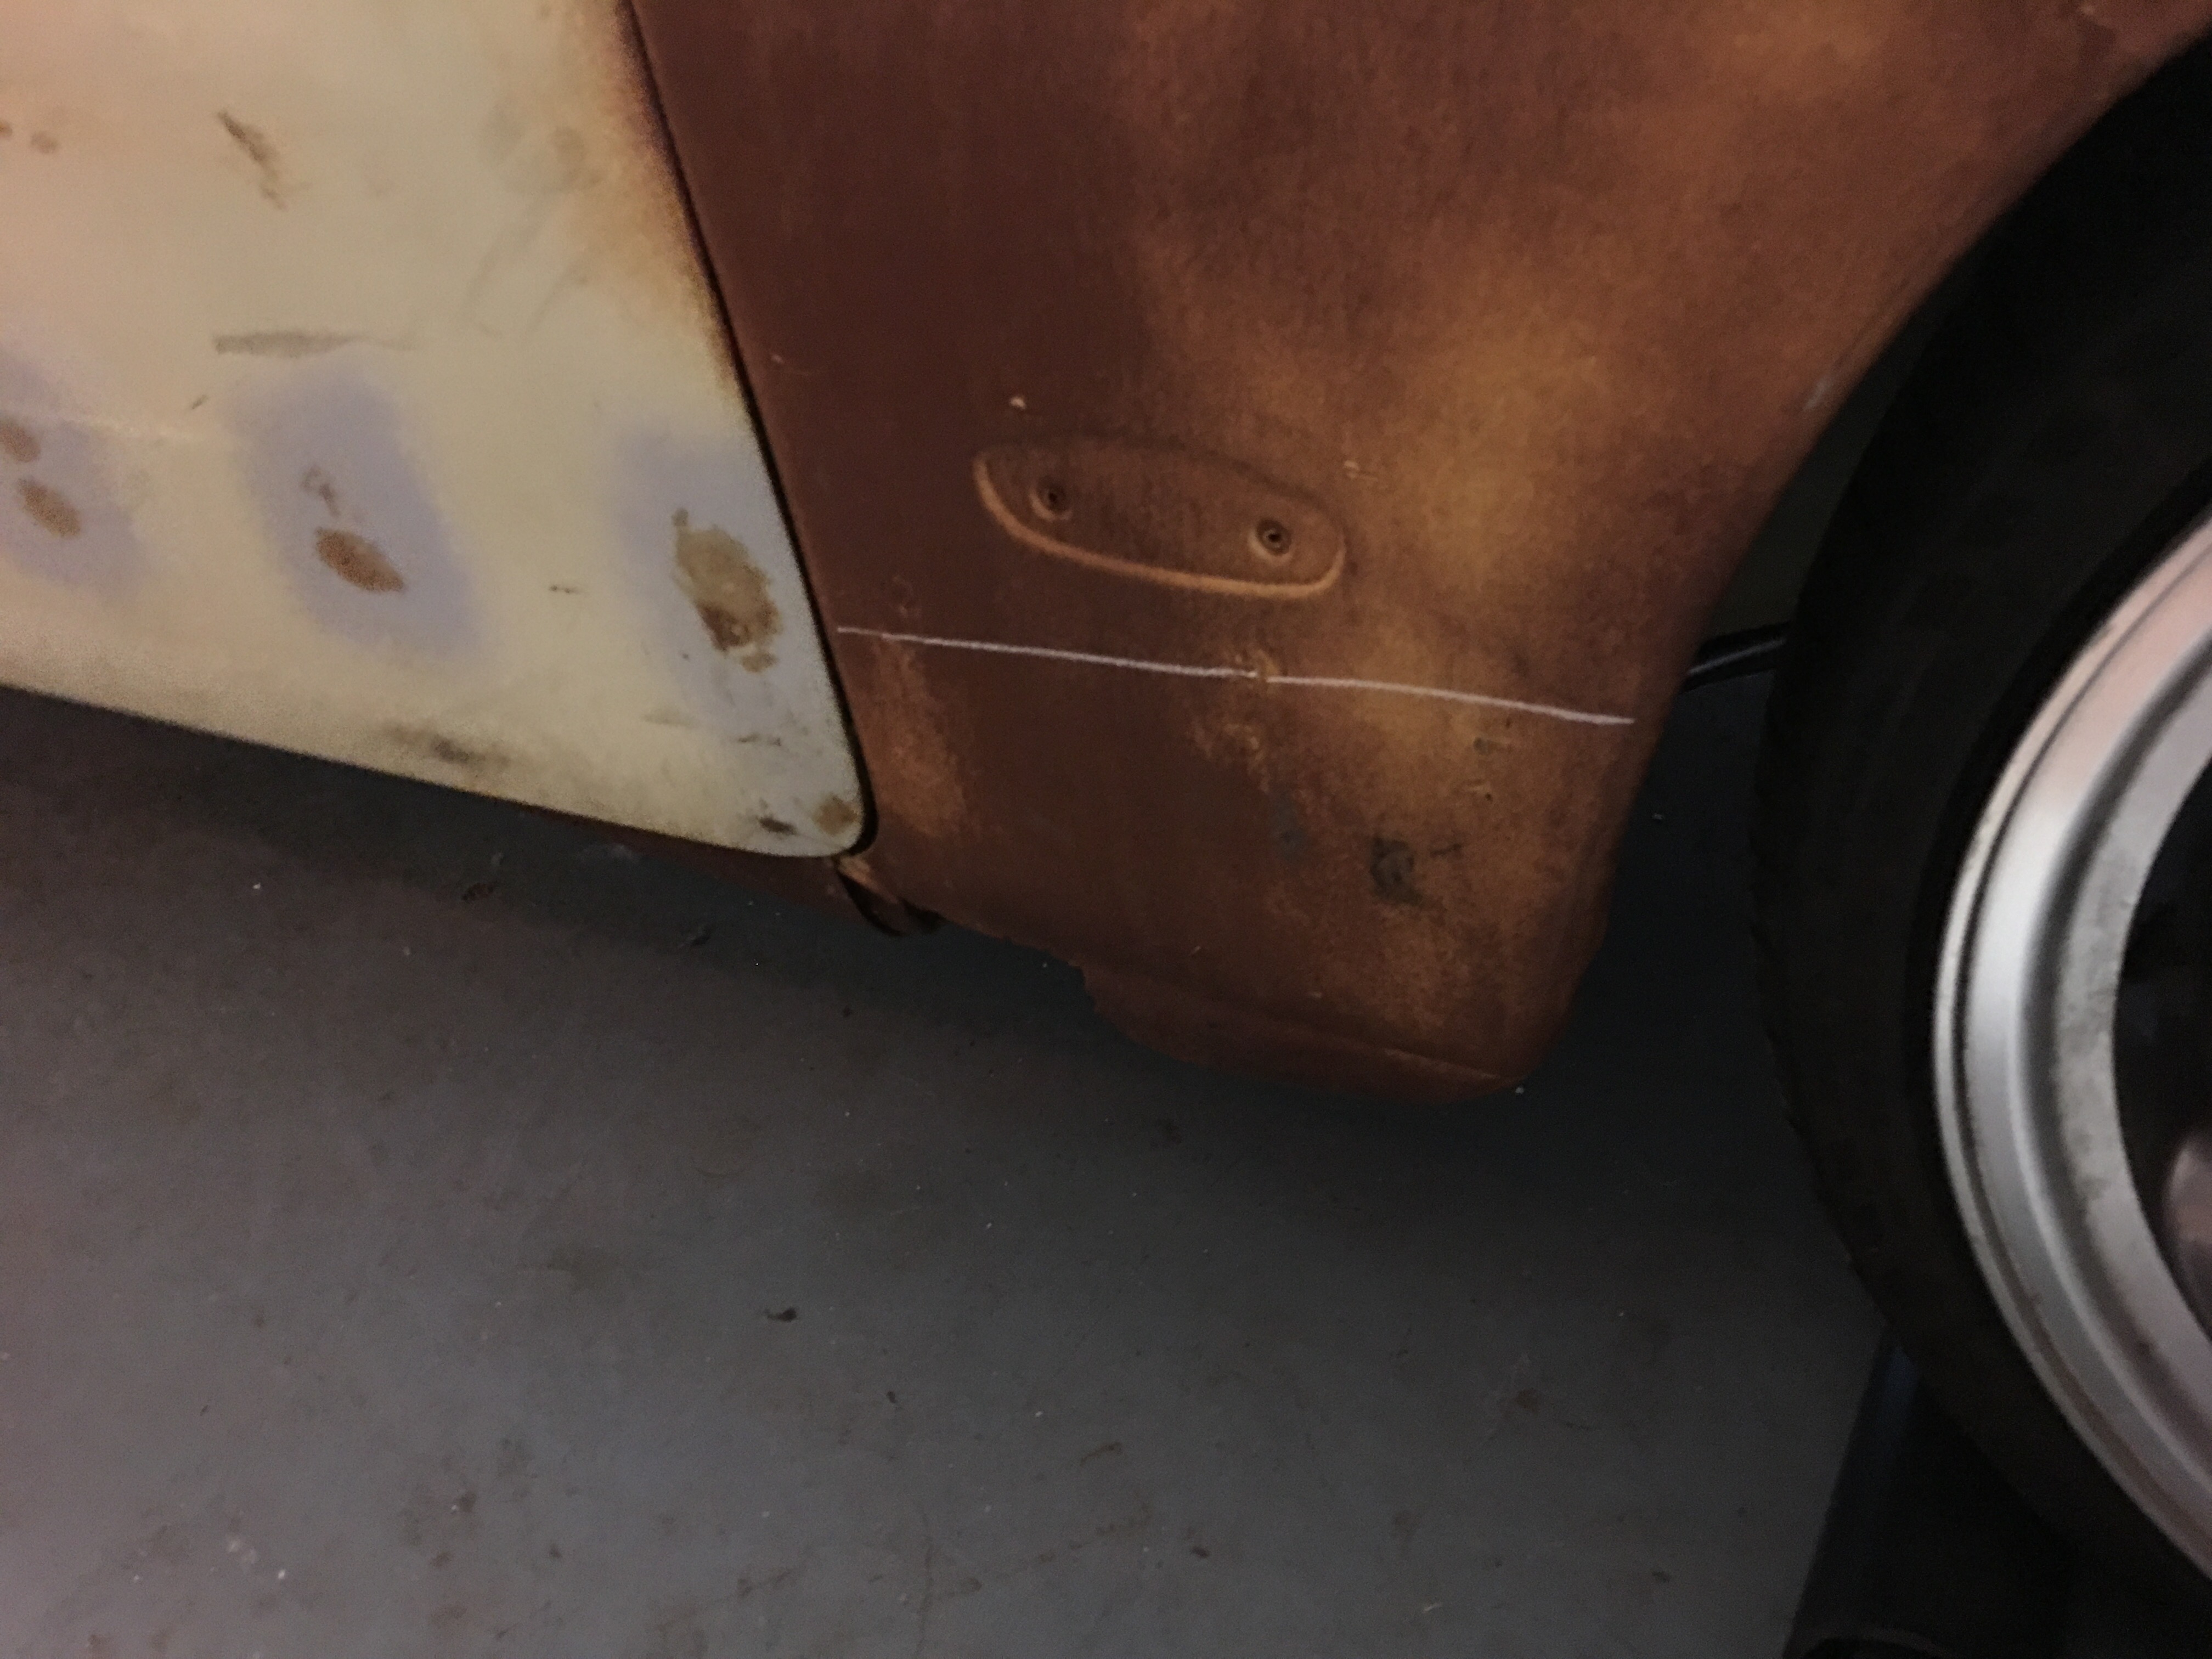
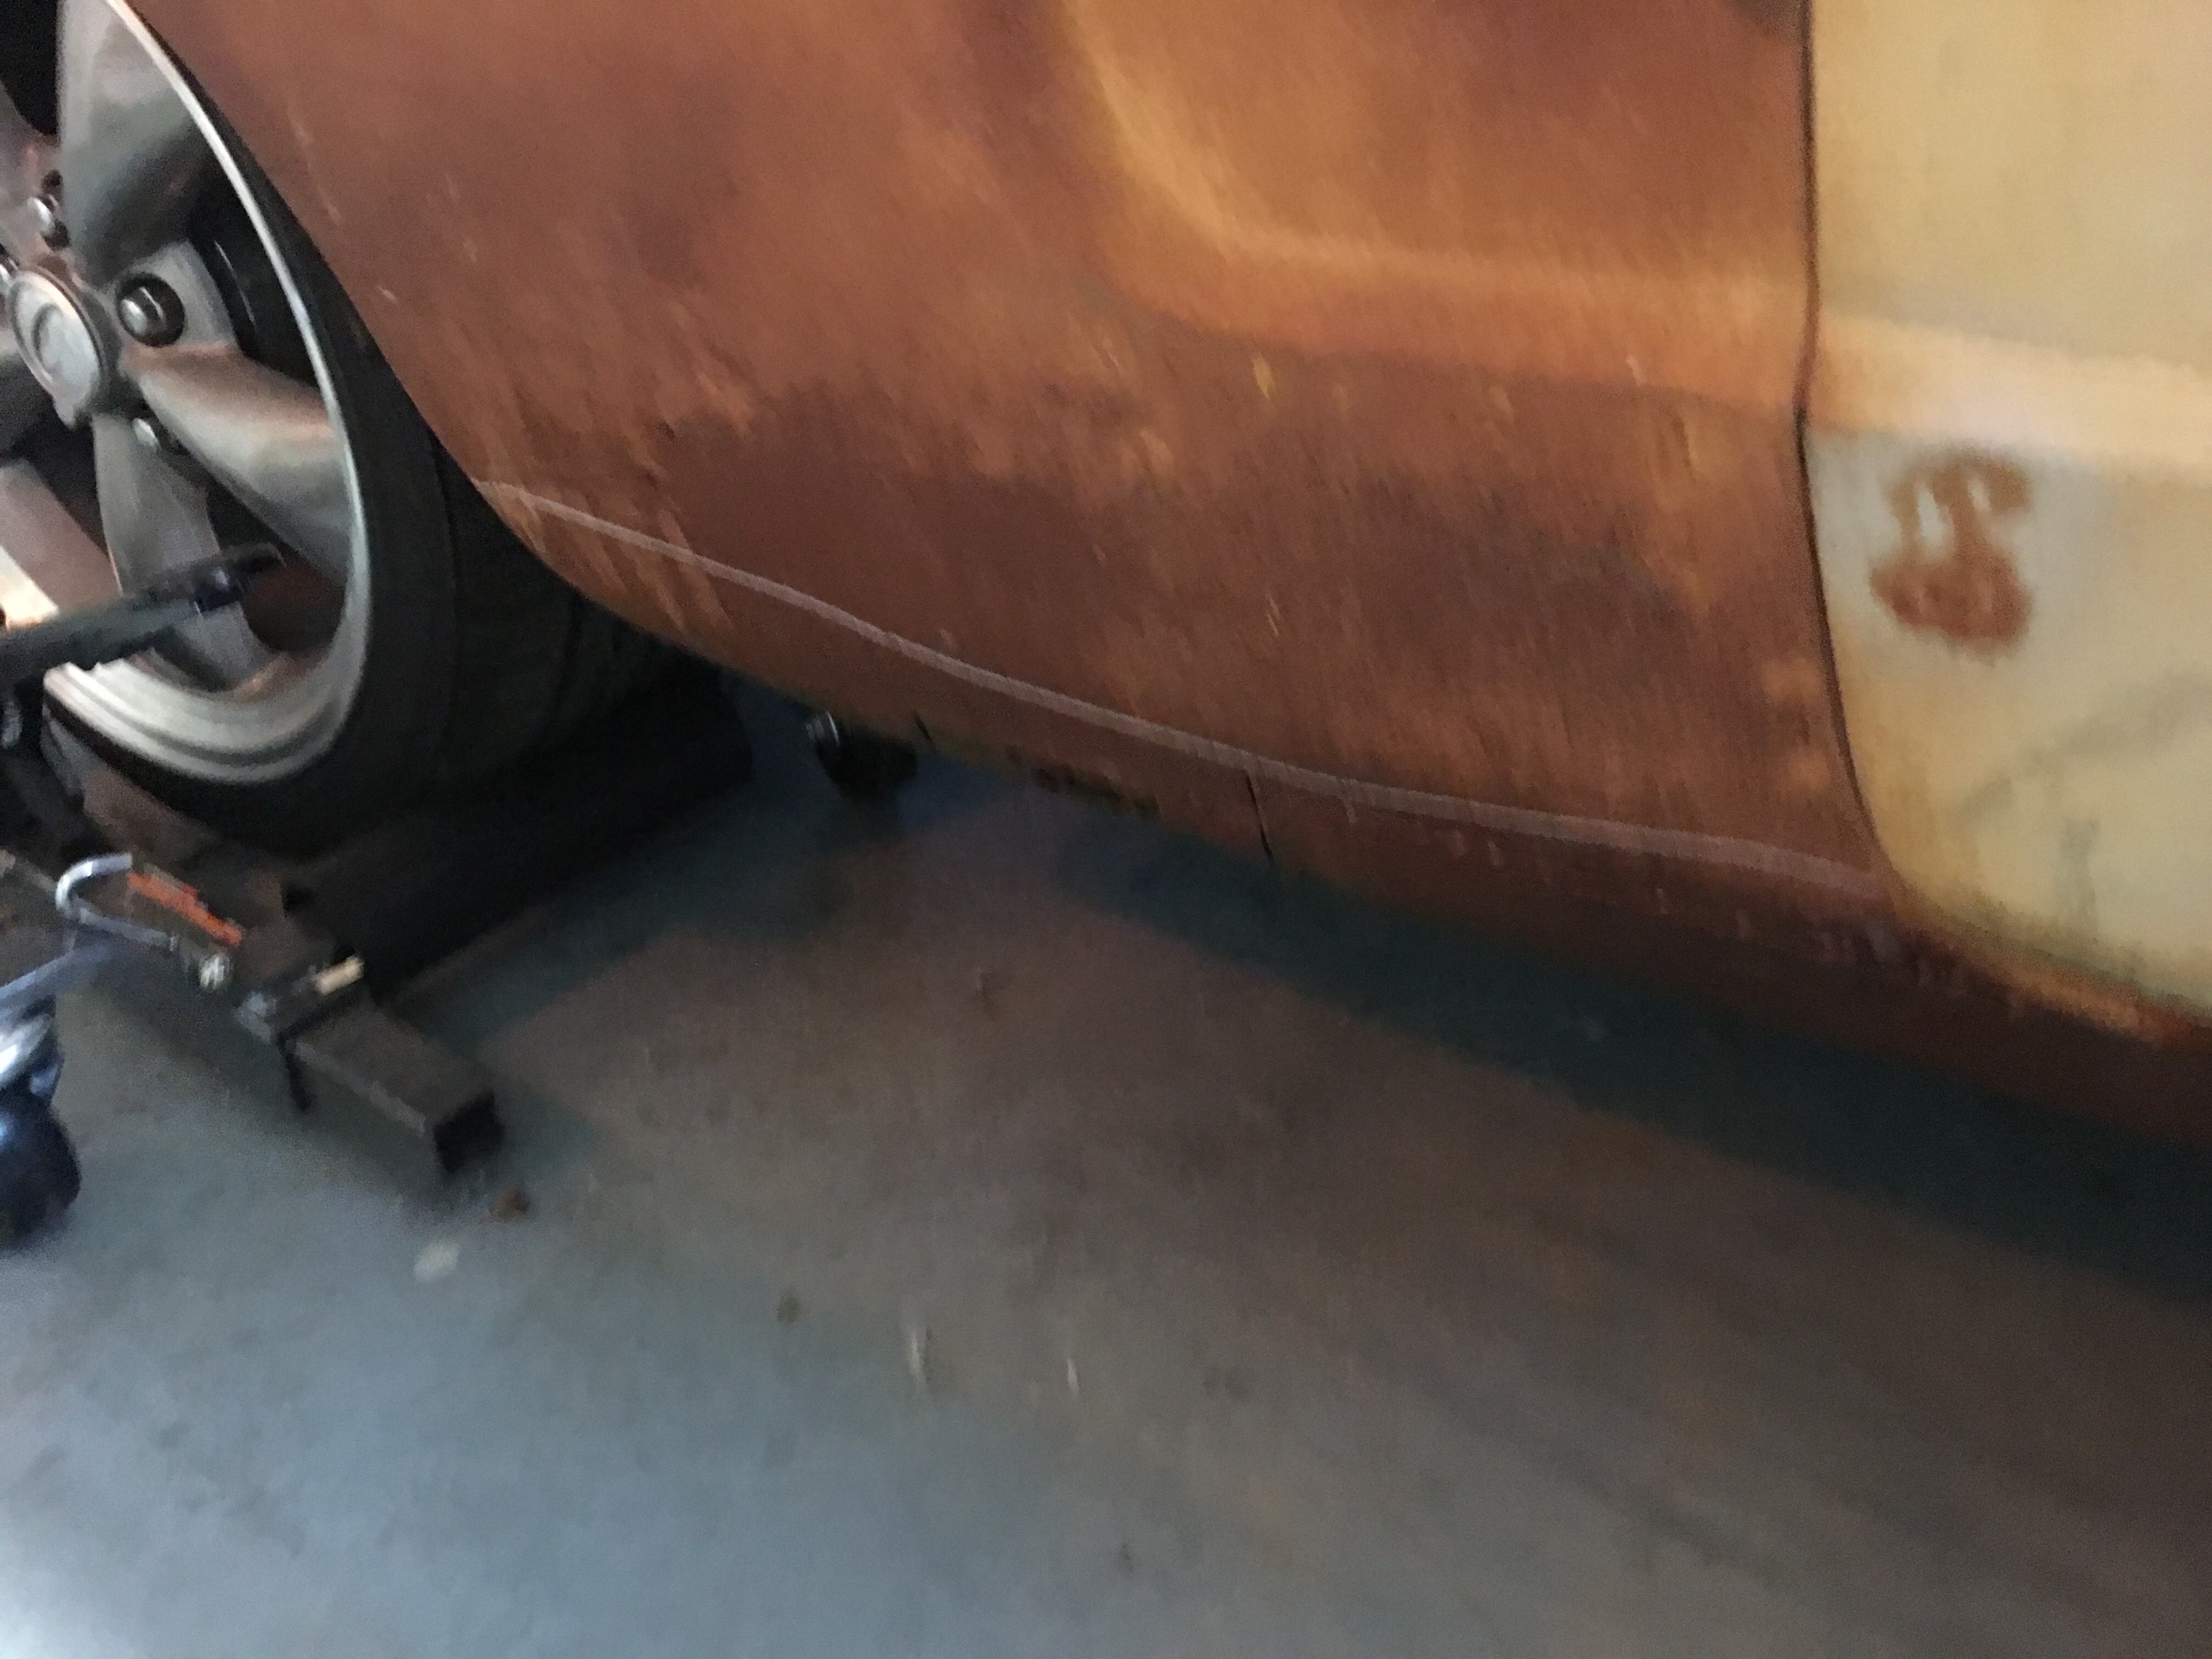
So, I found this image that explains the Ghia problem areas when it comes to rust. We have our work cut out for us (ha!, pun intended):
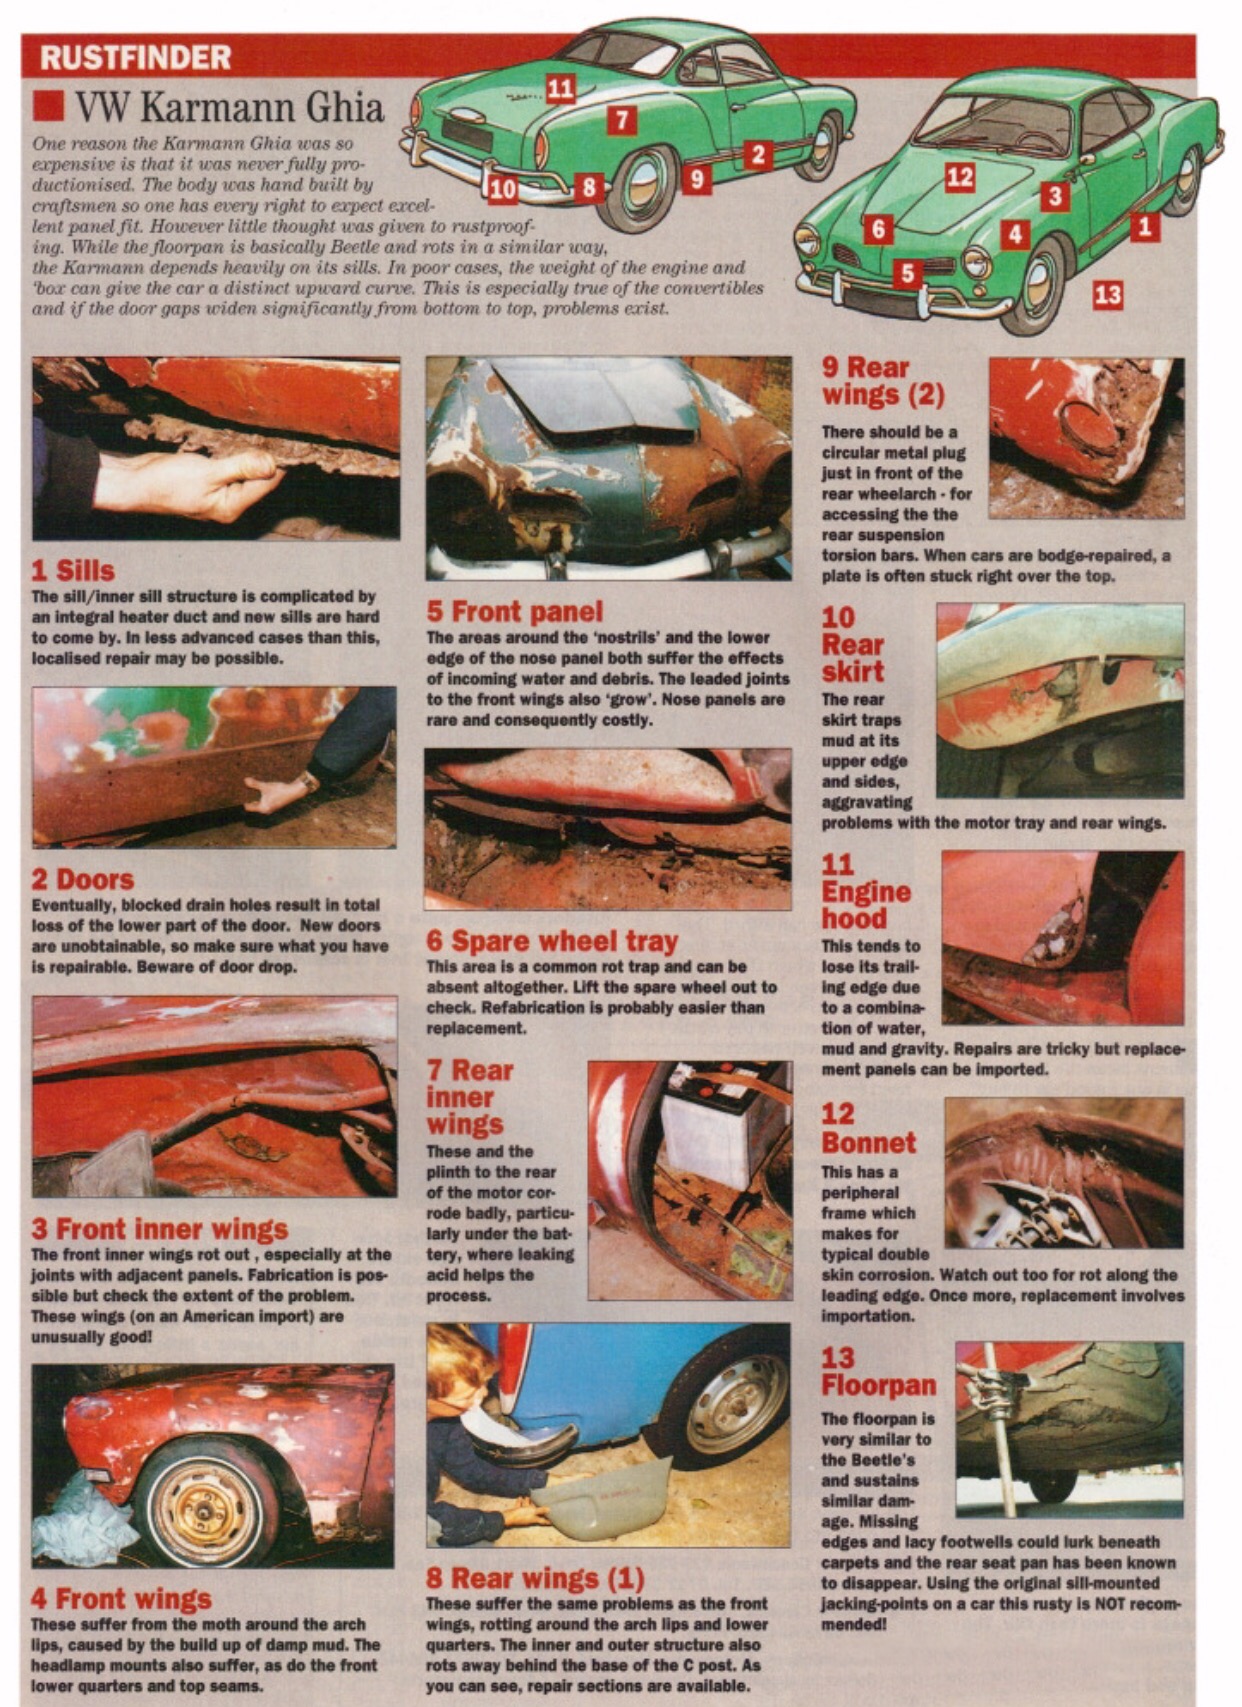
Shopping for panels now! The parts car should provide some metal higher up on the quarters. It looks like we’ll need to order all of the lower pieces.

11
Jan
Windshield installed from the parts car.
- By basil
- No Comments
So our current order of operations is to get the car running, windshields installed and to test the radiator system for proper cooling and subsequent adjustments (if needed).
Step 1 is done.
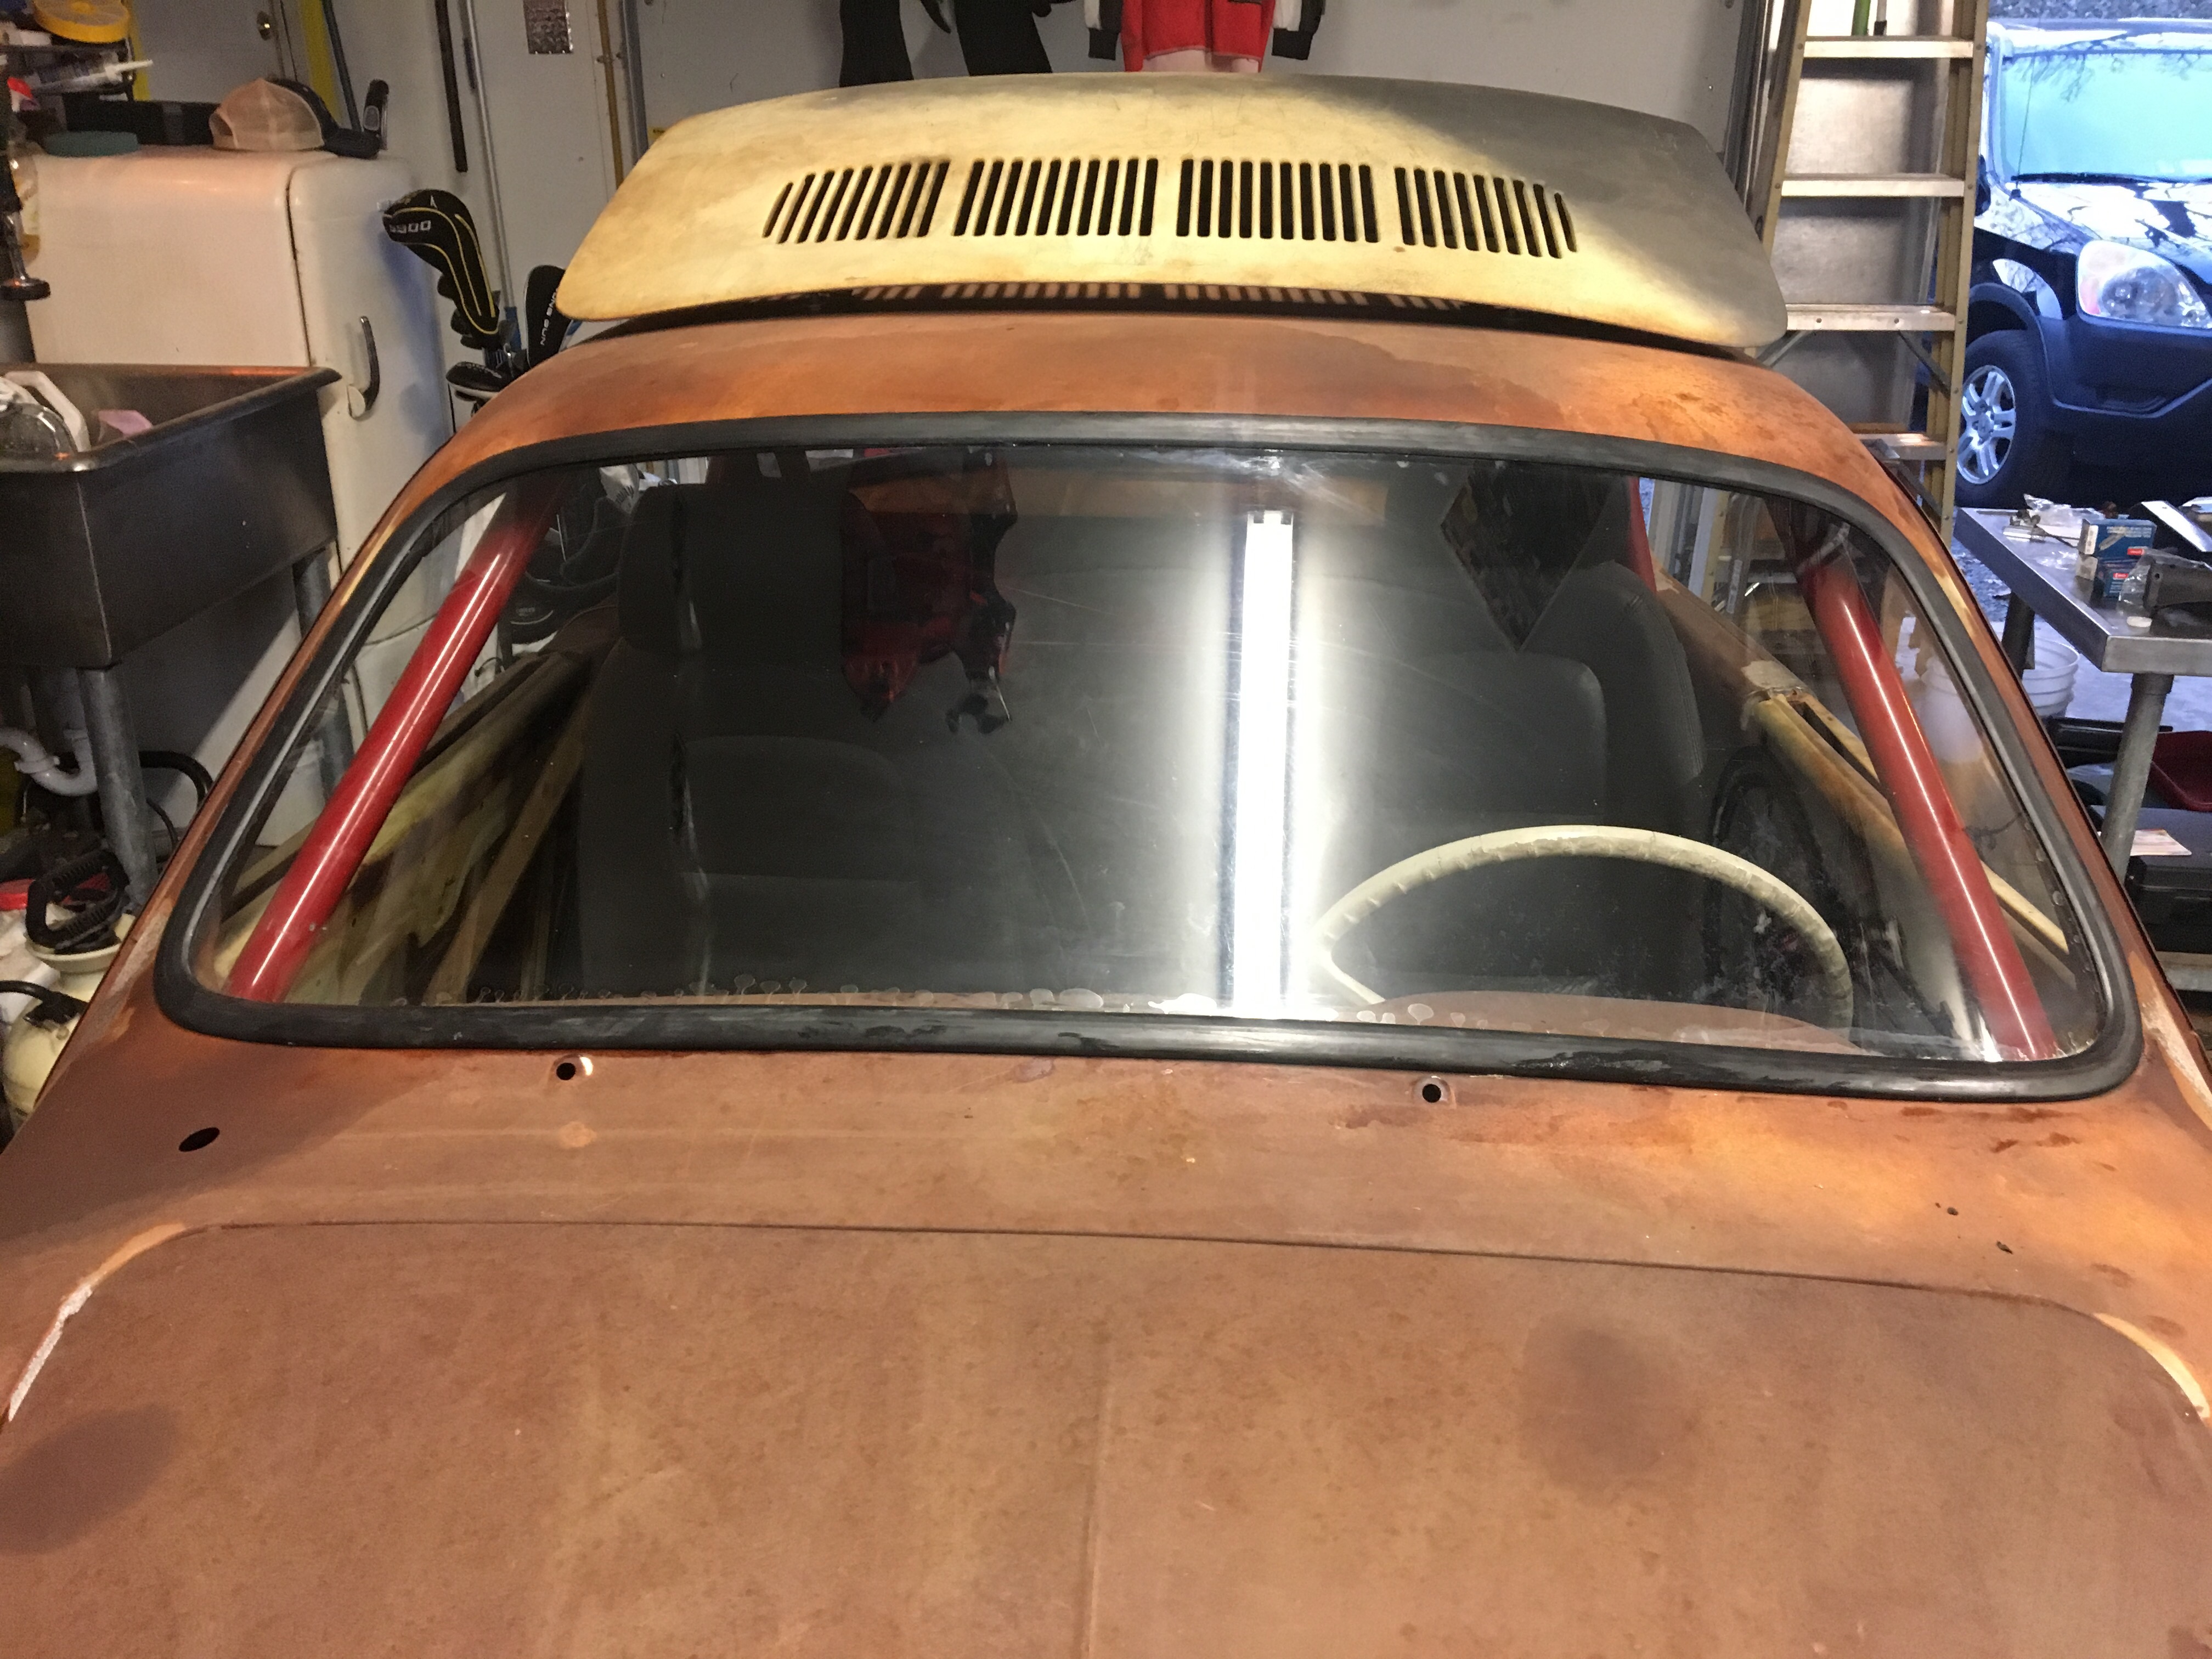
Picked up front and rear windshield seals from KGPR.
Step 2 is to get the fuel system worked out. More later on this.
03
Jul
Body to chassis work..
- By basil
- 2 Comments
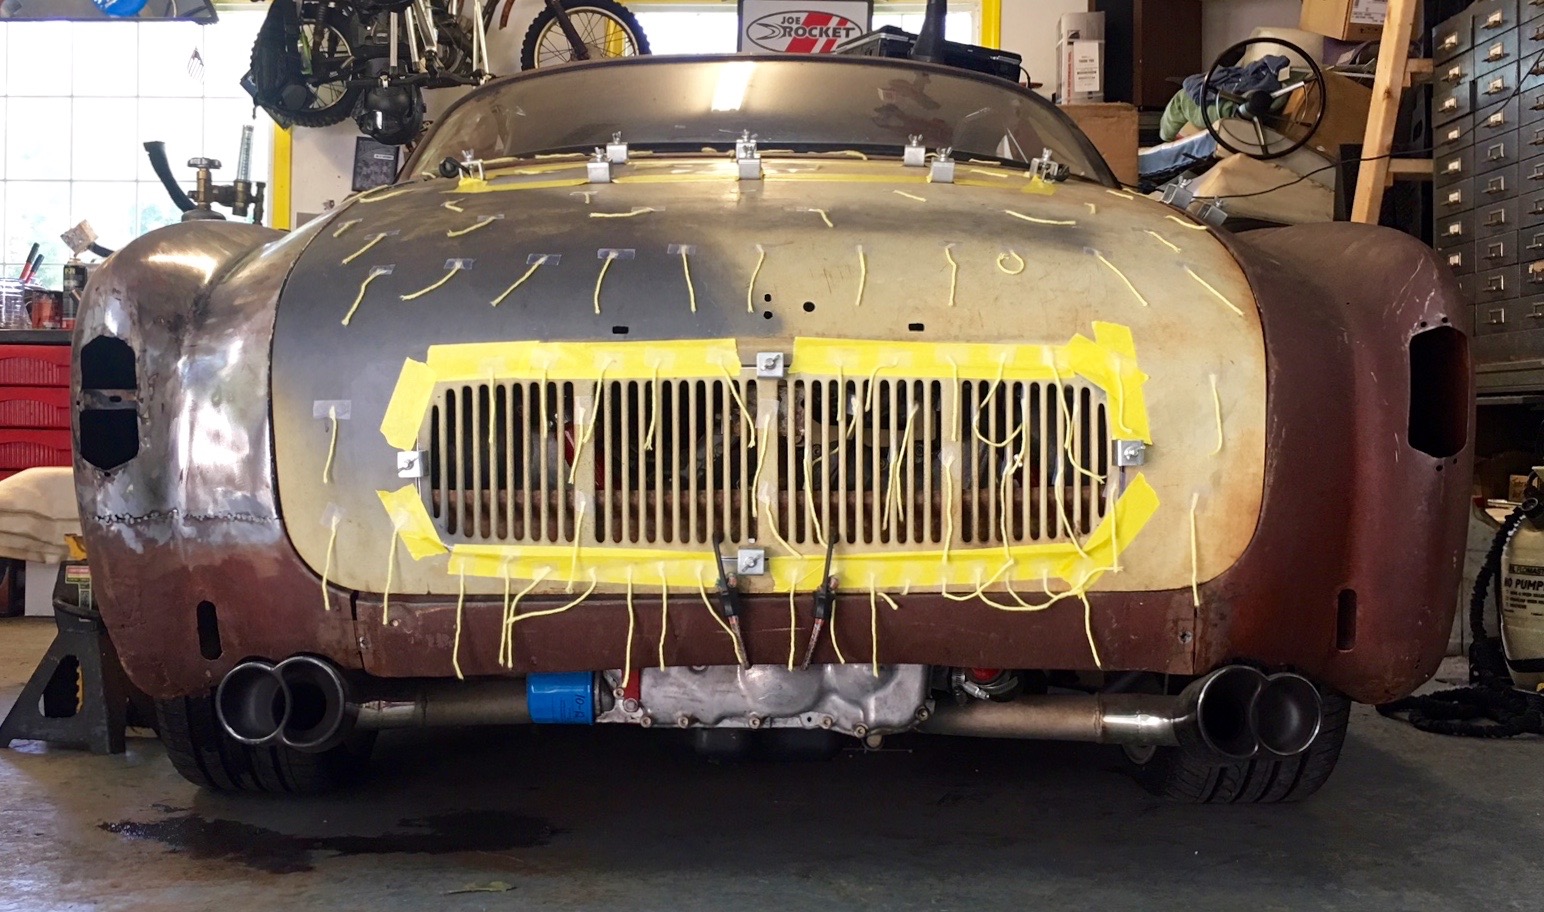
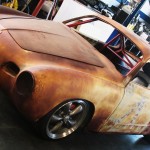
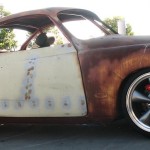
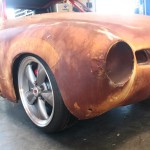
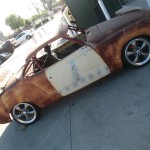
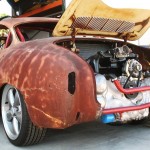
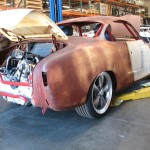
Just wanted to toss up some pictures of the front-end stance (top row) some folks on ShopTalkForums wanted profile shots. These aren’t full profile but it’s all we have at the moment.
The first picture is the result of the initial body to chassis merge. I wanted to see if we could go lower. Kevin then tweaked the suspension to drop the front a bit more. I keep forgetting that these are 17 inch wheels – and as pictured, no rubbing, lock to lock! Trying to find the optimal mix between aesthetics and performance.
-
- Getting there.
-
- 17s on a Ghia.
-
- Lowered a bit more after initial body placement.
-
- Bader-like in stance. No adjustments yet.
-
- Got stance?
-
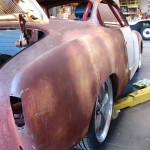
- Slightly rolled fenders.
-
- Wheel profile.
-
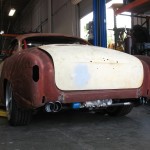
- Exhaust view from down low.
Ghias have narrow rear wheel wells. So on the rear we rolled the fenders a bit to comfortably fit the 205s, but now we can (and will, eventually) go to 215s with no problem.
06
May
Aerodynamic exploration
- By basil
- No Comments
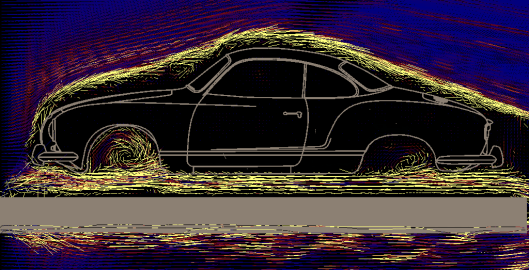
Tinkering with a wind tunnel simulator on the iPad. The low light is extremely slippery in the wind. Check out the laminar flow.

13
Dec
More roll cage photos..
- By basil
- No Comments
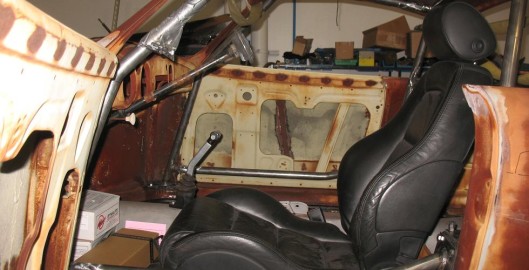
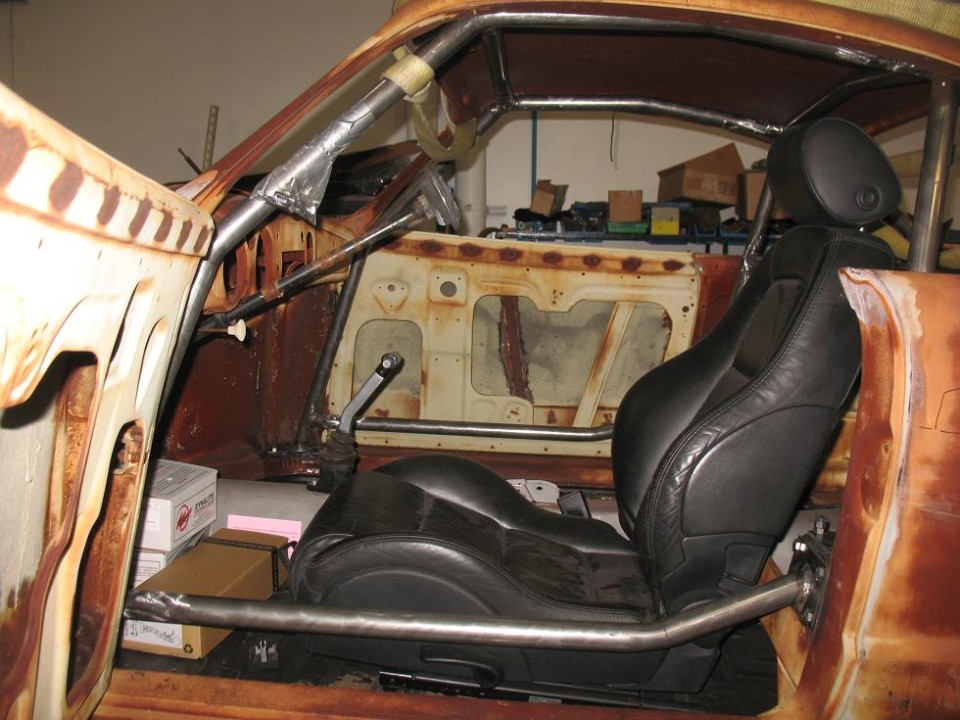
Roll Cage (driver’s side)
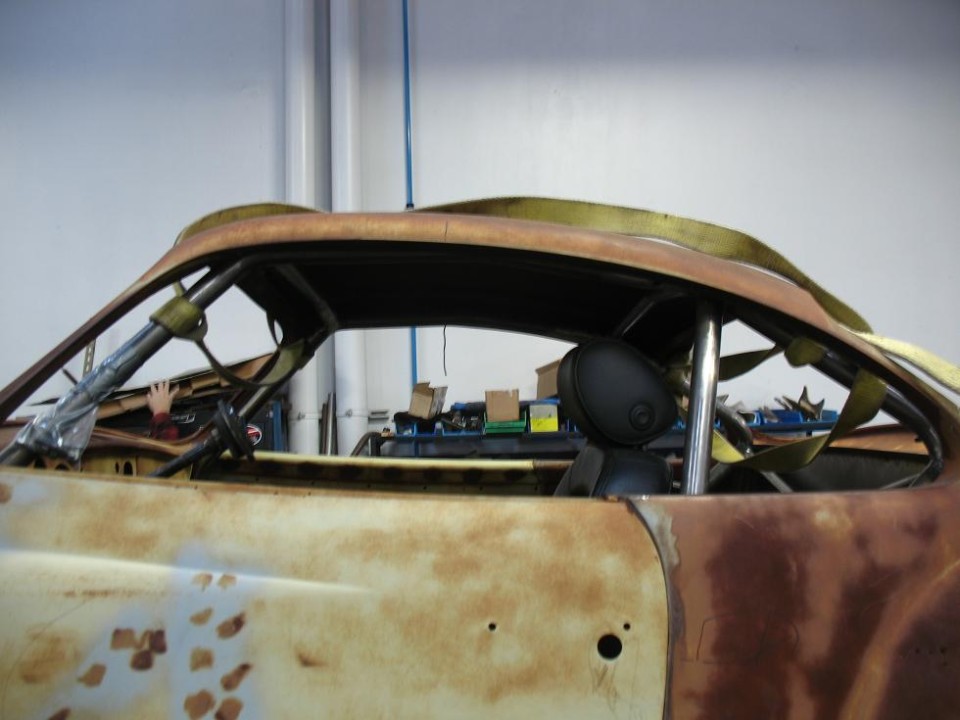
Karmann Ghia Roll Cage (bar view)
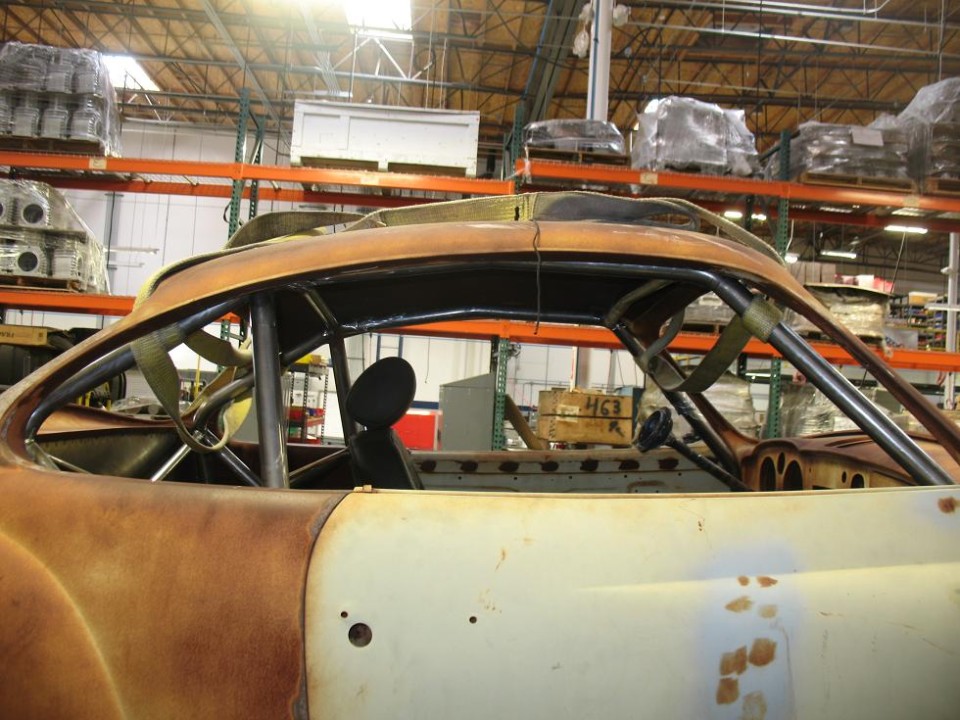
Karmann Ghia Roll Cage (bar view)
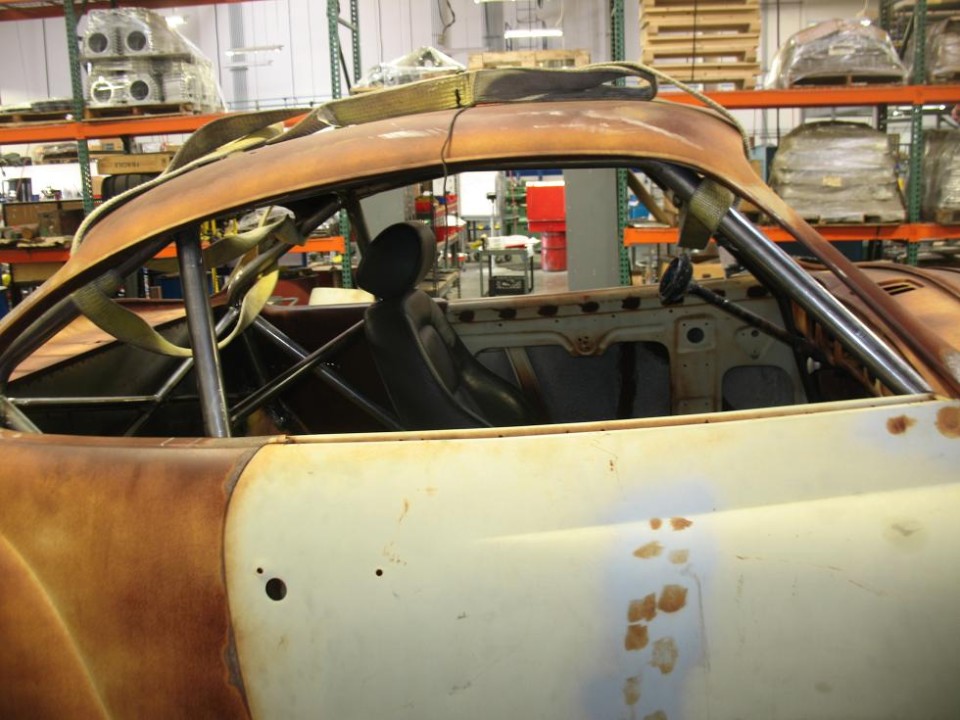
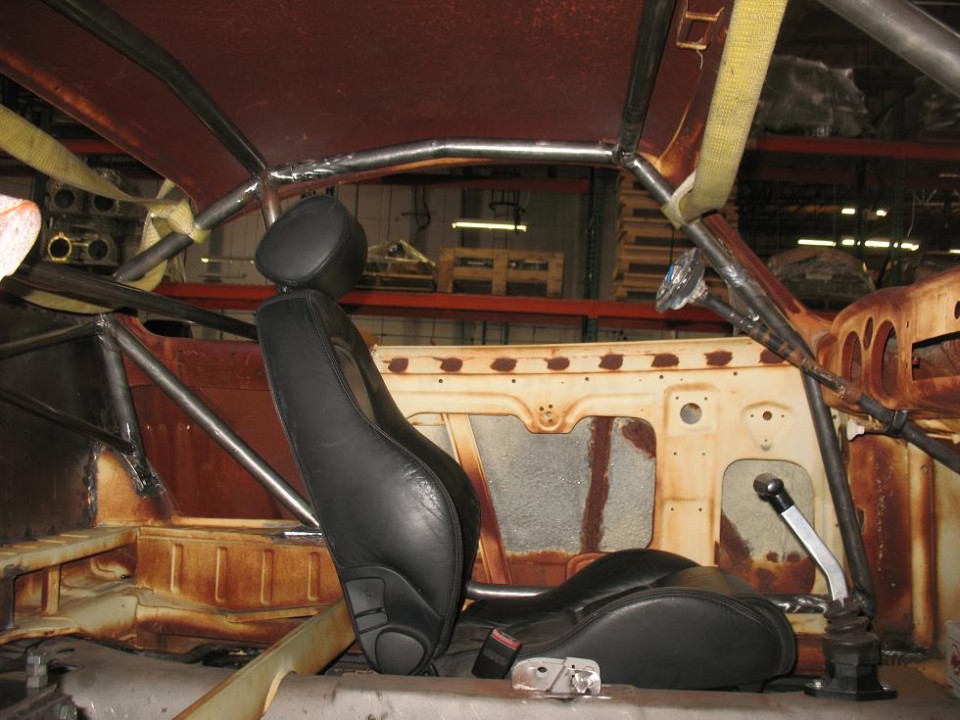
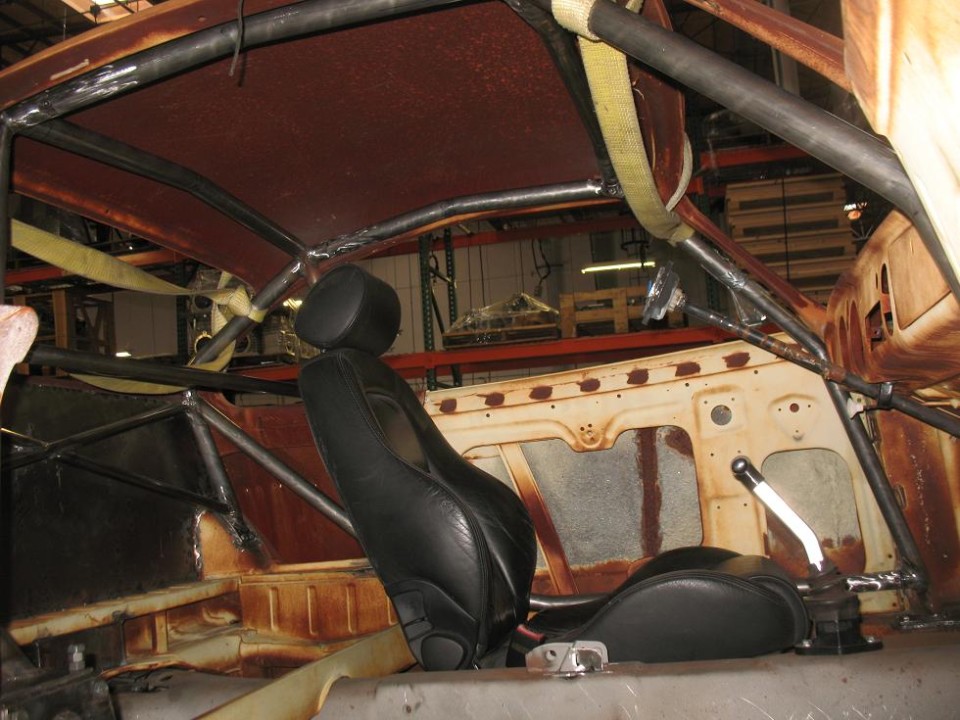
Karmann Ghia Roll Cage (driver’s side)
Photo updates for the roll cage build.
22
Nov
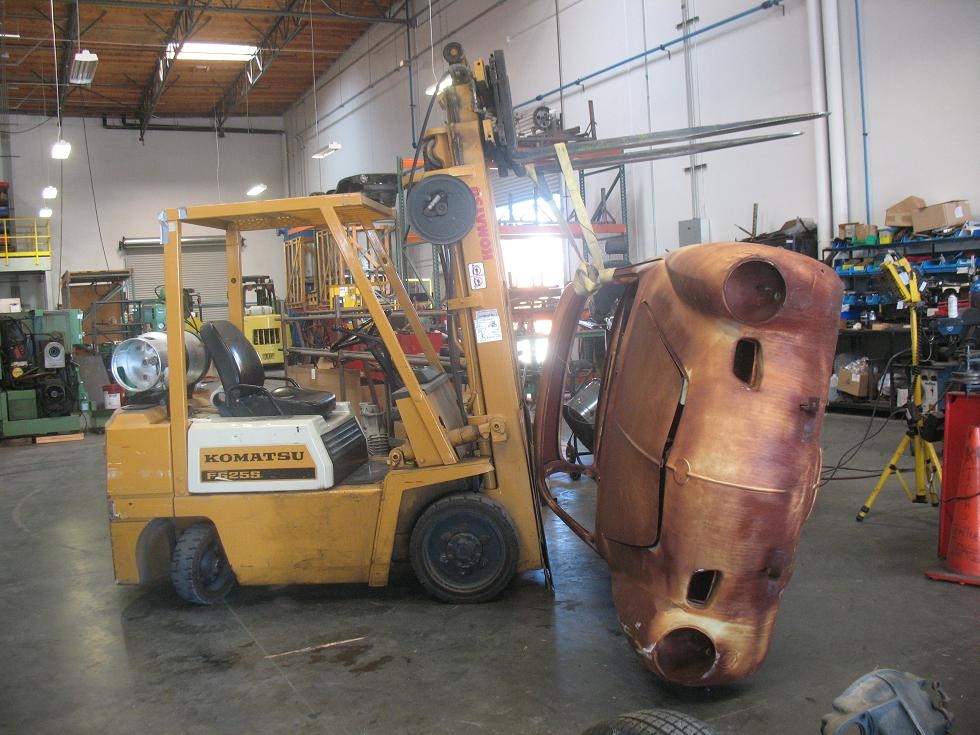
Handles like its on rails (funny)..
- By basil
- No Comments
Well, Kevin did say it will handle extremely well..but this is ridiculous! lol..
Happy Thanksgiving everyone!!
21
Nov
Transaxle with body on.
- By basil
- No Comments
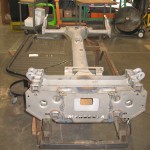
Today we have before and after pictures of where the transaxle fits.
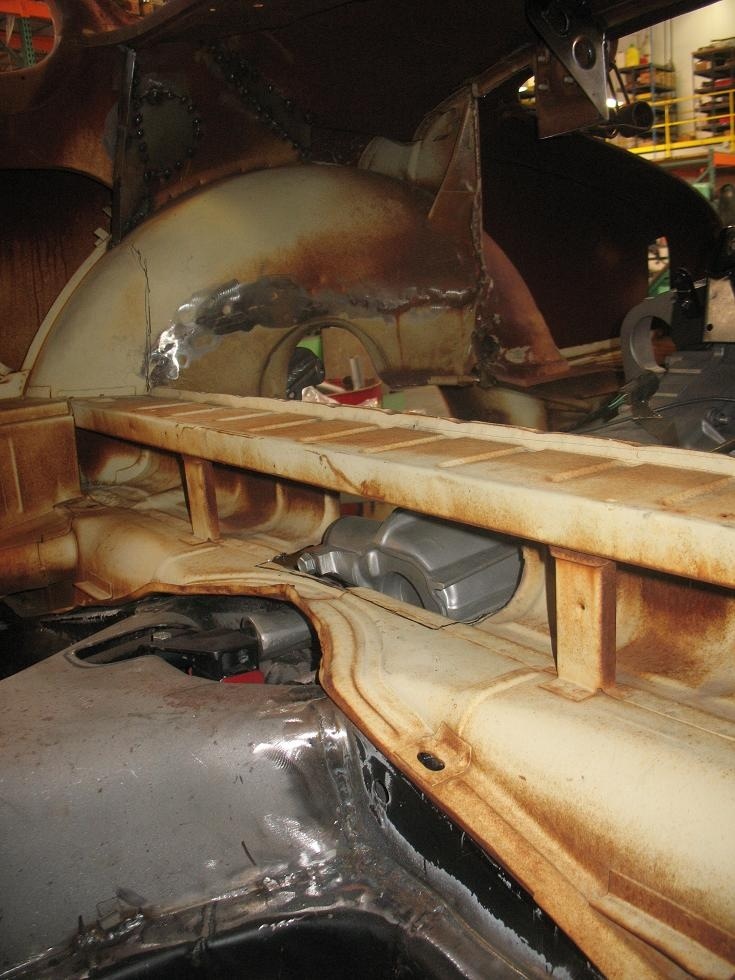
This first picture is of the 1958 body, chassis and stock transaxle:

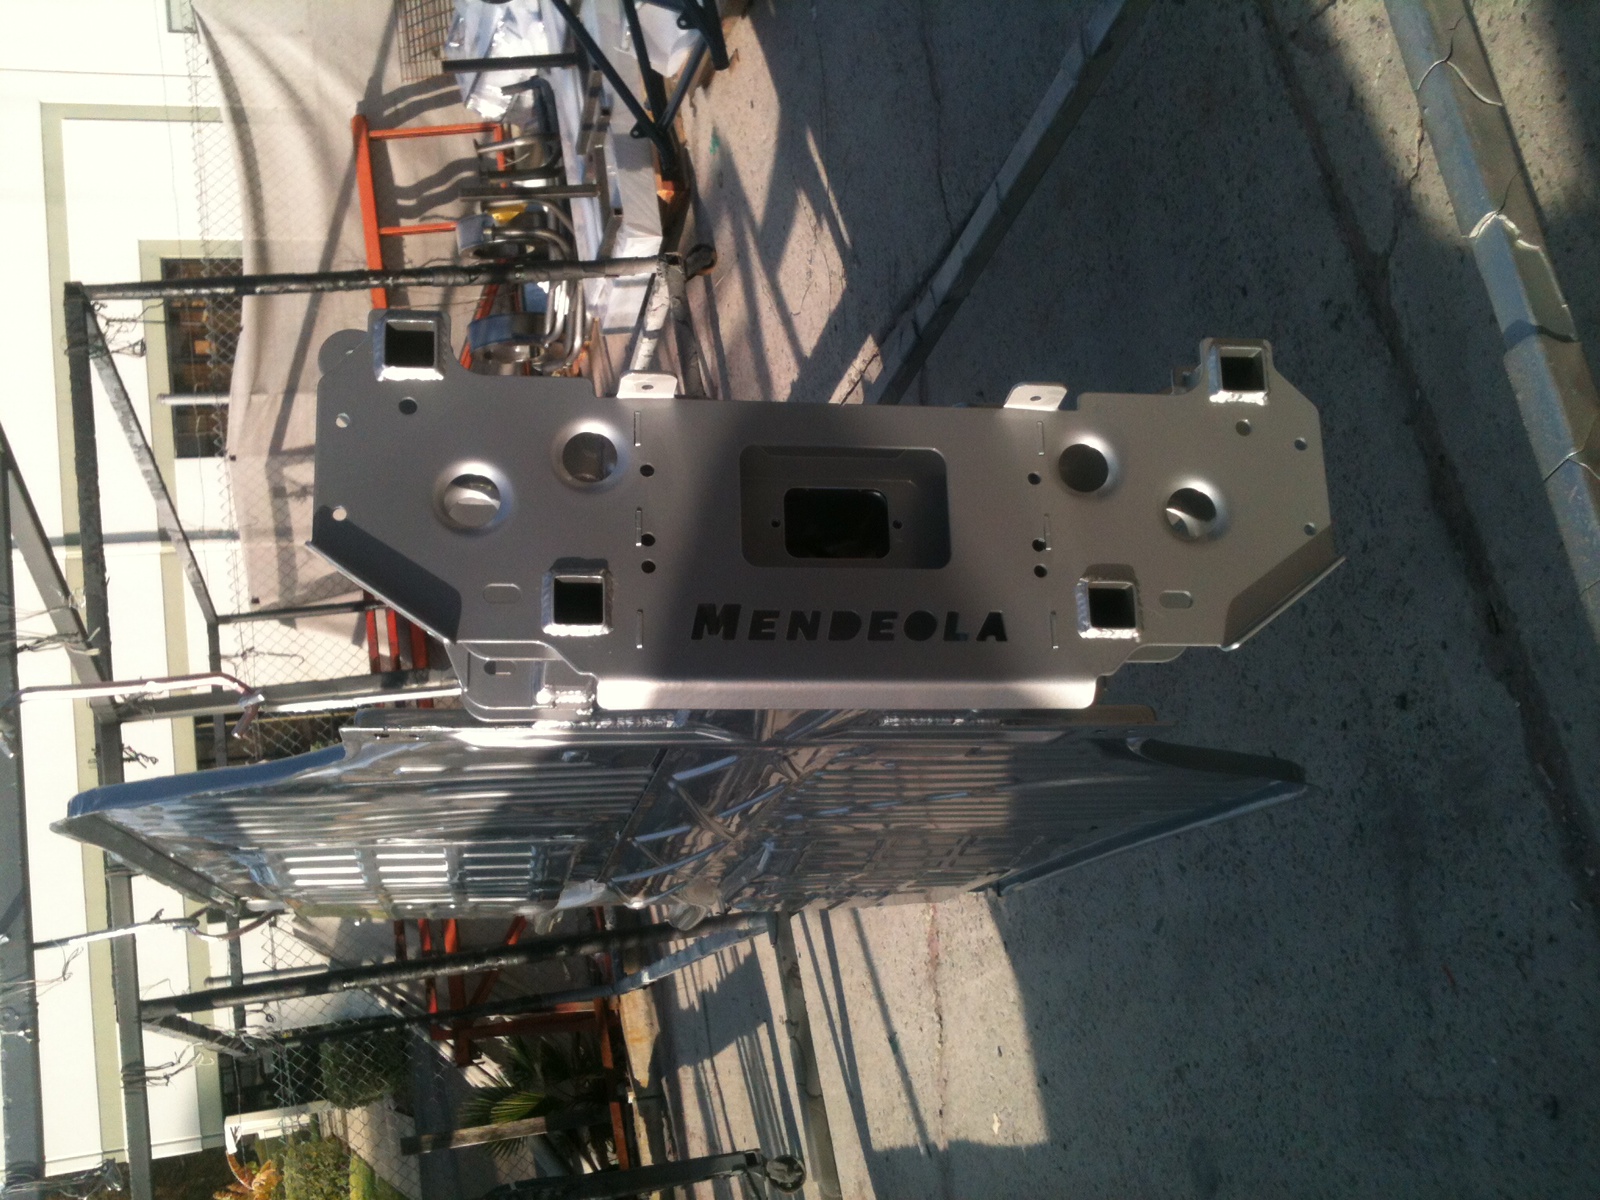
This second picture is with the 1958 body on the new Mendeola chassis and Subaru transaxle:
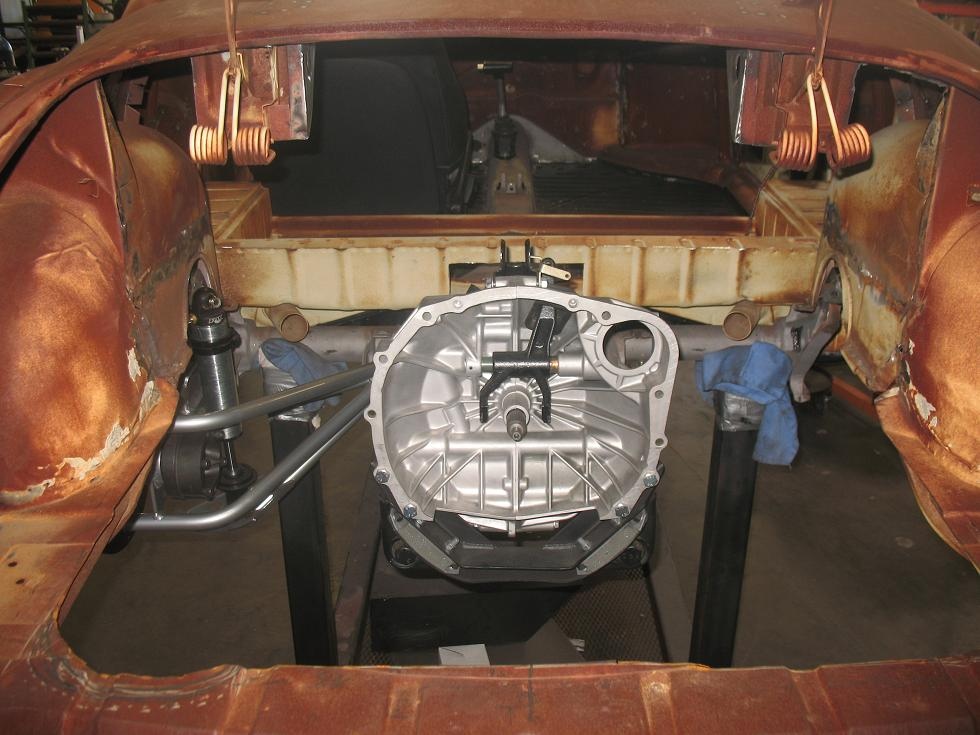
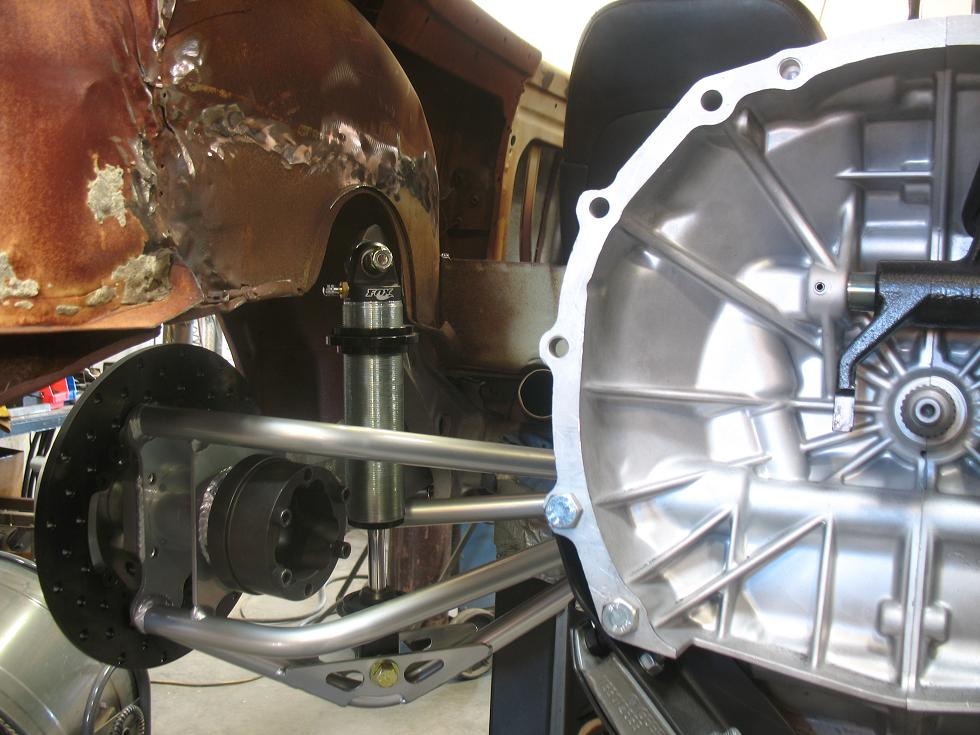
And finally, close ups of the new setup:
30
Oct
It takes two to make a thing go right..
- By basil
- 2 Comments
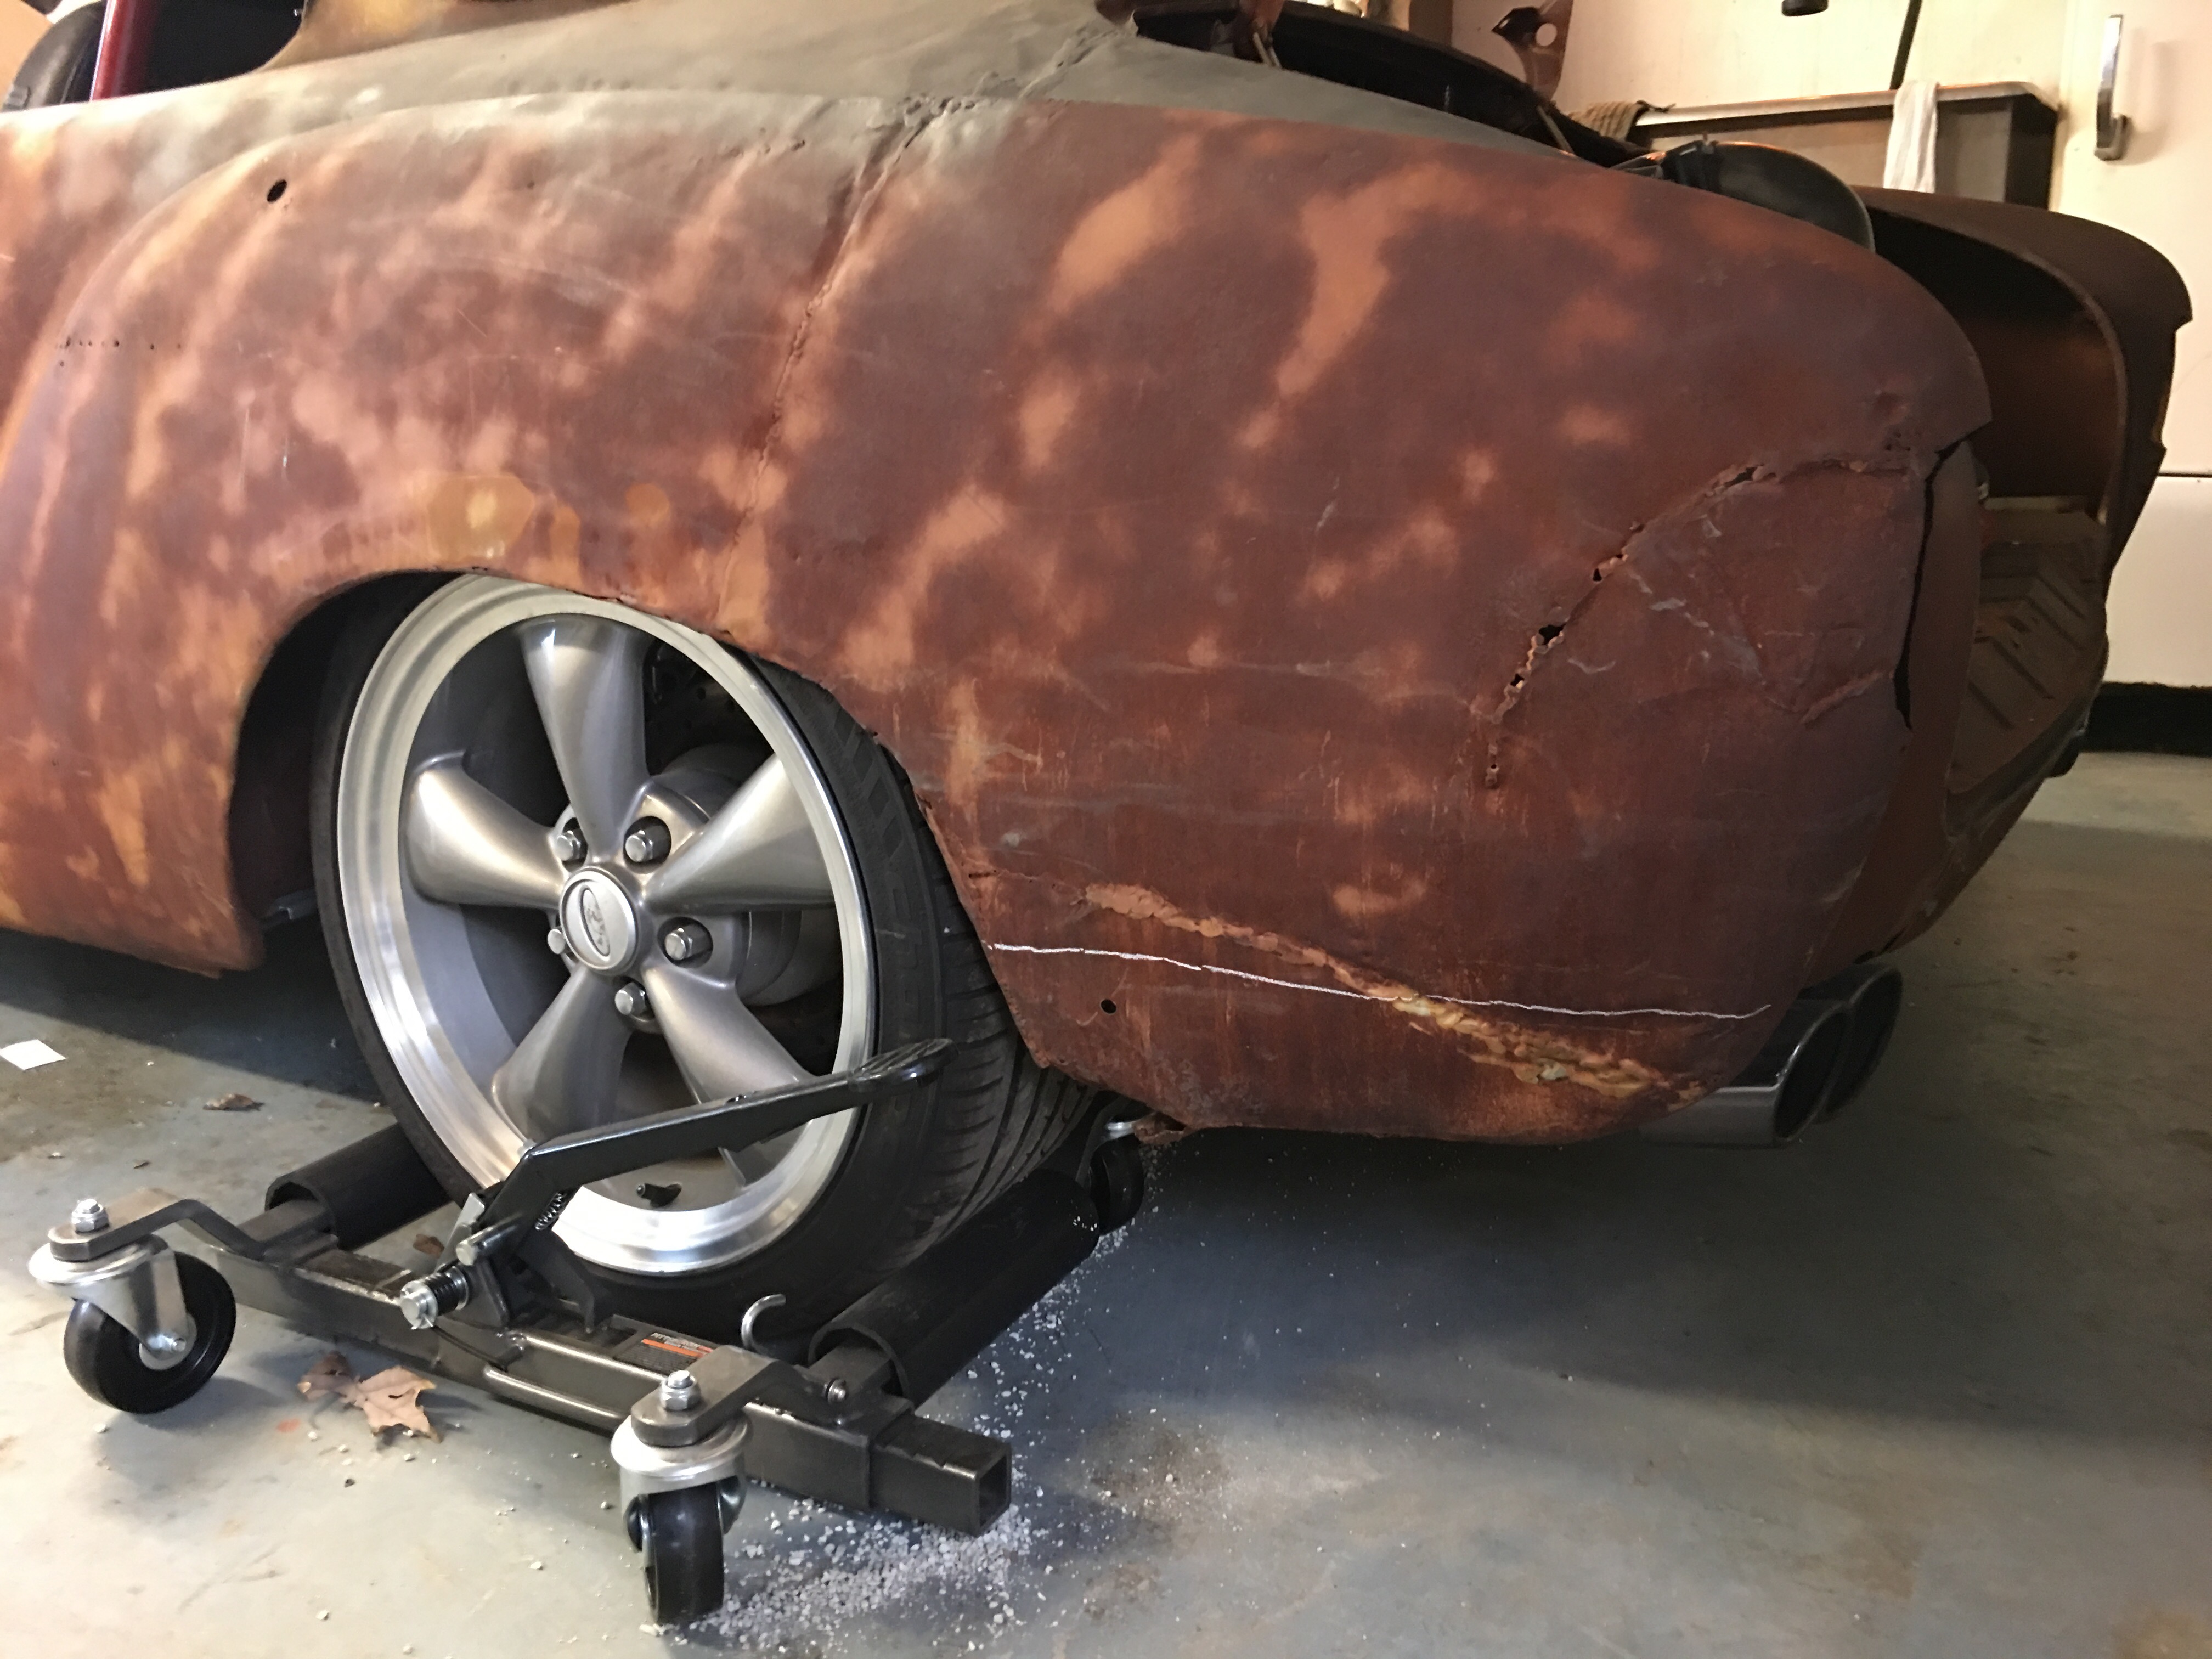
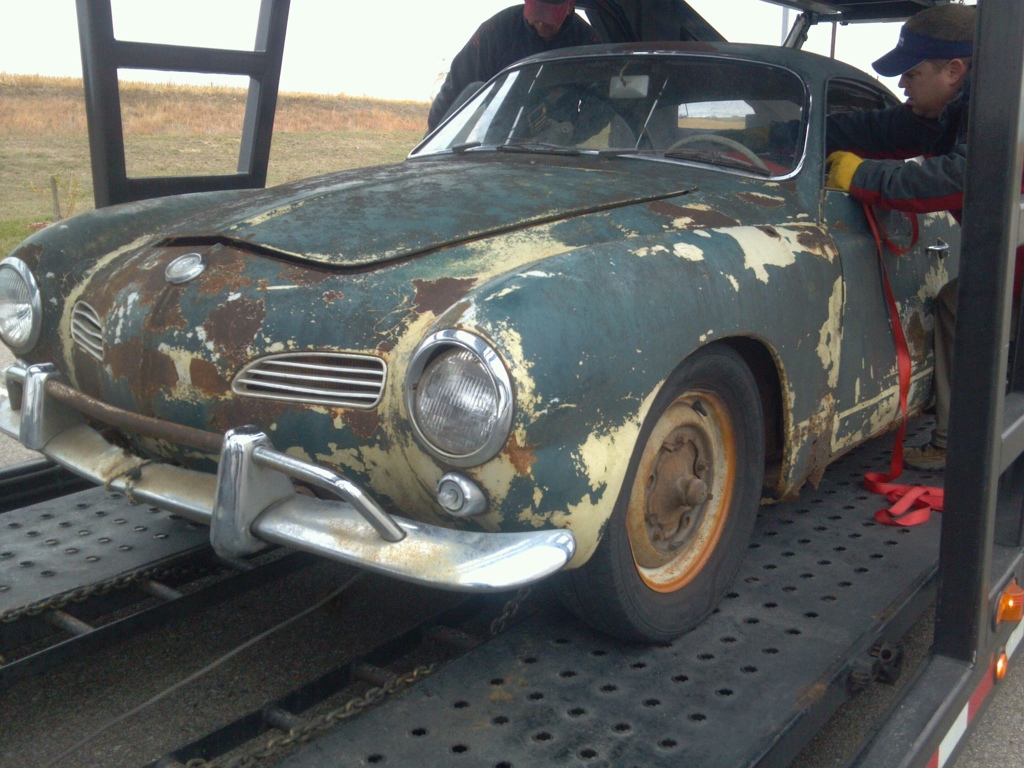
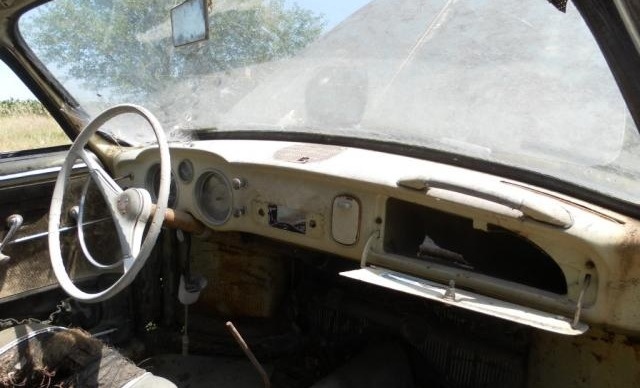
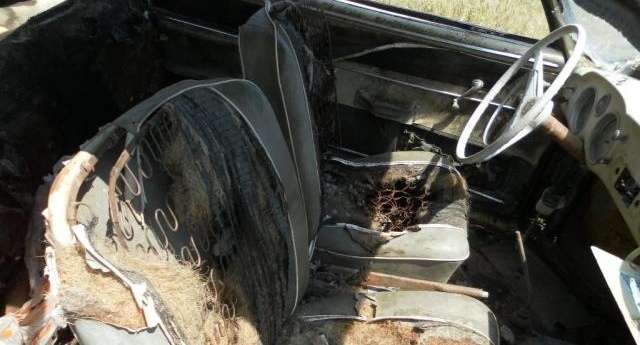
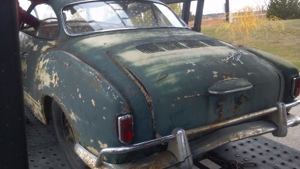
Picked up another ’58. Did the math on parts and this was an excellent buy. This thing is a total rust bucket basket case, but it’s got:
- all the glass except drivers door
- windshield trim
- bumpers
- lights and chrome ring
- front turn signal housings
- interior dash parts (+grab handle!)
- interior panel trim
- ’58 mirror and visor combo
- steering wheel
- interior and exterior door hardware
- internal door hardware
- possible donor panels for the rear
- front VW button
10
Aug
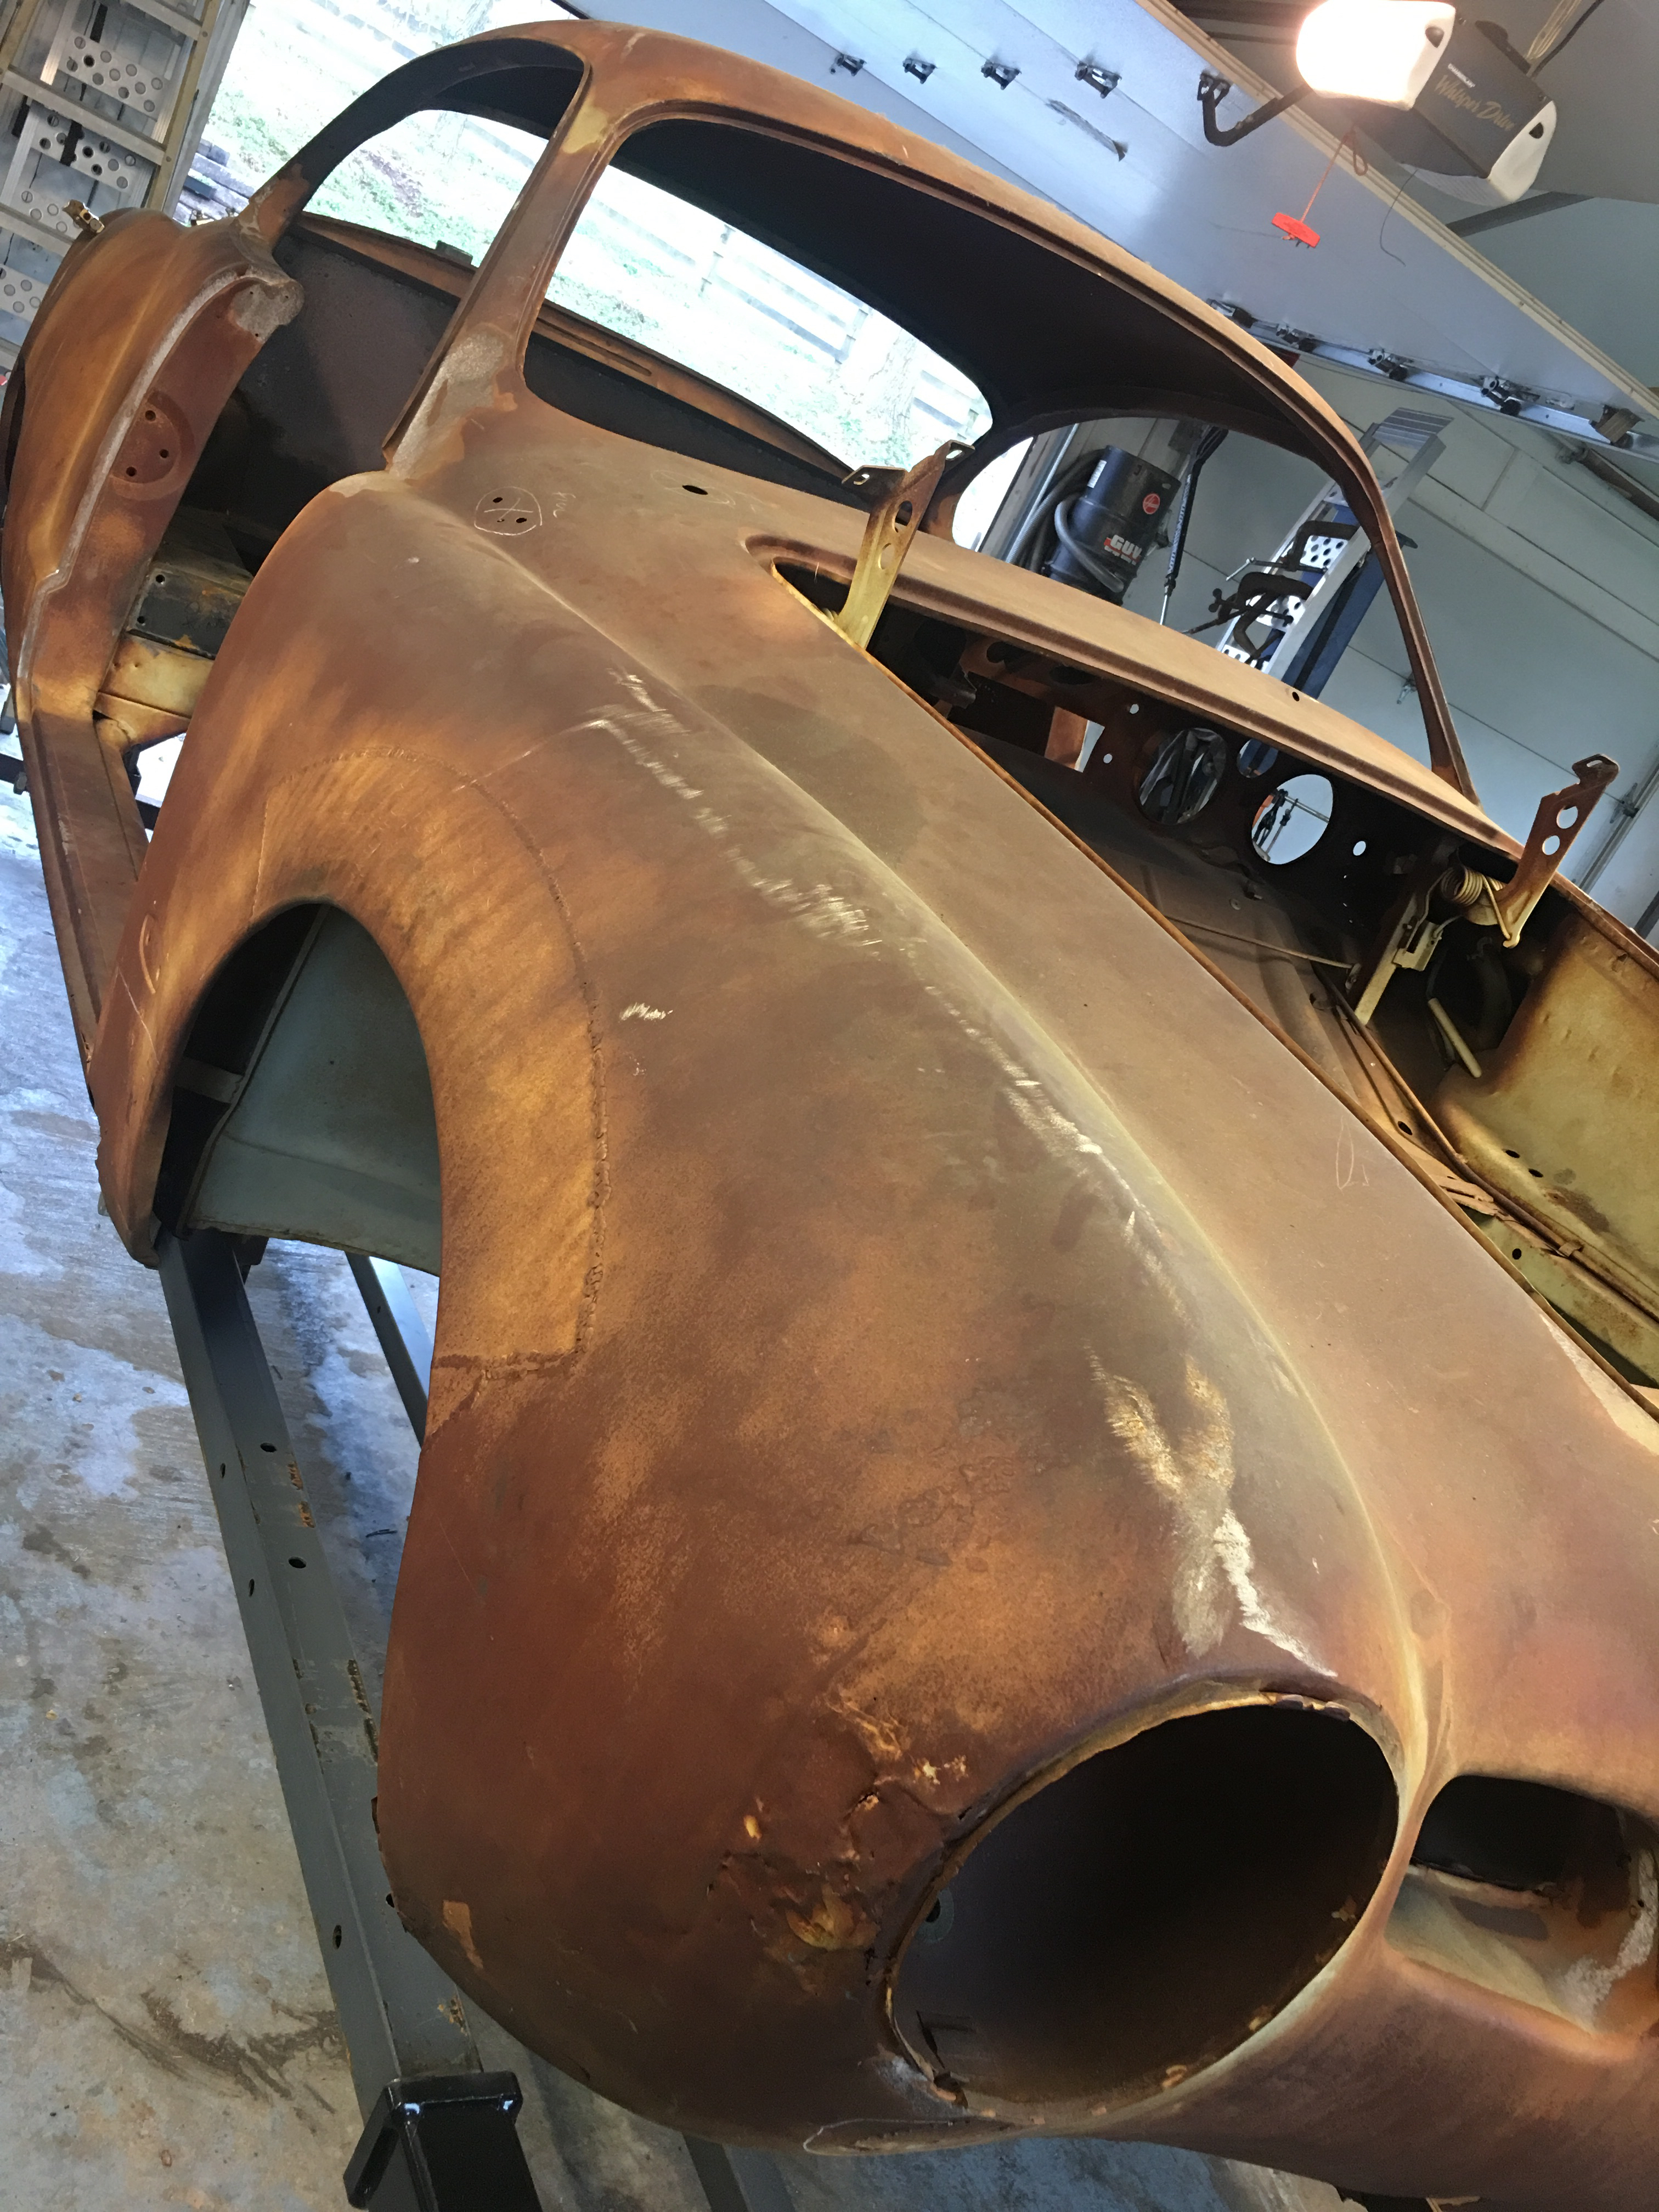
State of the body
- By basil
- No Comments
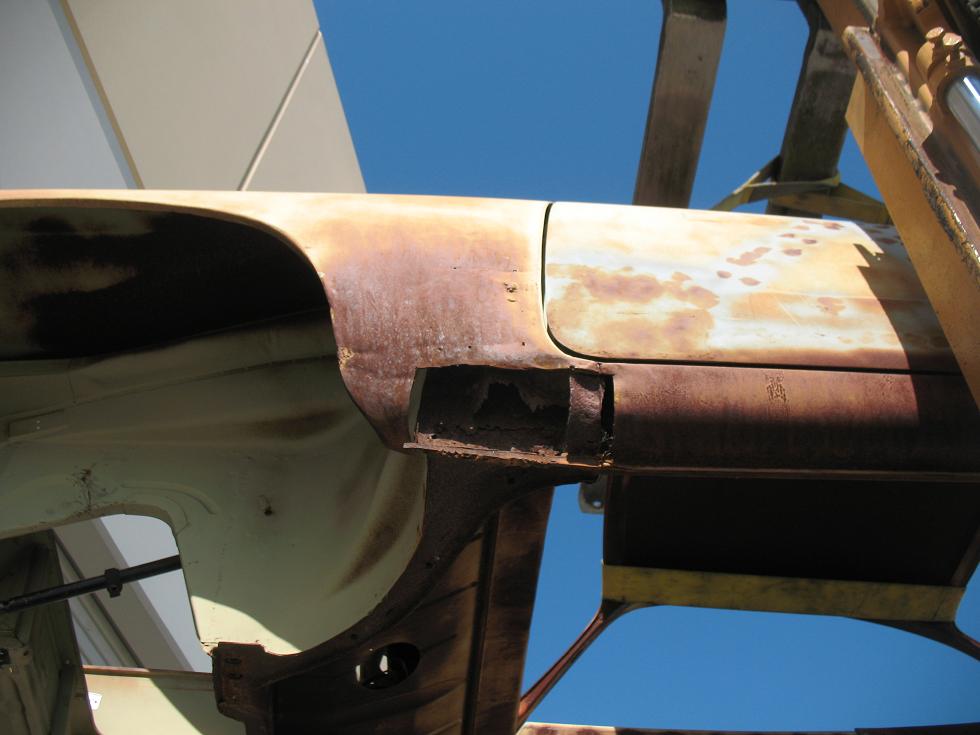
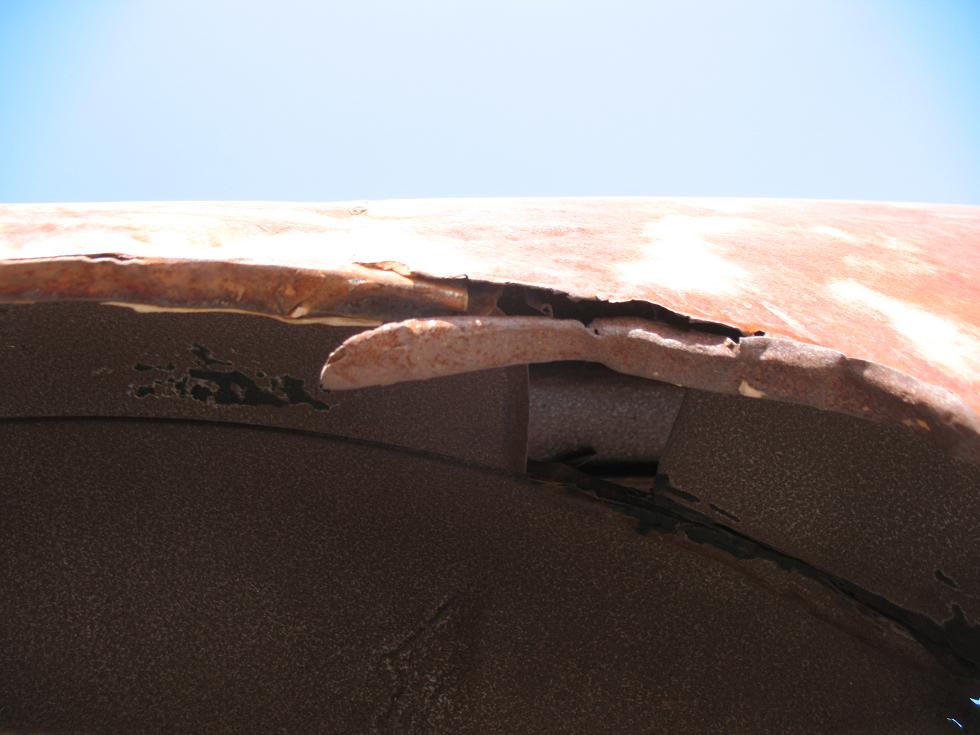
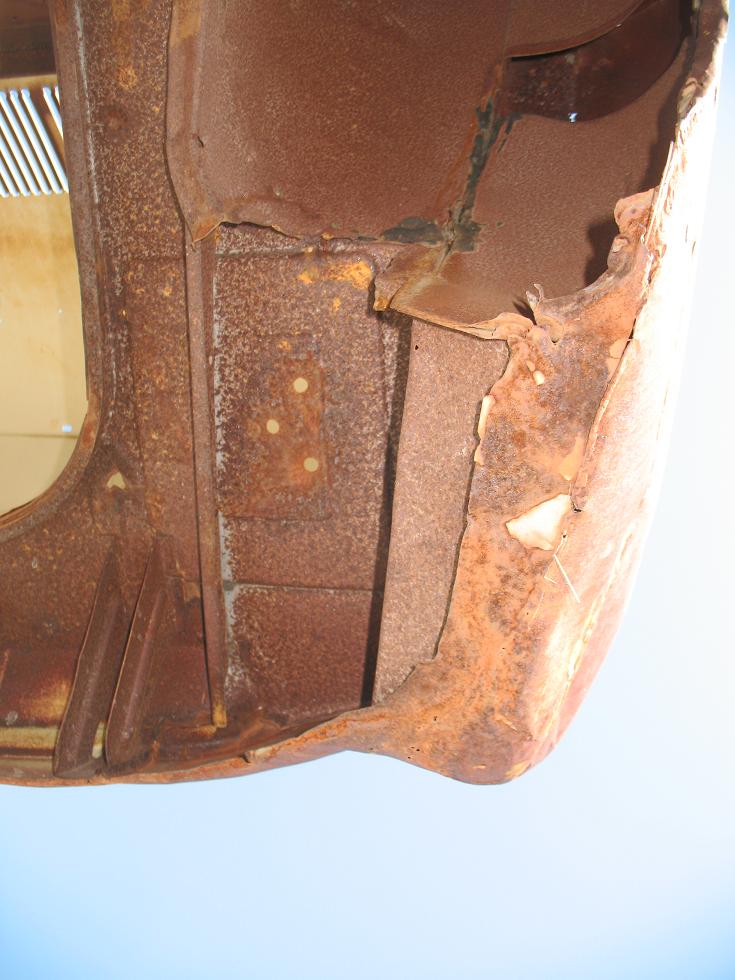
The body is going to need a bit of work – seems manageable.
BAD:
You never know what you get buying a car sight unseen online.
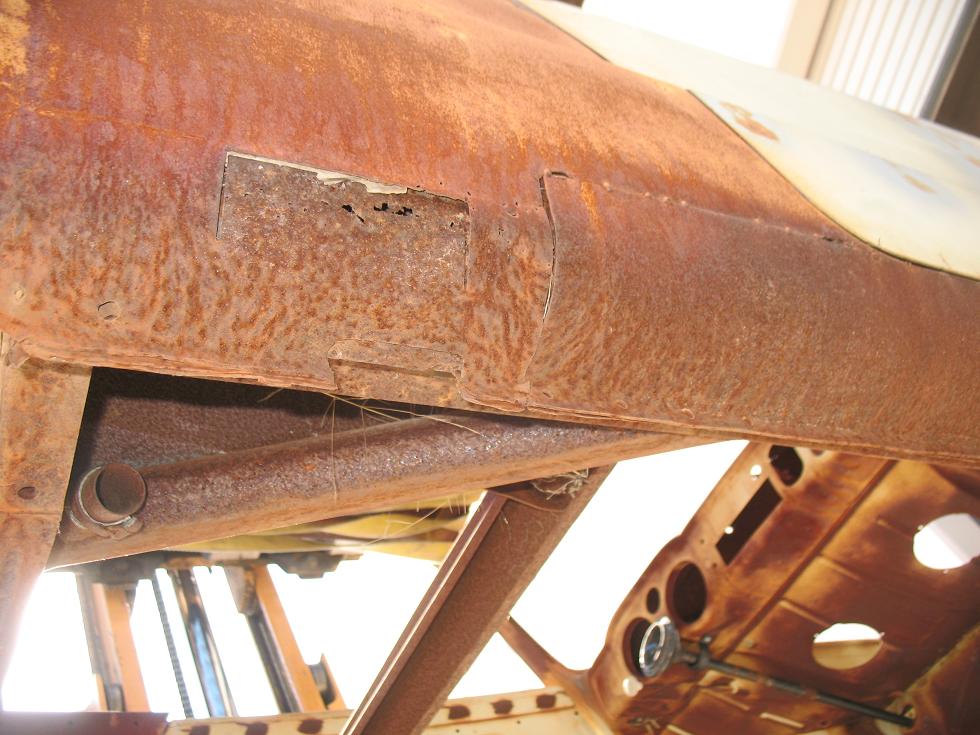
GOOD:
It’s a lowlight!
07
Aug
Body and Bulkhead
- By basil
- No Comments
Yesterday Mendeola pulled the body off to verify some measurements. The bulkhead is installed and the pan halves are going on.

Recent Comments