

interior
31
Mar
Ghia custom dash/console mock up – Part 4
- By basil
- No Comments
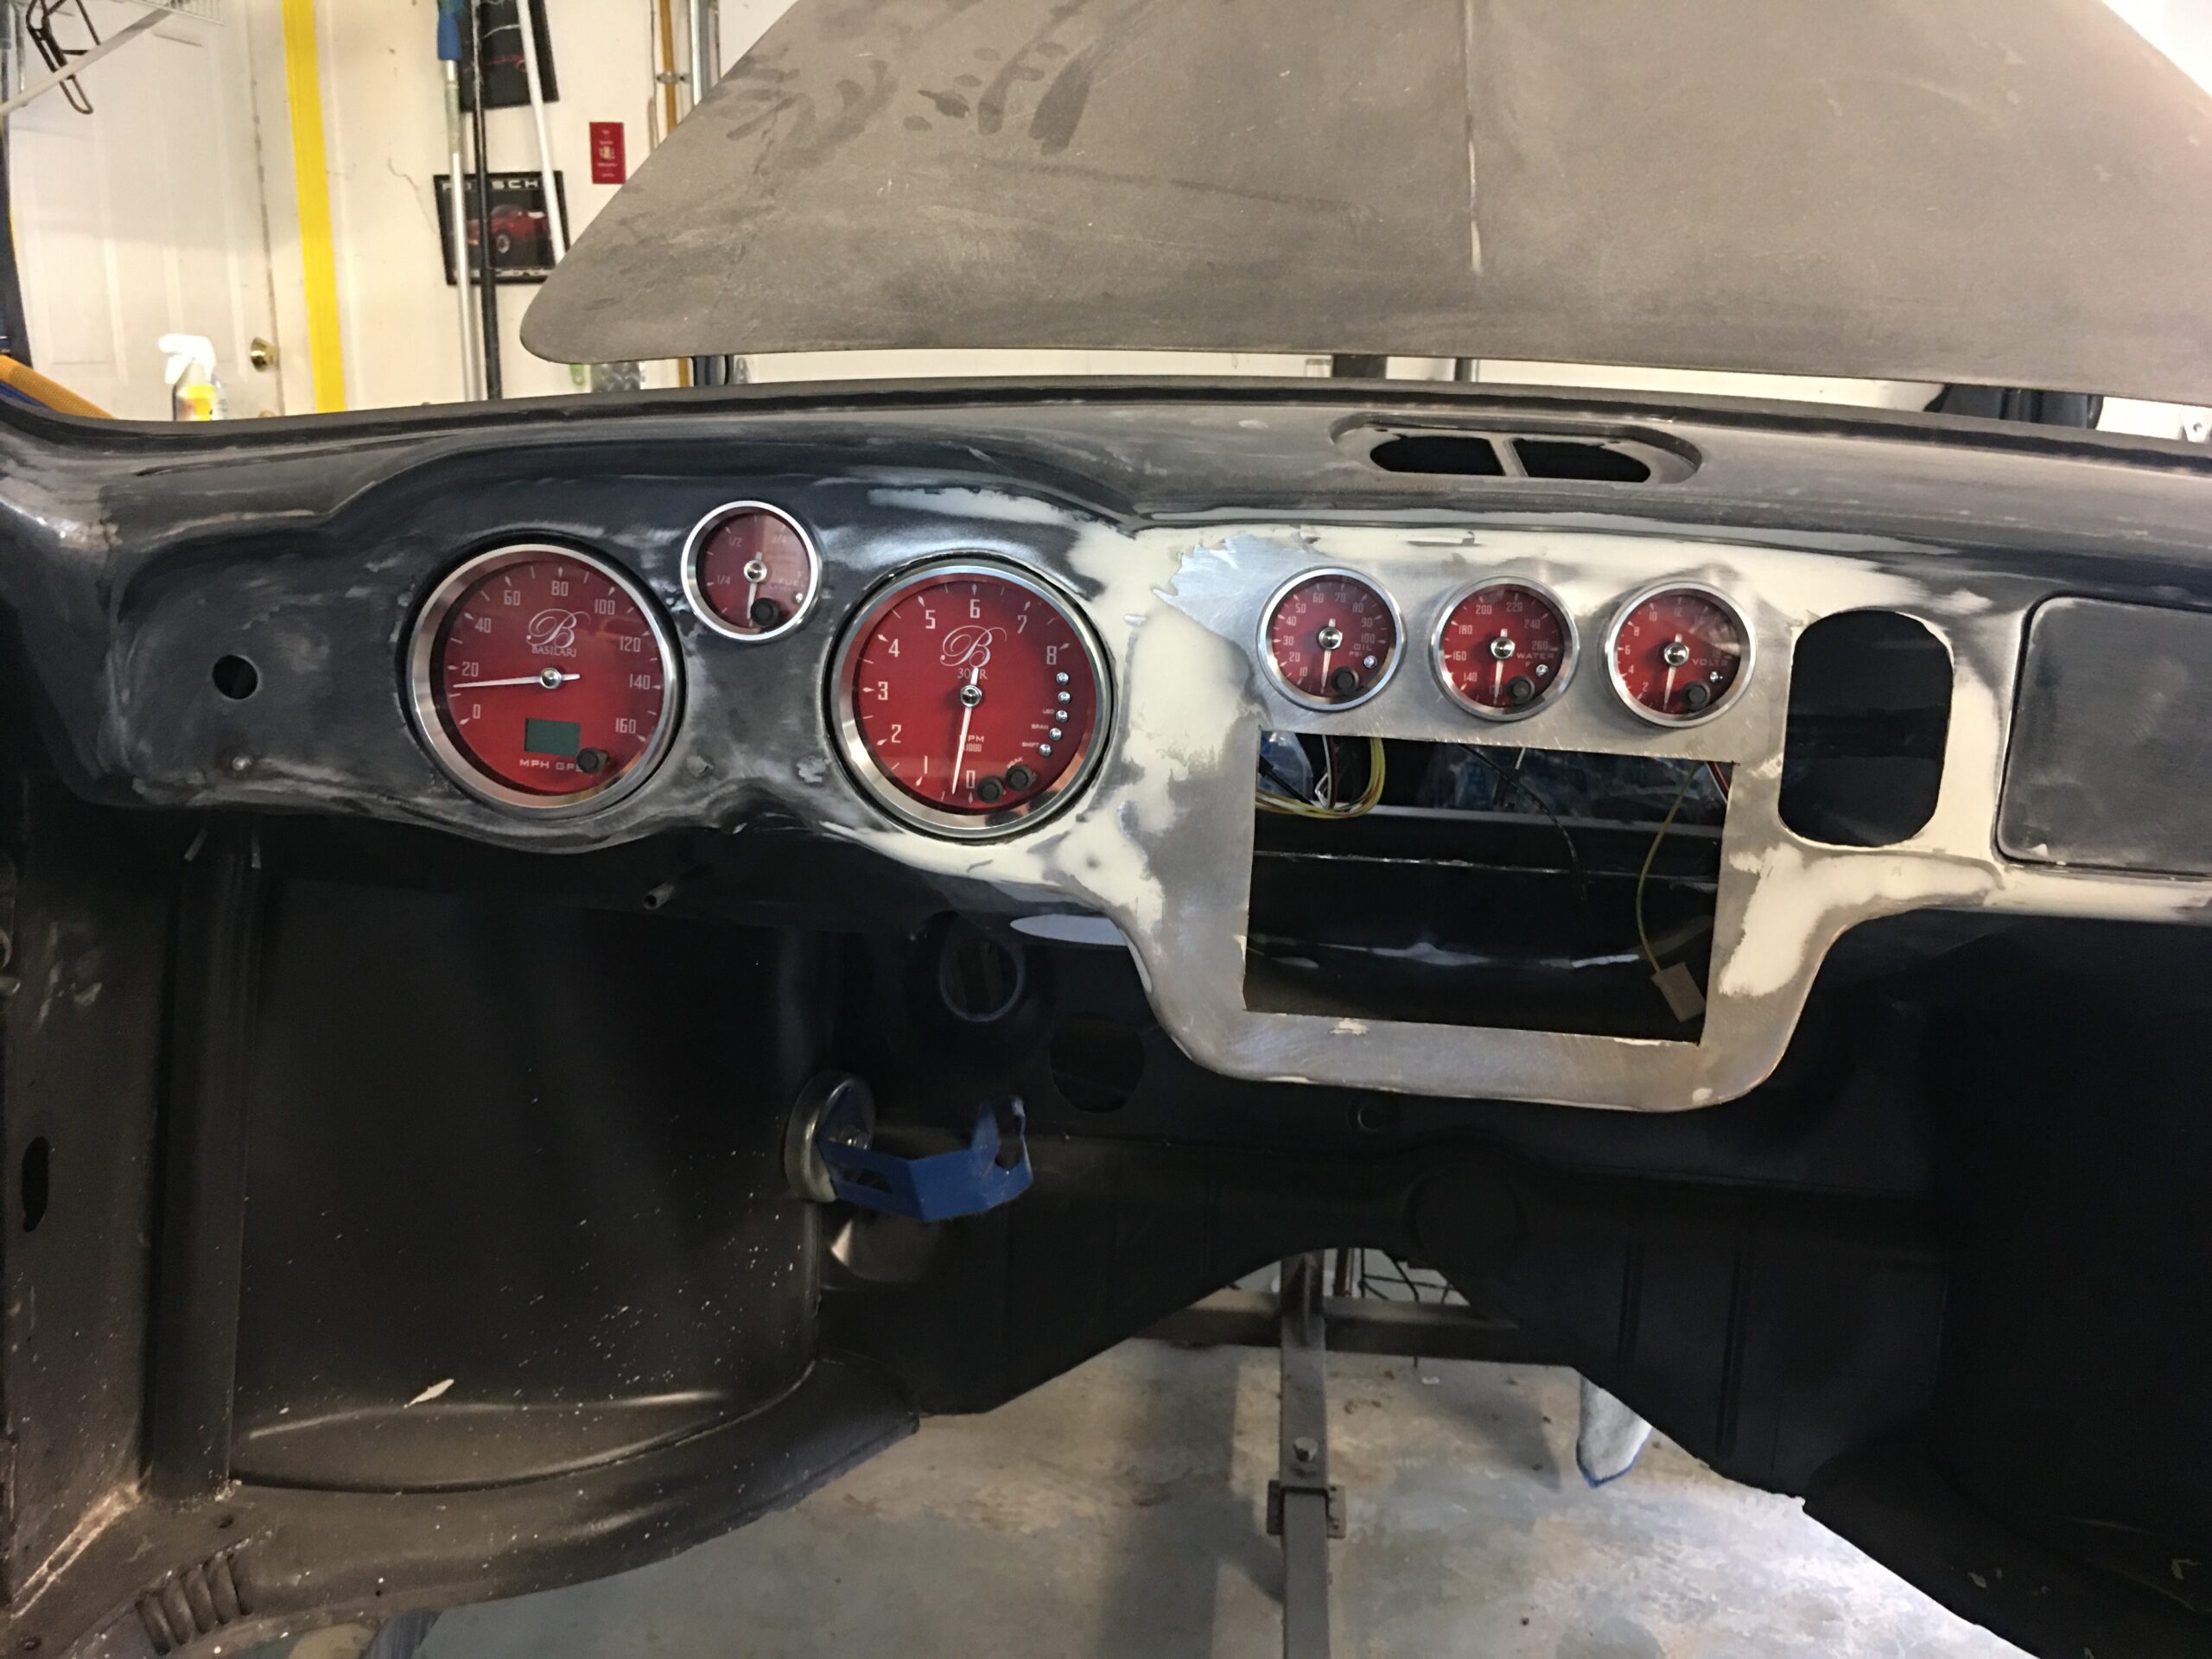
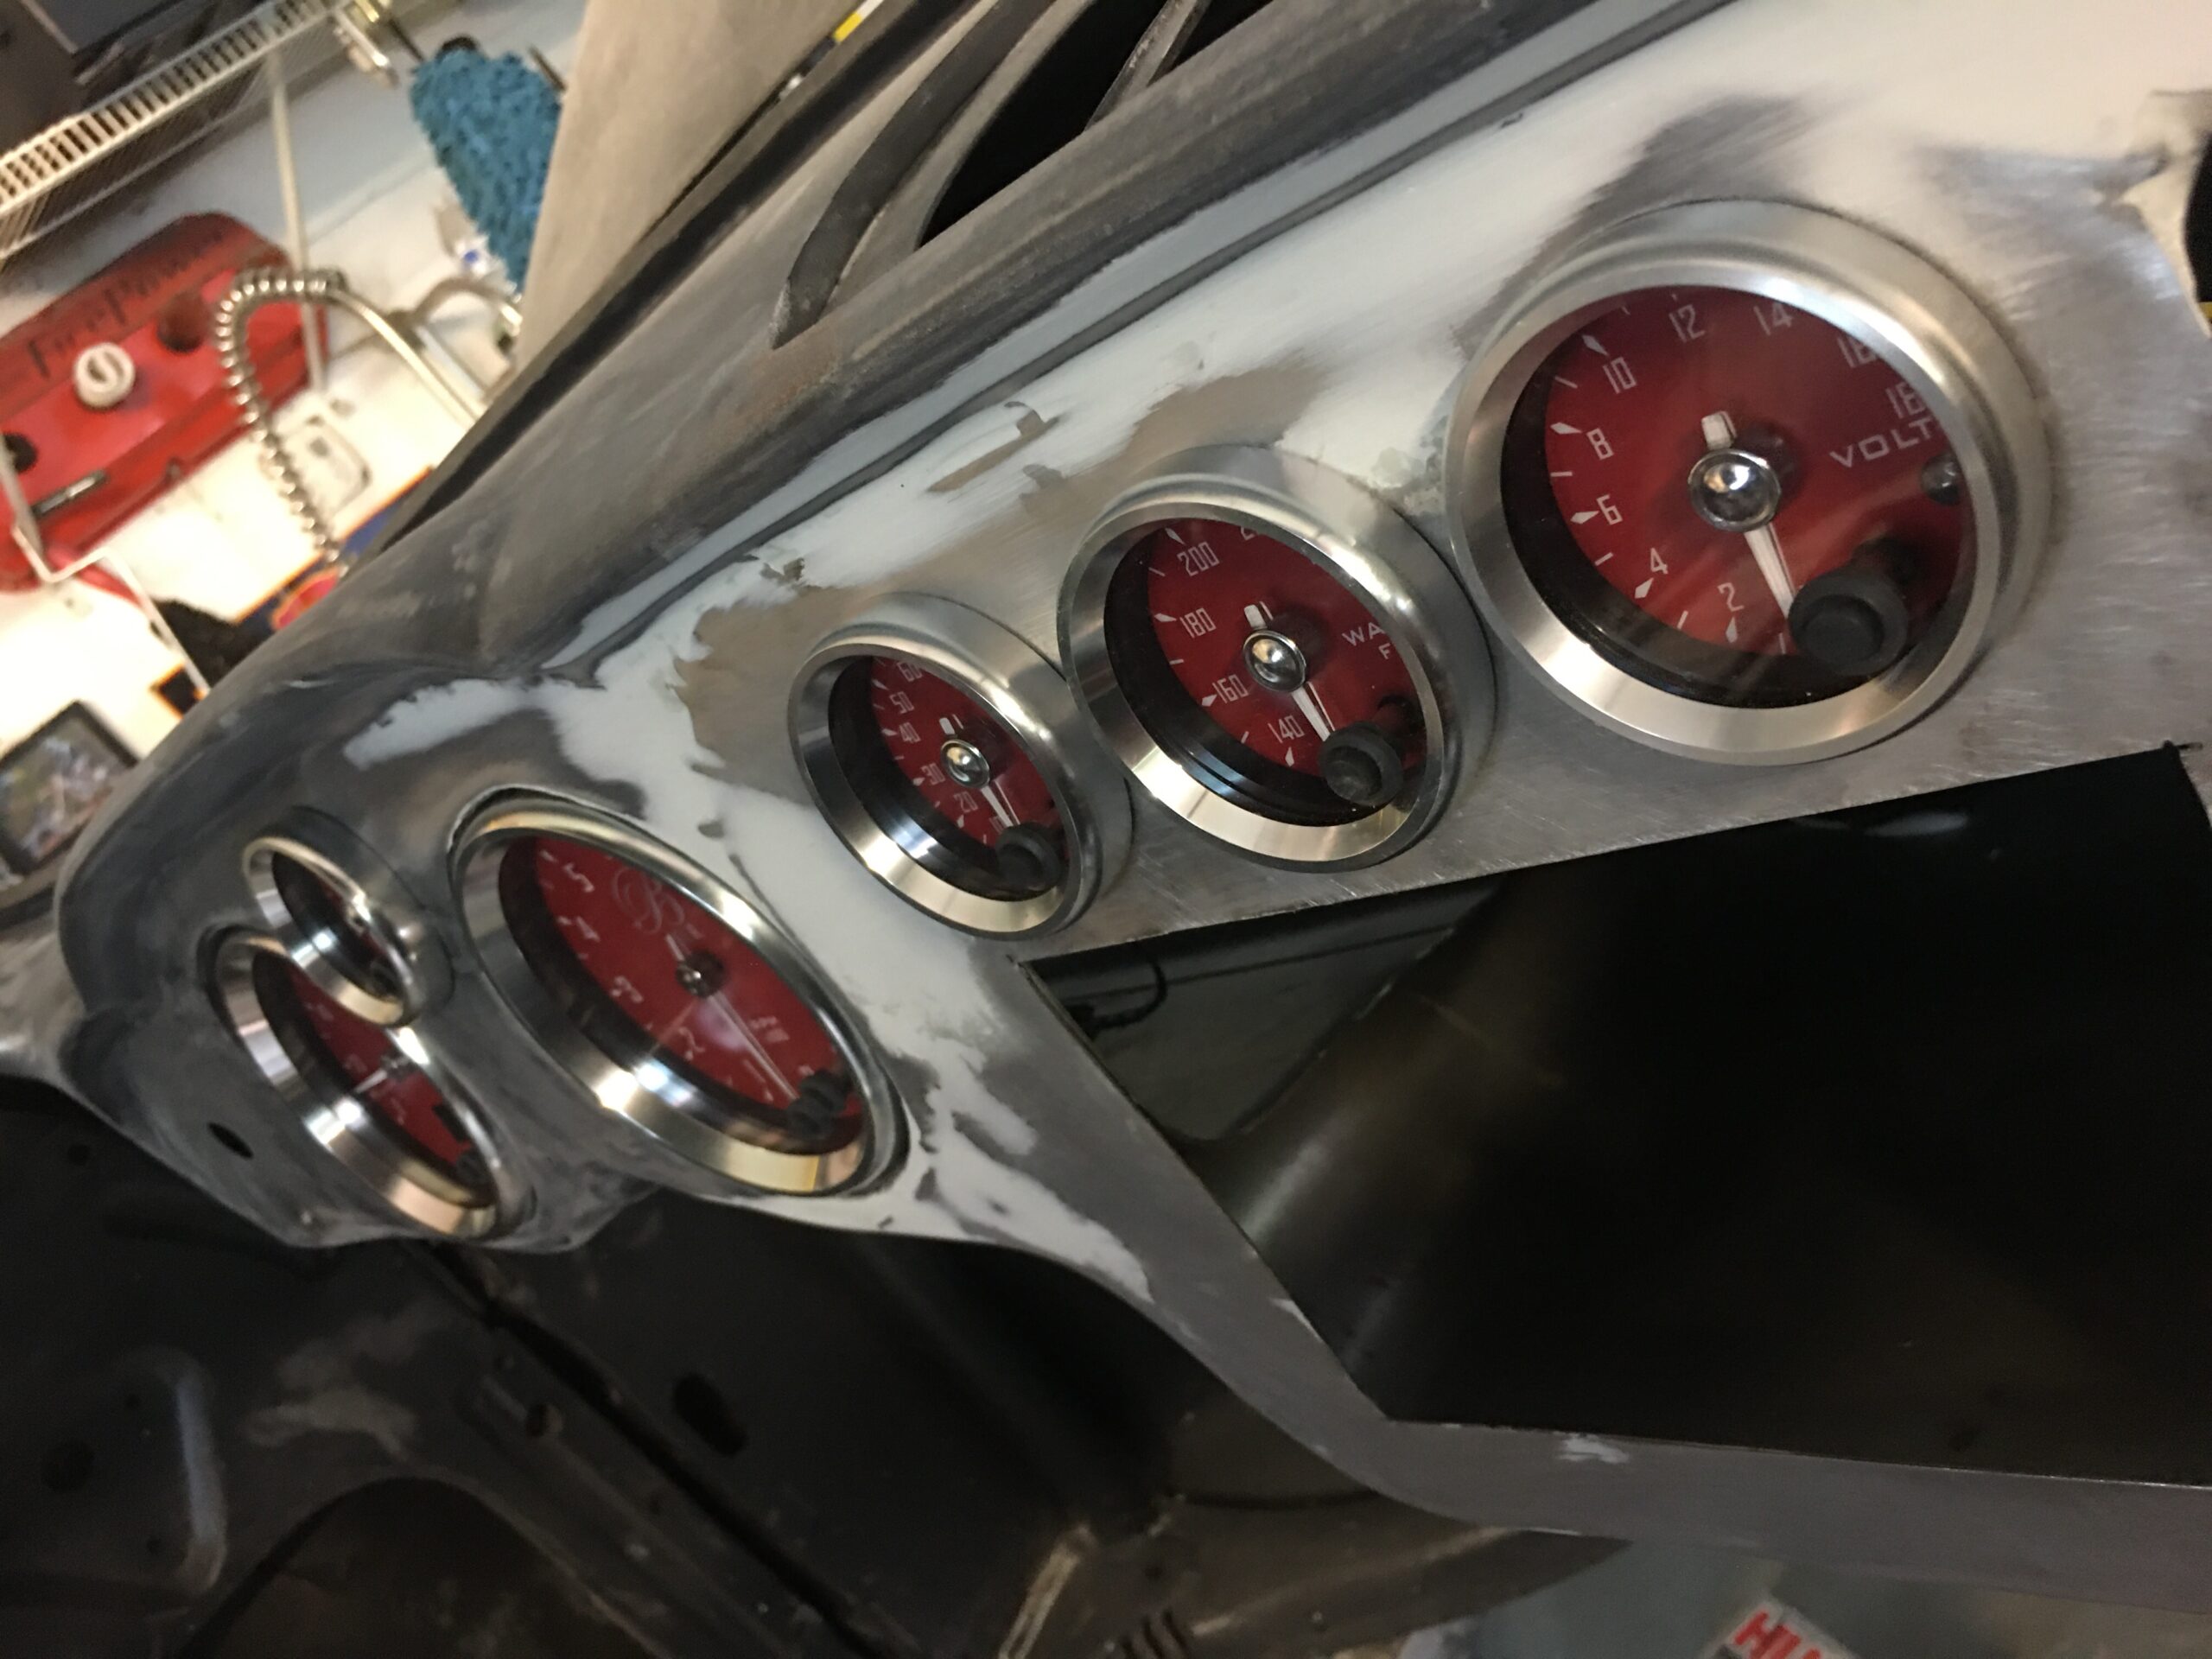
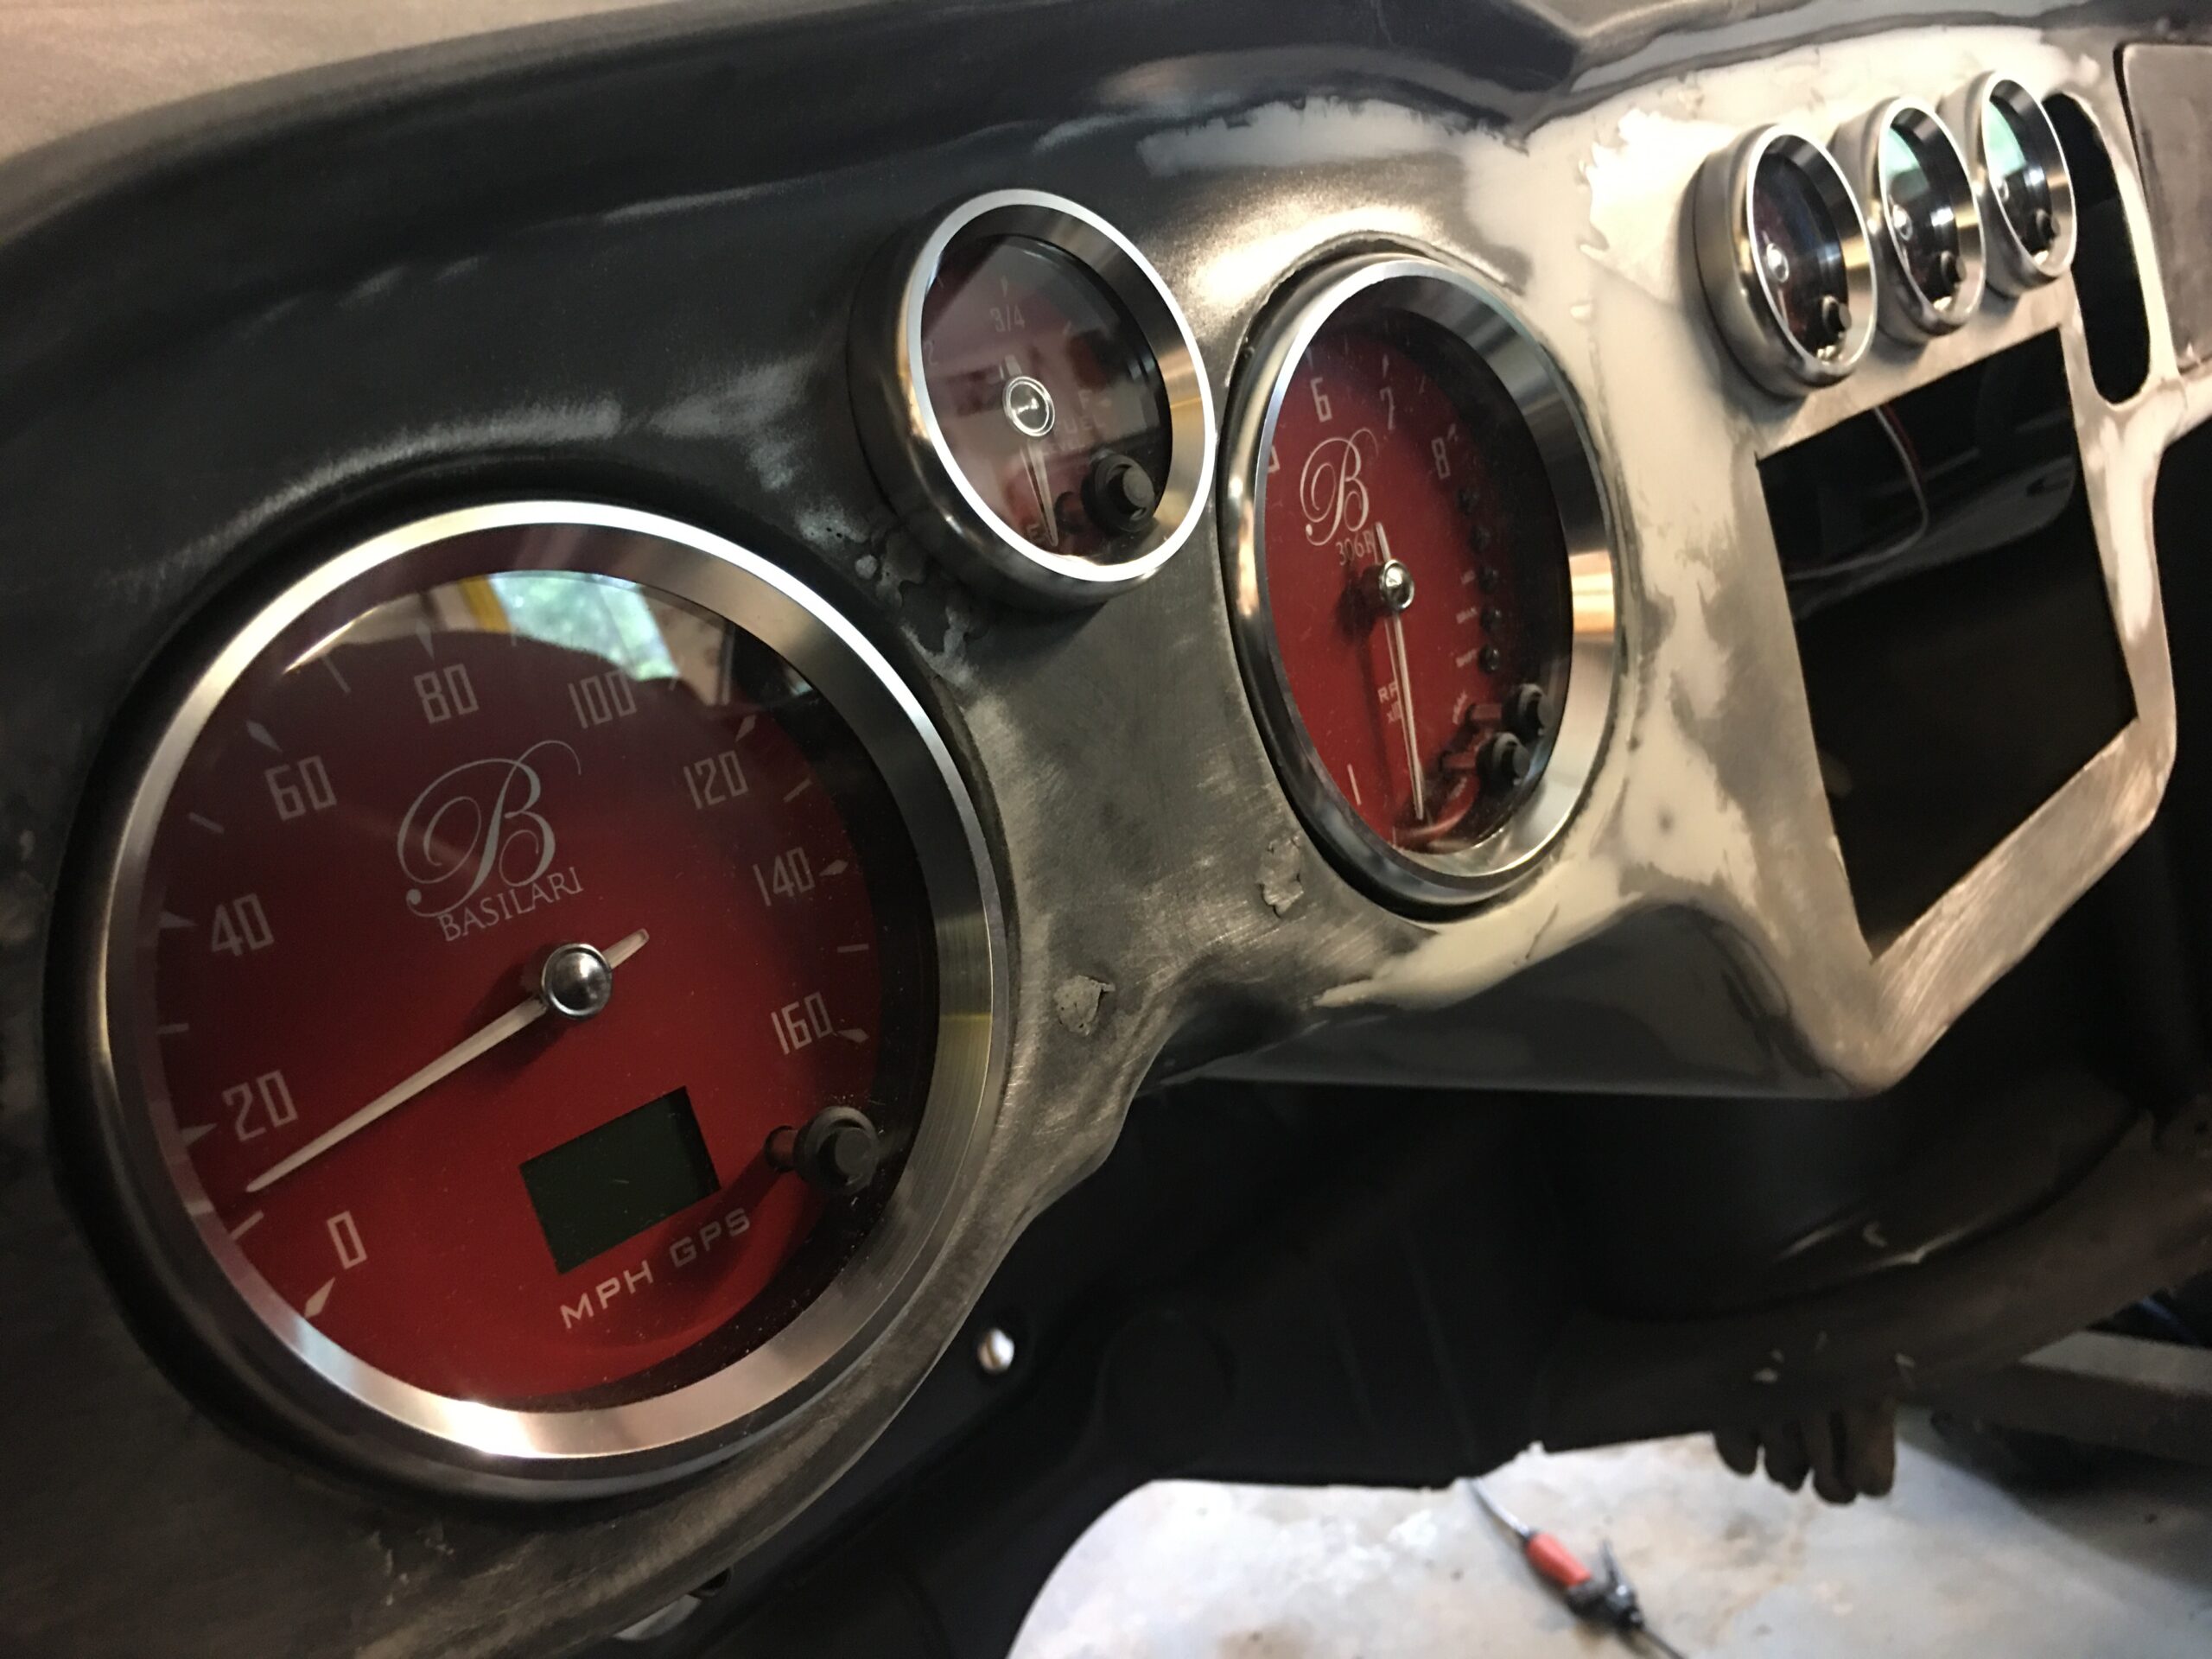
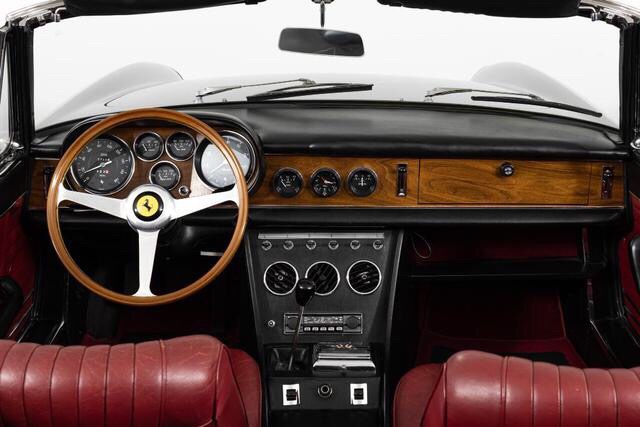
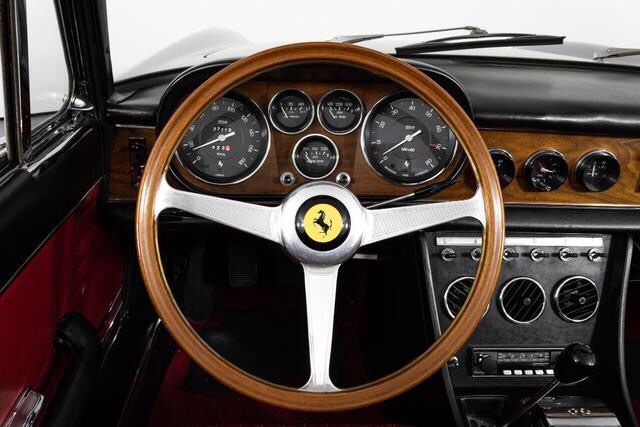
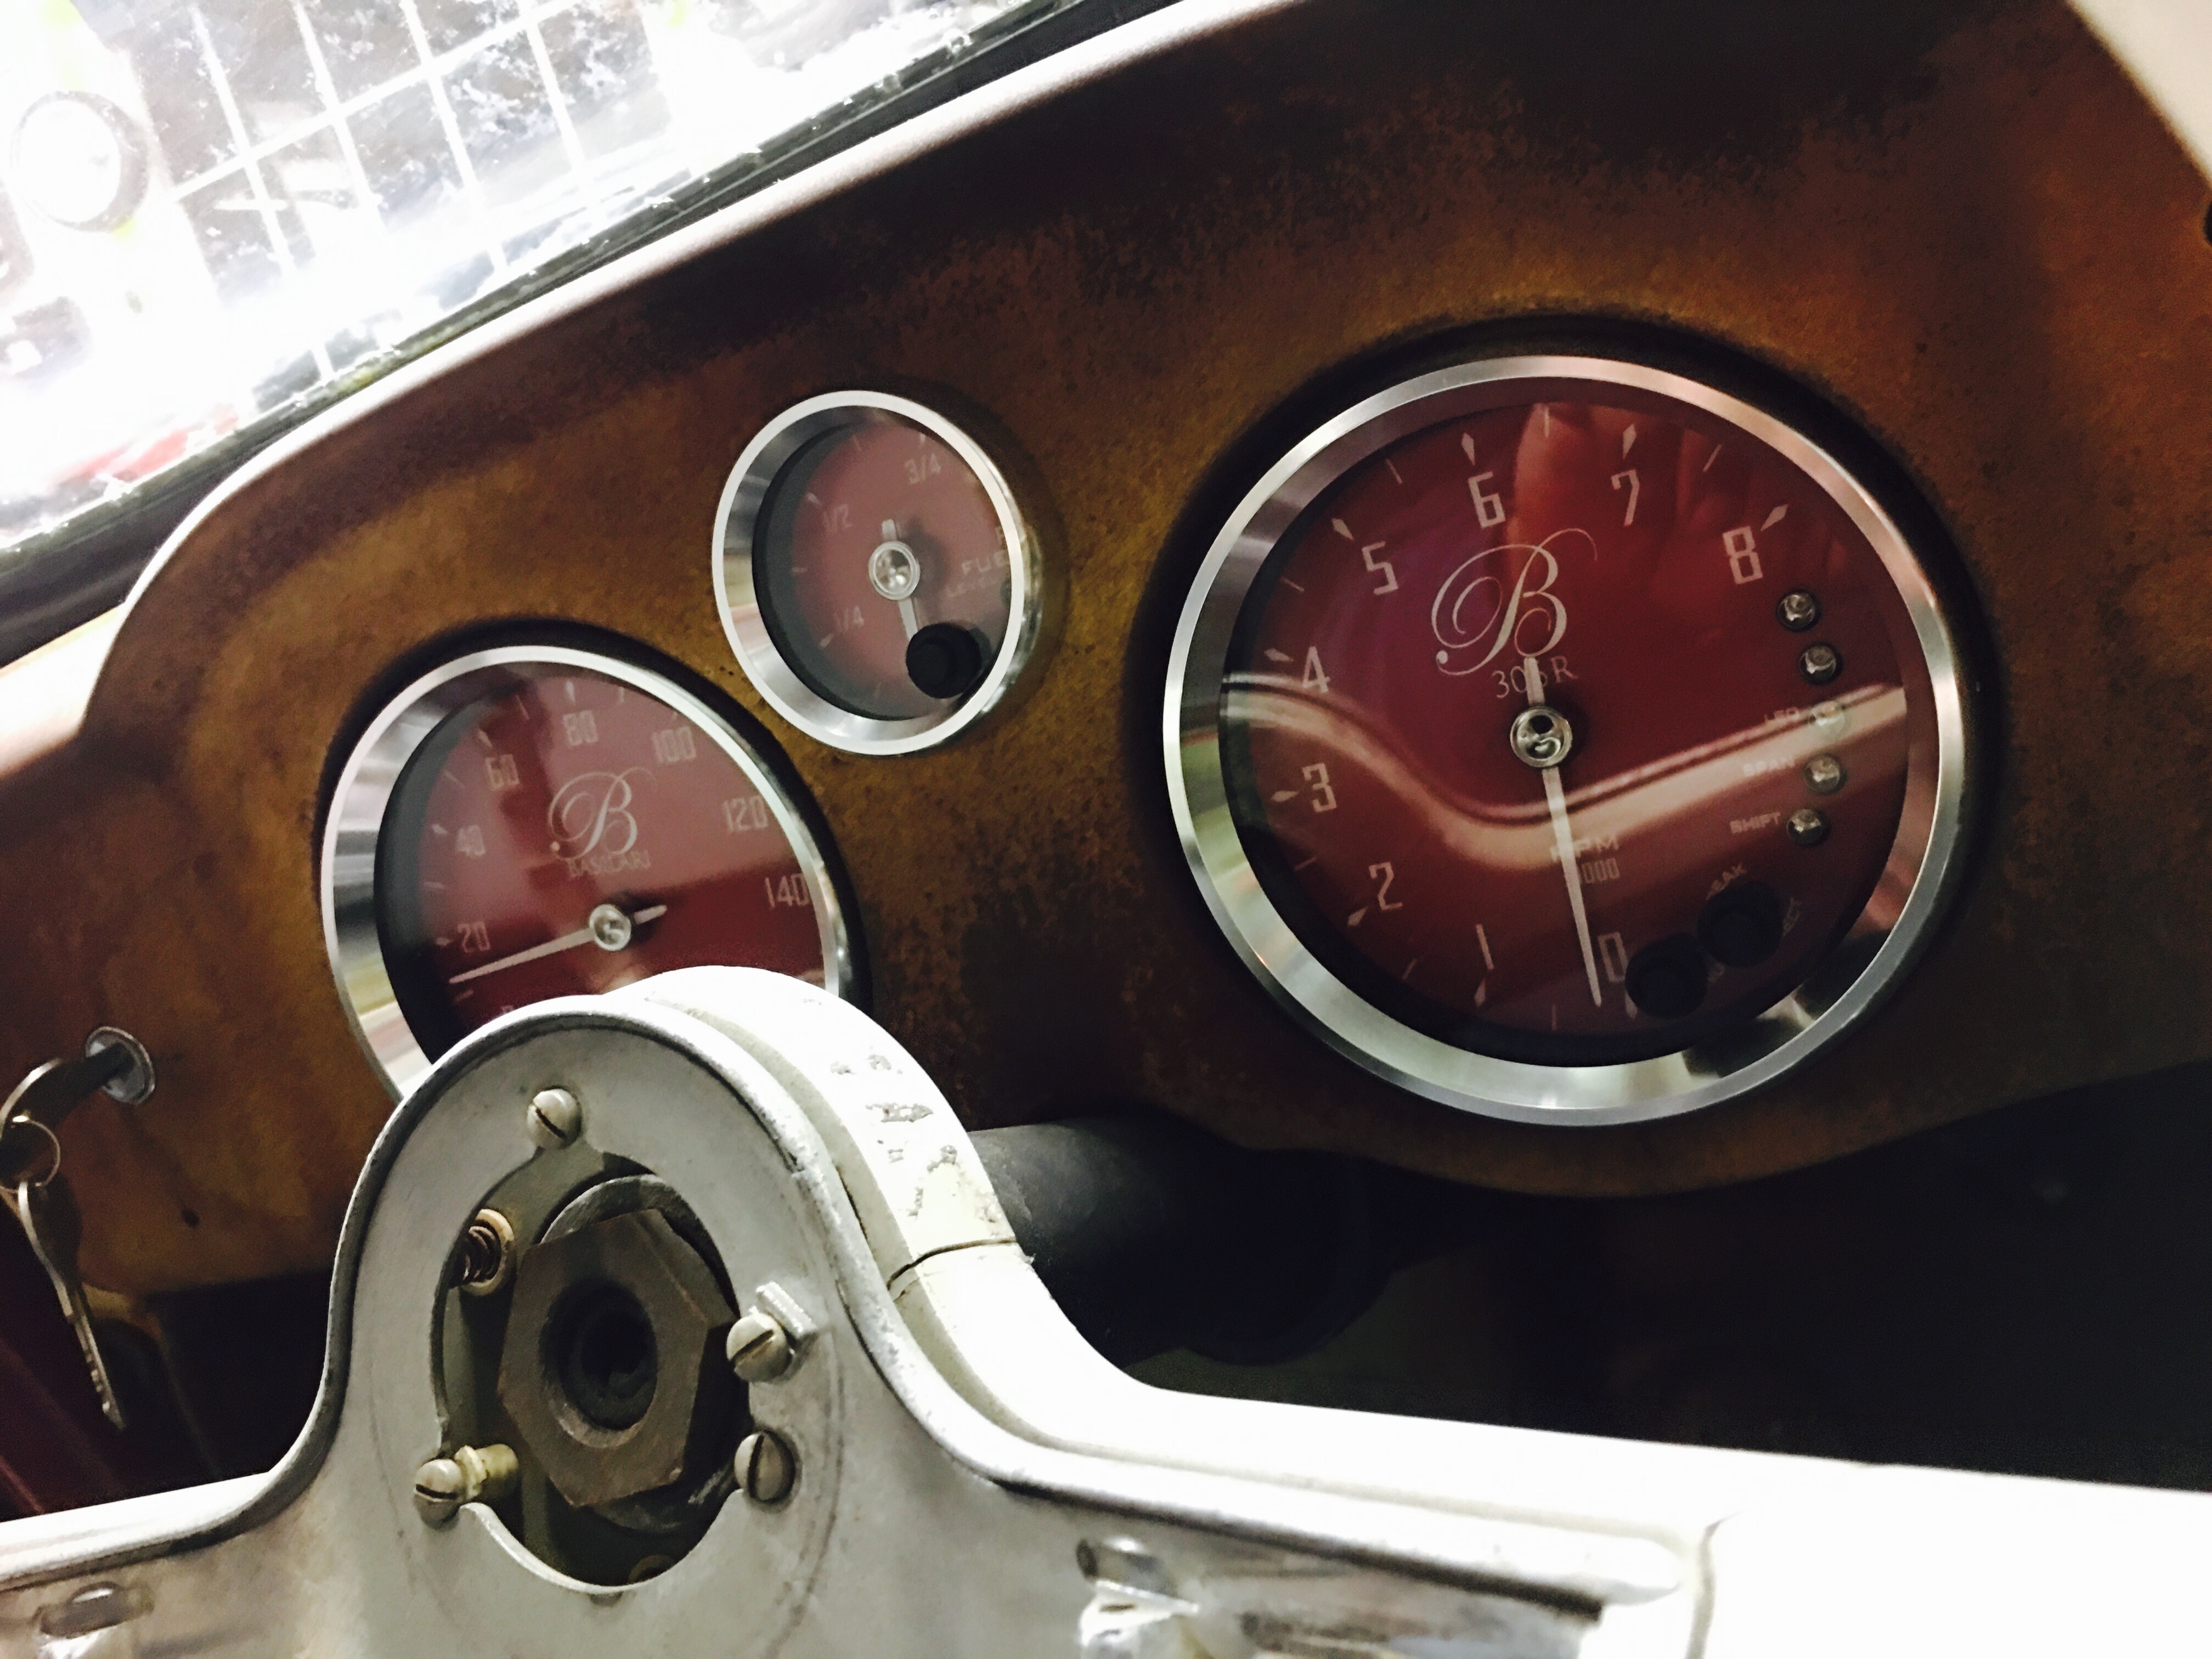
Wanted to post up some pics of the gauges in place to get the full effect of the dash. I was pleased to see an old school Ferrari dash with a similar theme. Check out the pics in the gallery below.
13
May
Ghia custom dash/console mock up – Part 3
- By basil
- No Comments
This is turning out to be a super highlight of this build. As mentioned in the previous post, the new dash / console really changes the attitude of the interior of the car. CJ at Revenant is doing masterful work. I can’t say enough about how exciting and cool this is.

New dash and console modification. It looks rough now but it’s awesome work. It has a bit of that GT-40 feel to it.
Close up view of the new console modification.
26
Apr
Ghia custom dash/console mock up – Part 2
- By basil
- No Comments
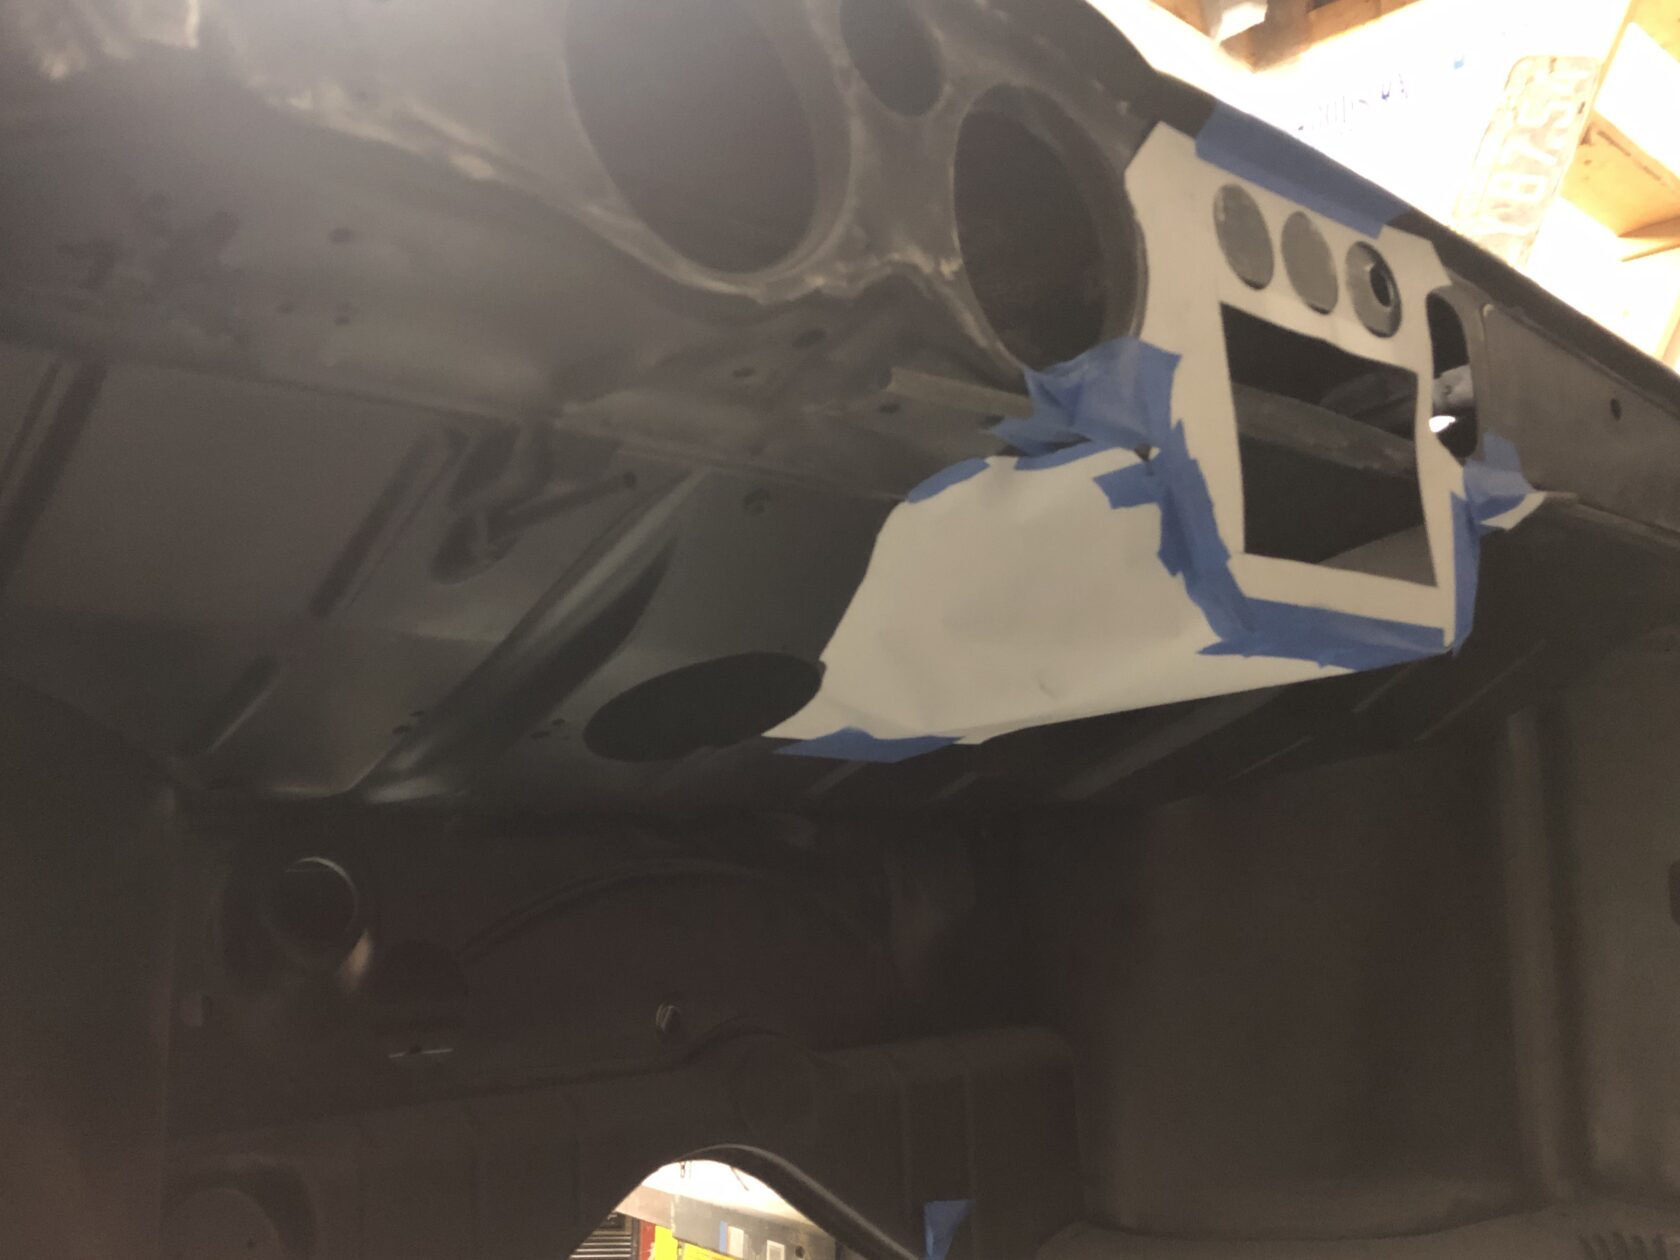
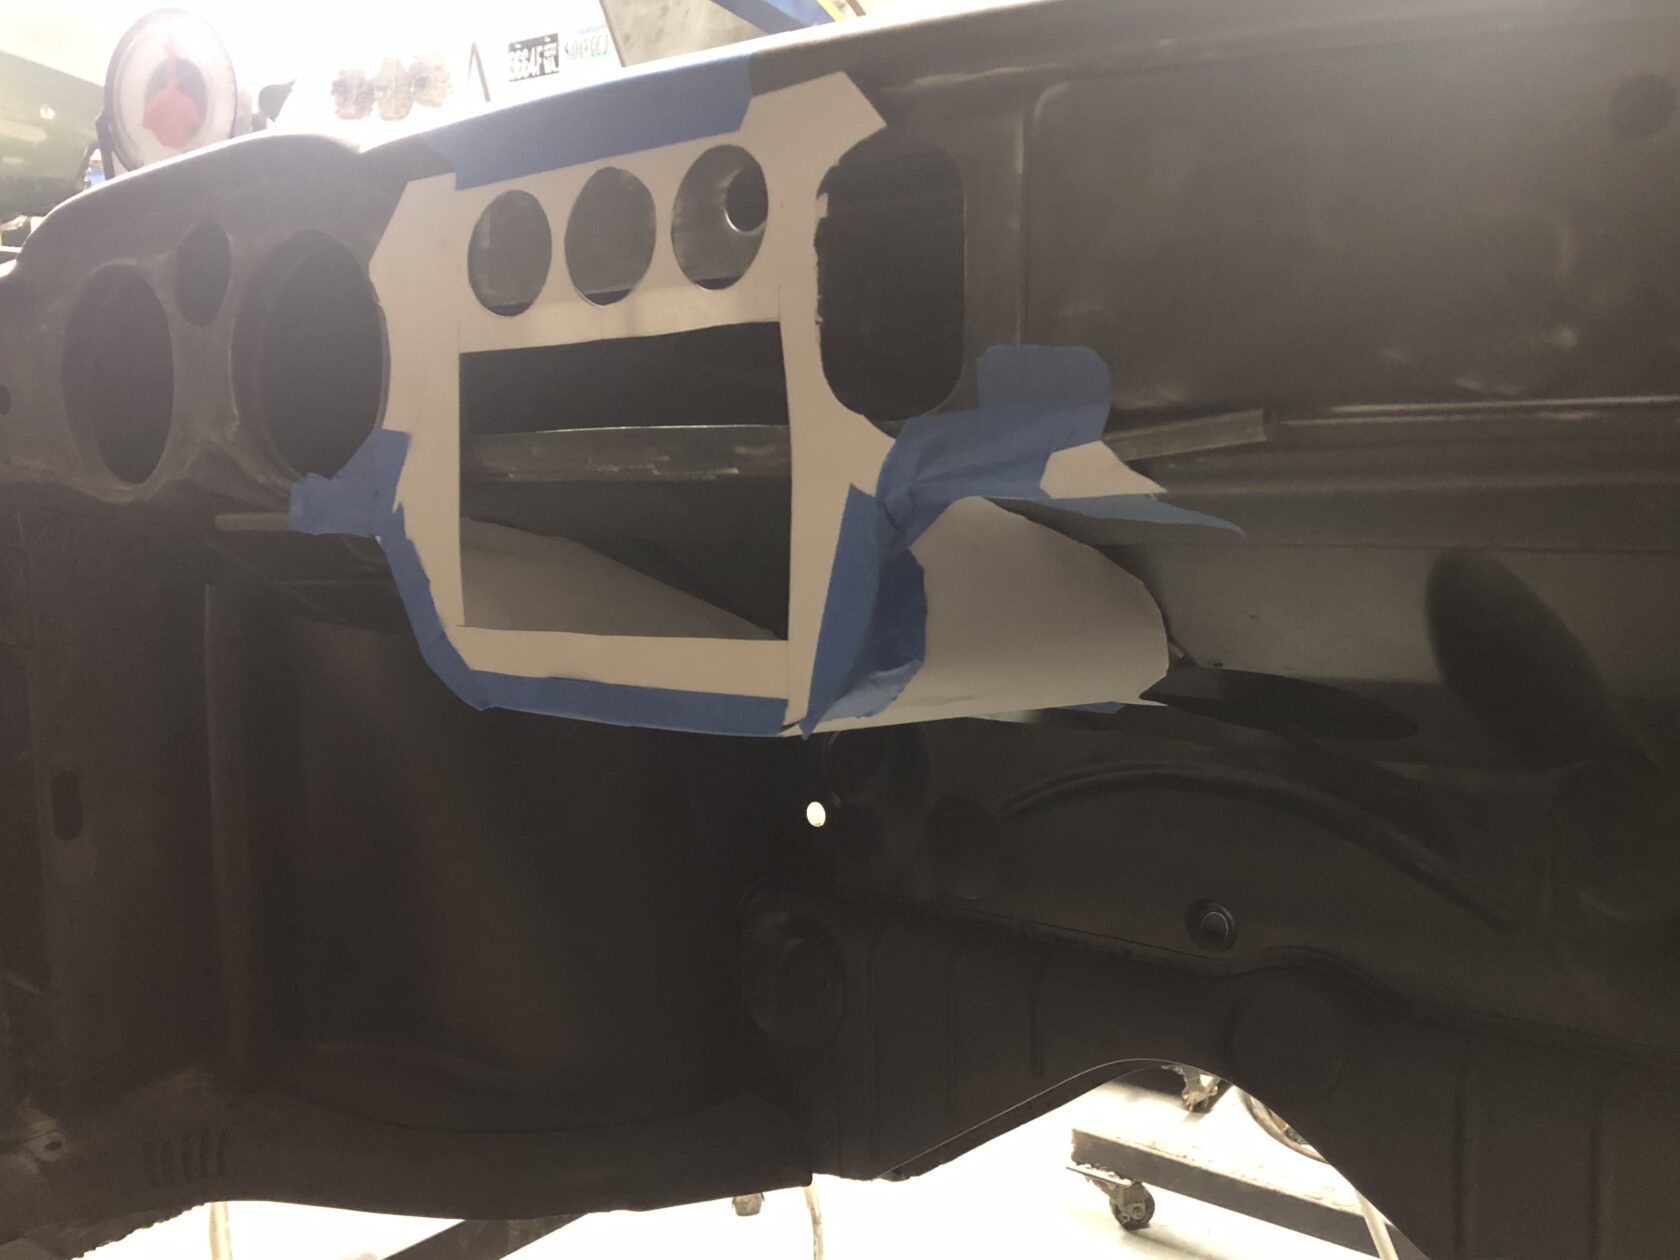
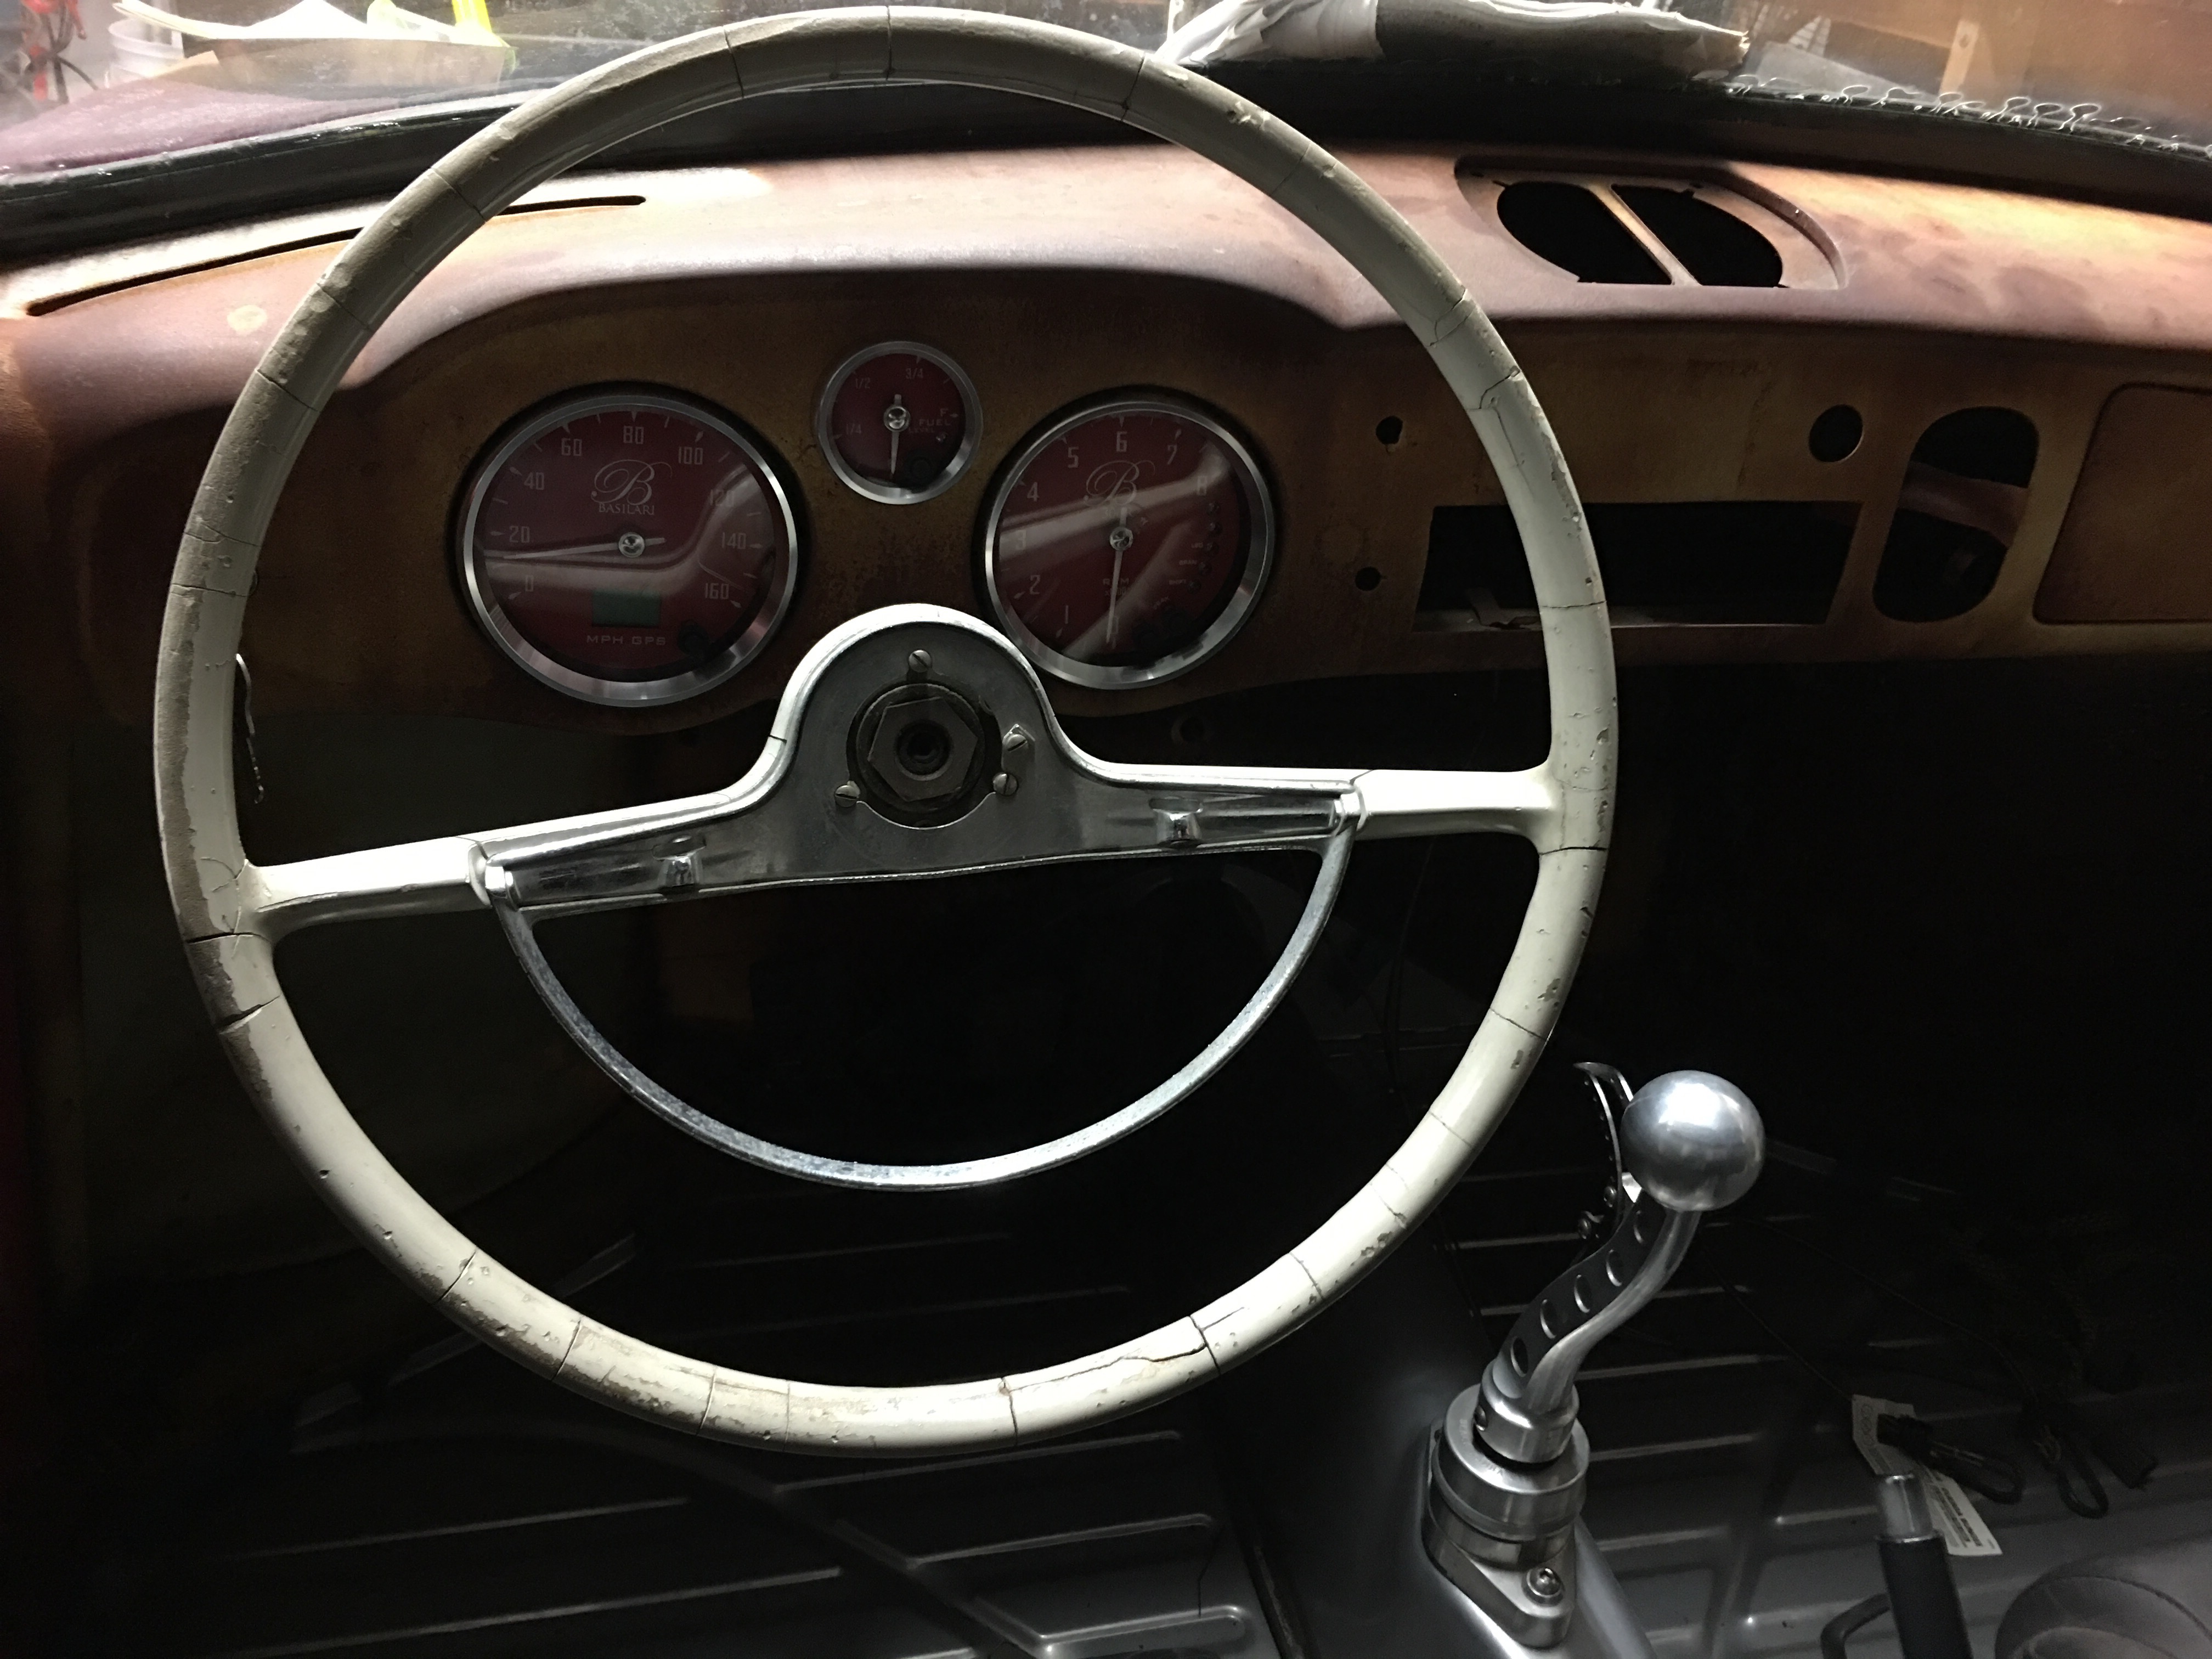
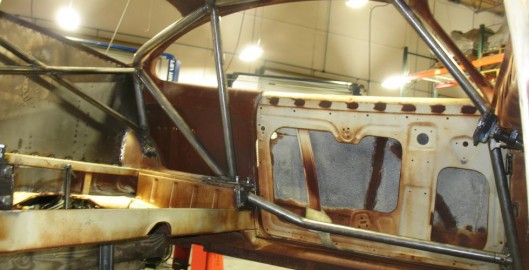
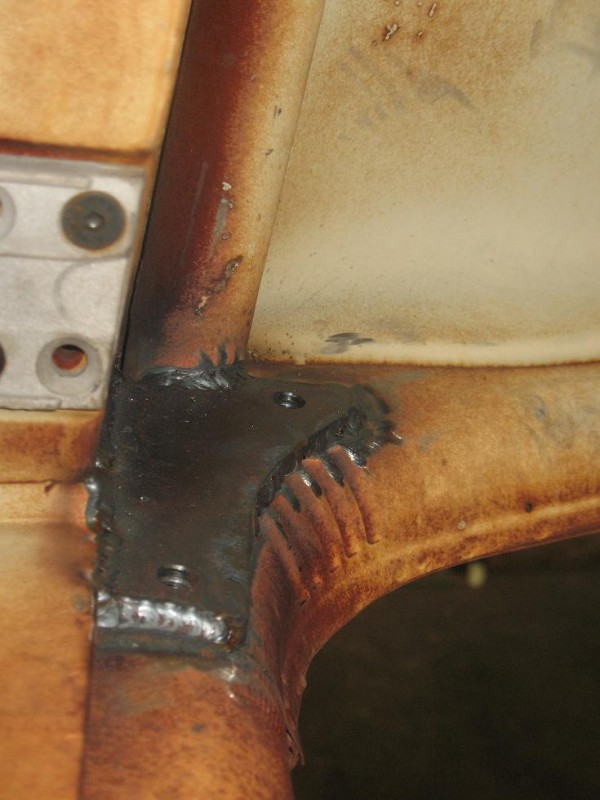
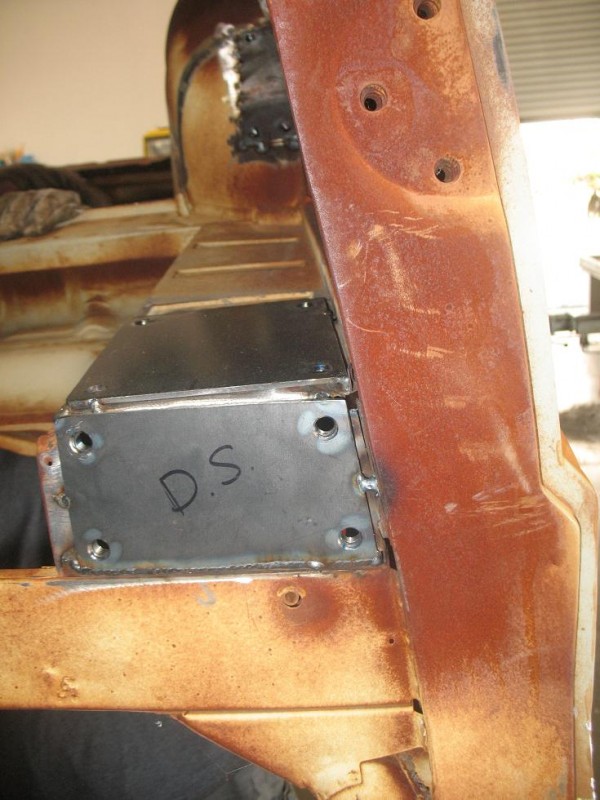
Part 2 of the custom dash and console work. CJ took the cardboard mockup and made a metal version as shown below. As with most new things, one may not be too sure of how ideas manifest in real life but, this is a very, very slick modification to the stock Karmann Ghia dash. When inside the car, it brings a certain gravitas to the car that makes it feel very modern. It has become the centerpiece of the interior at this point and I like it very much. Can’t wait to see it closer to completion. May try to get a picture with all the gauges set in place!
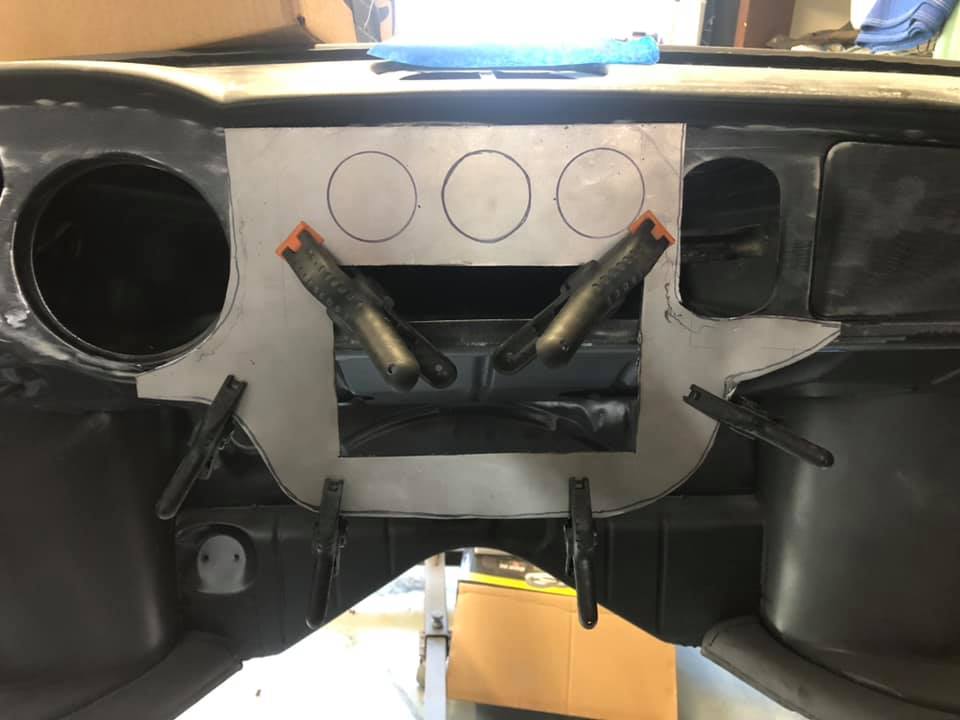 The start of going from cardboard to metal.
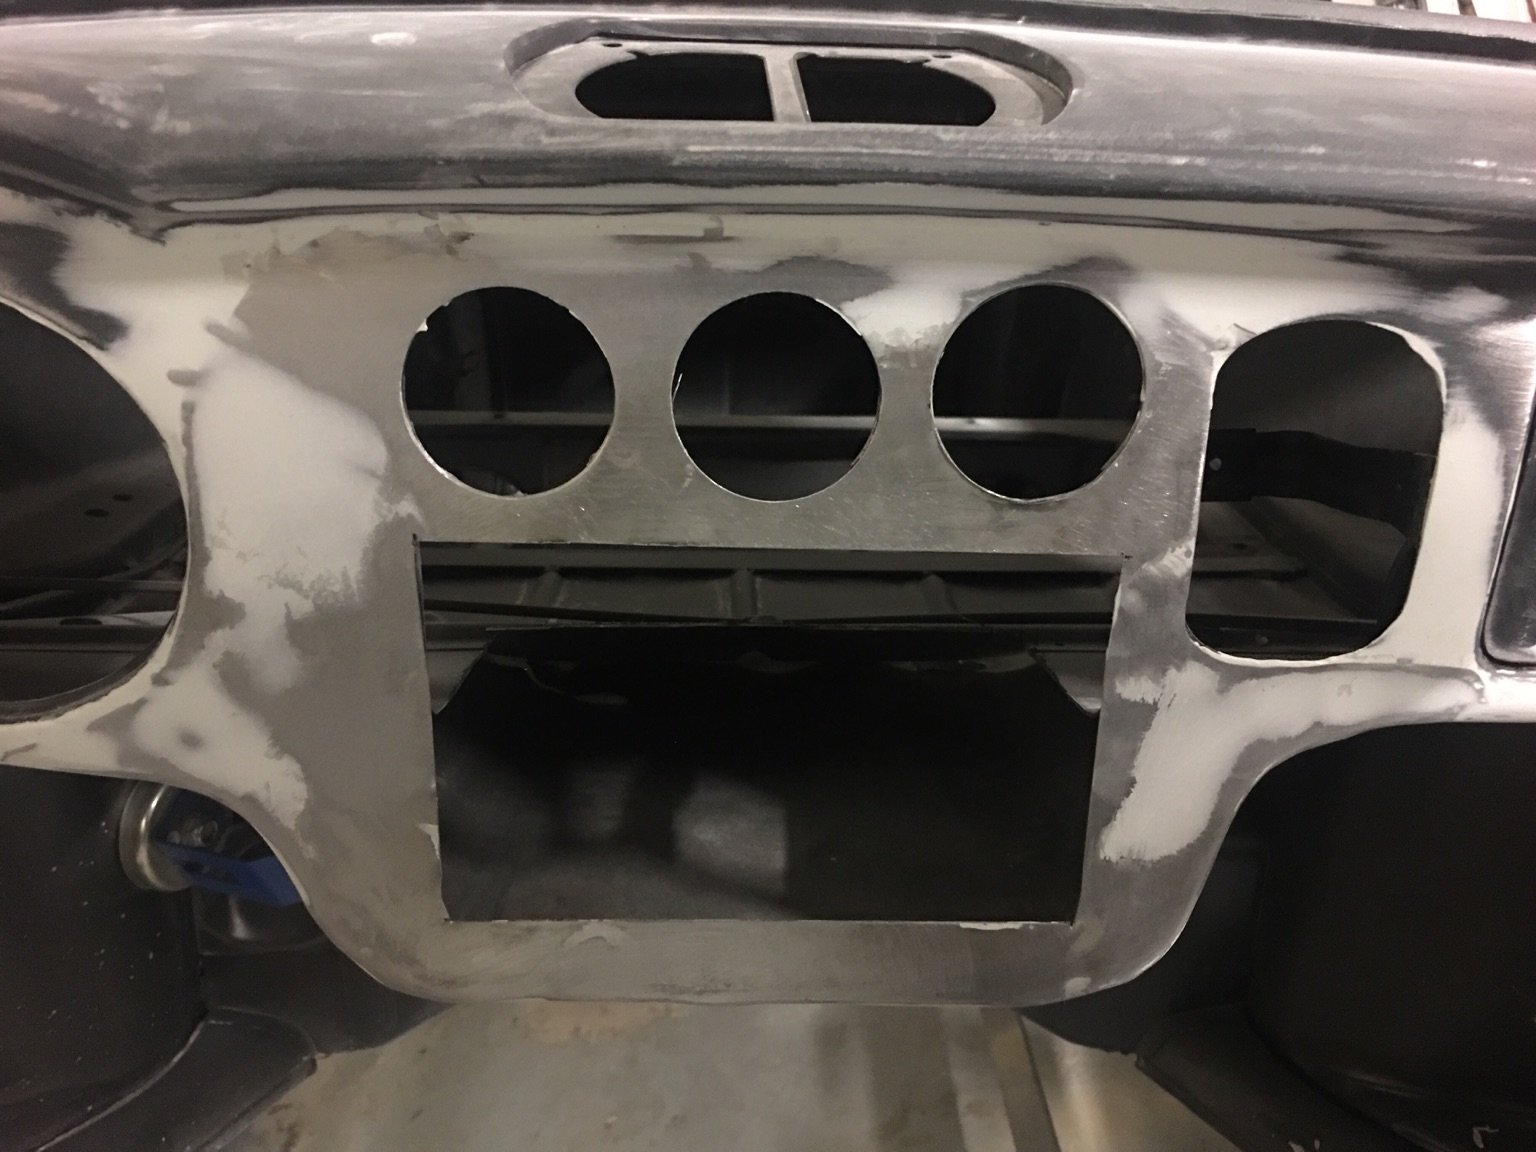
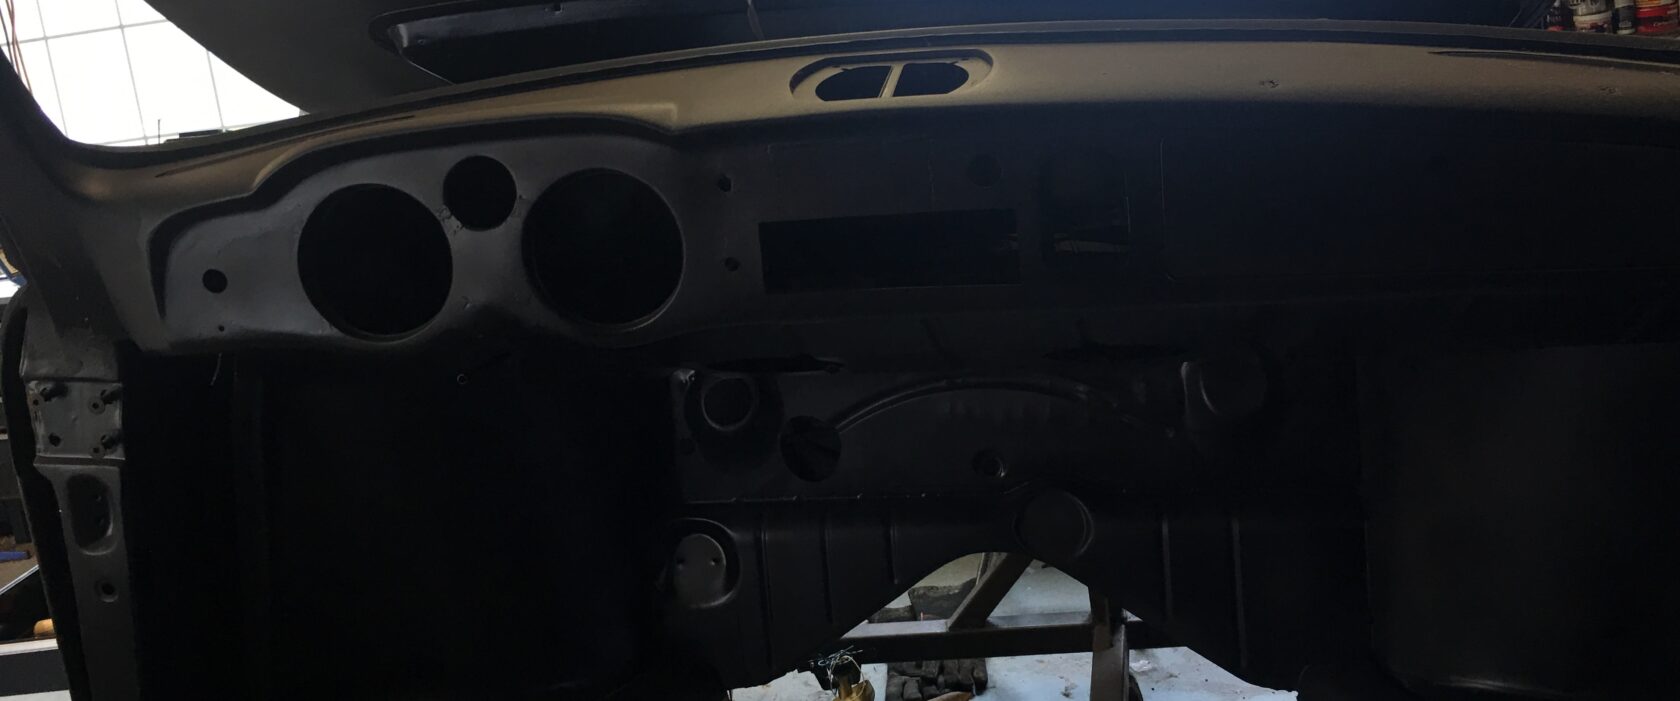
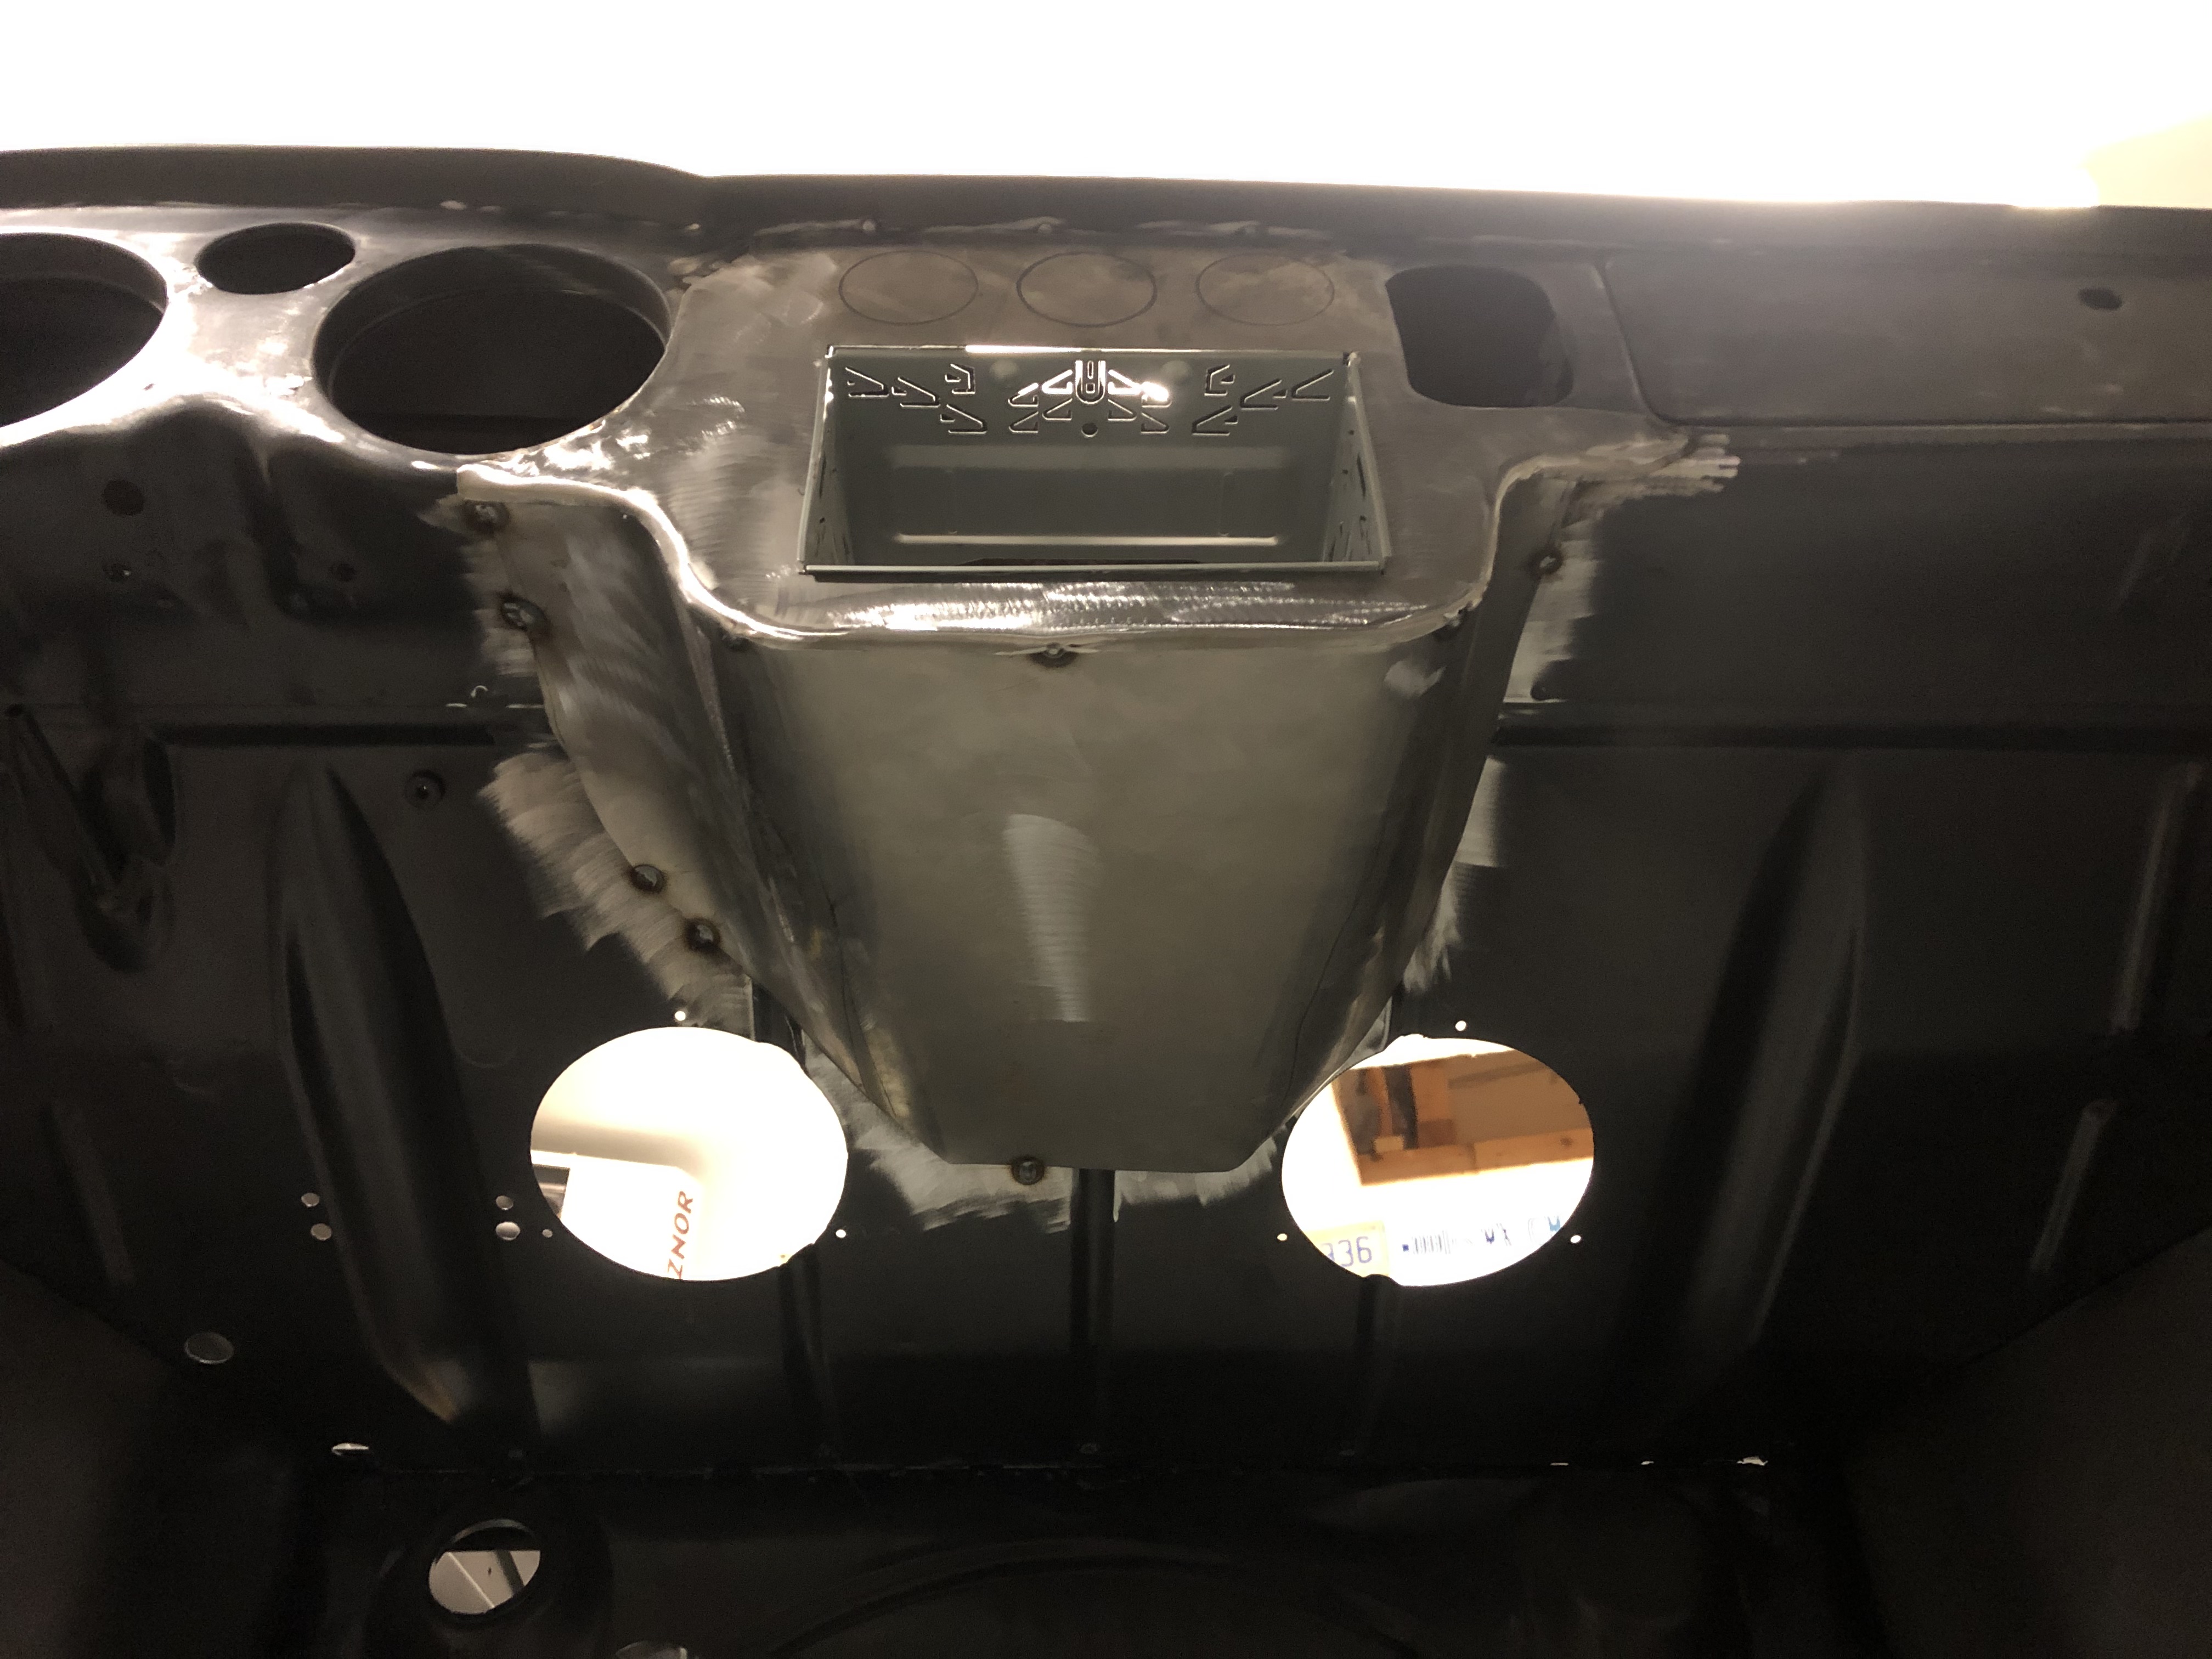 Underneath the “new” dash. Those speaker holes came with the car. Not sure if we’re going to use them or not.
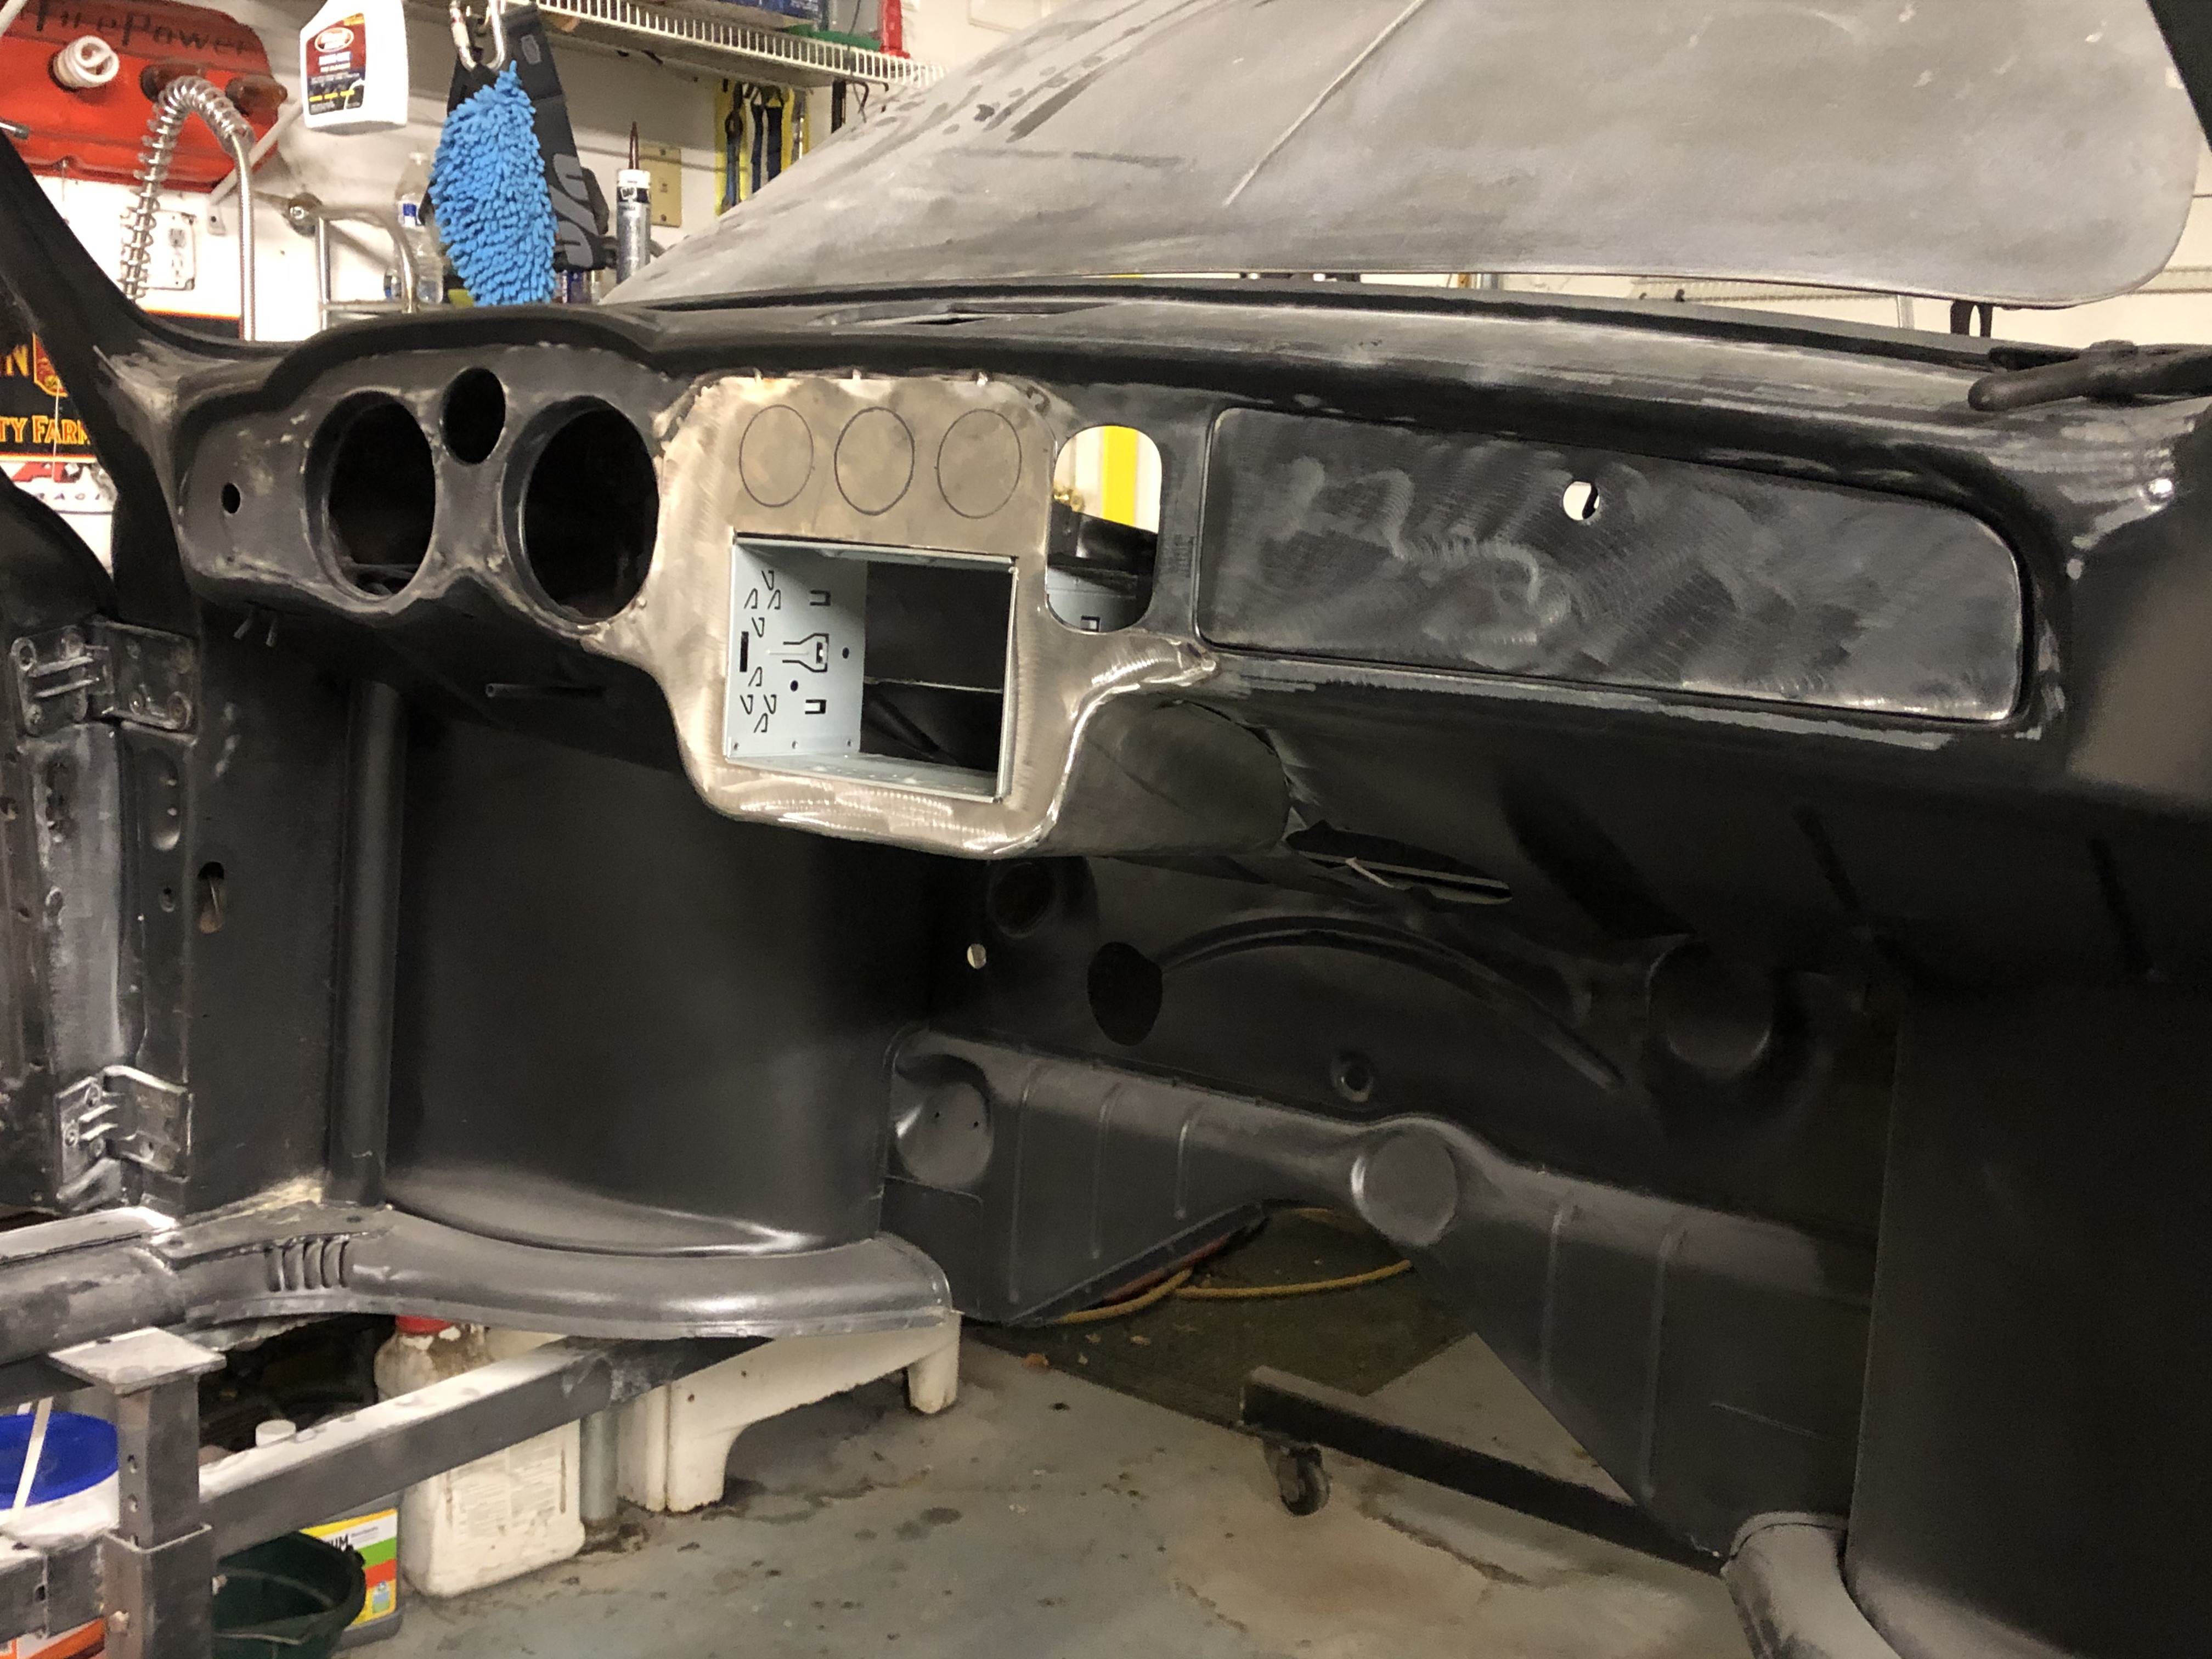 Rough install of the custom dash/console. The three gauge holes have yet to be cut in.
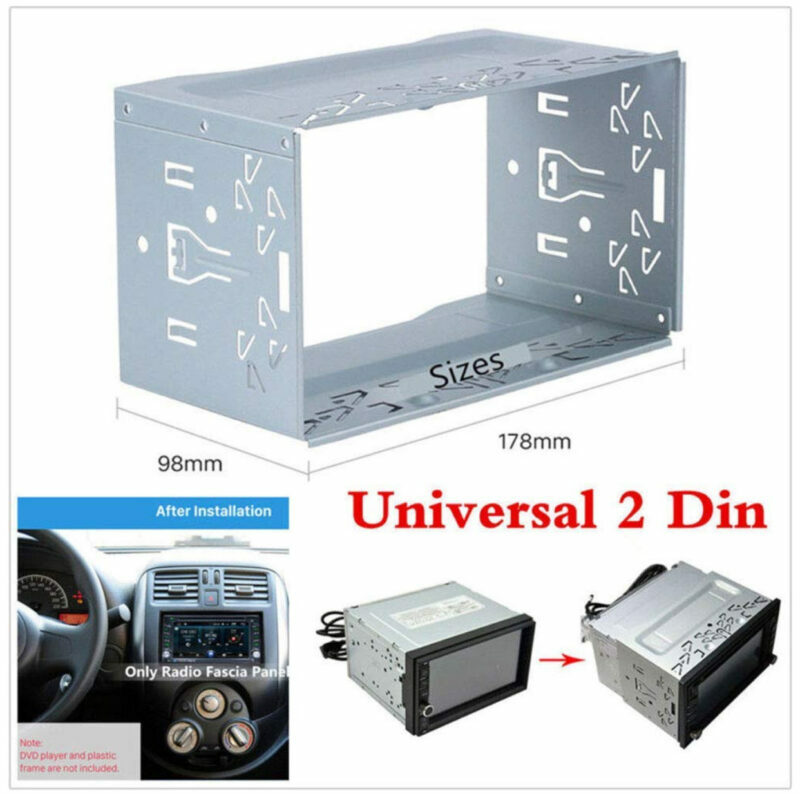
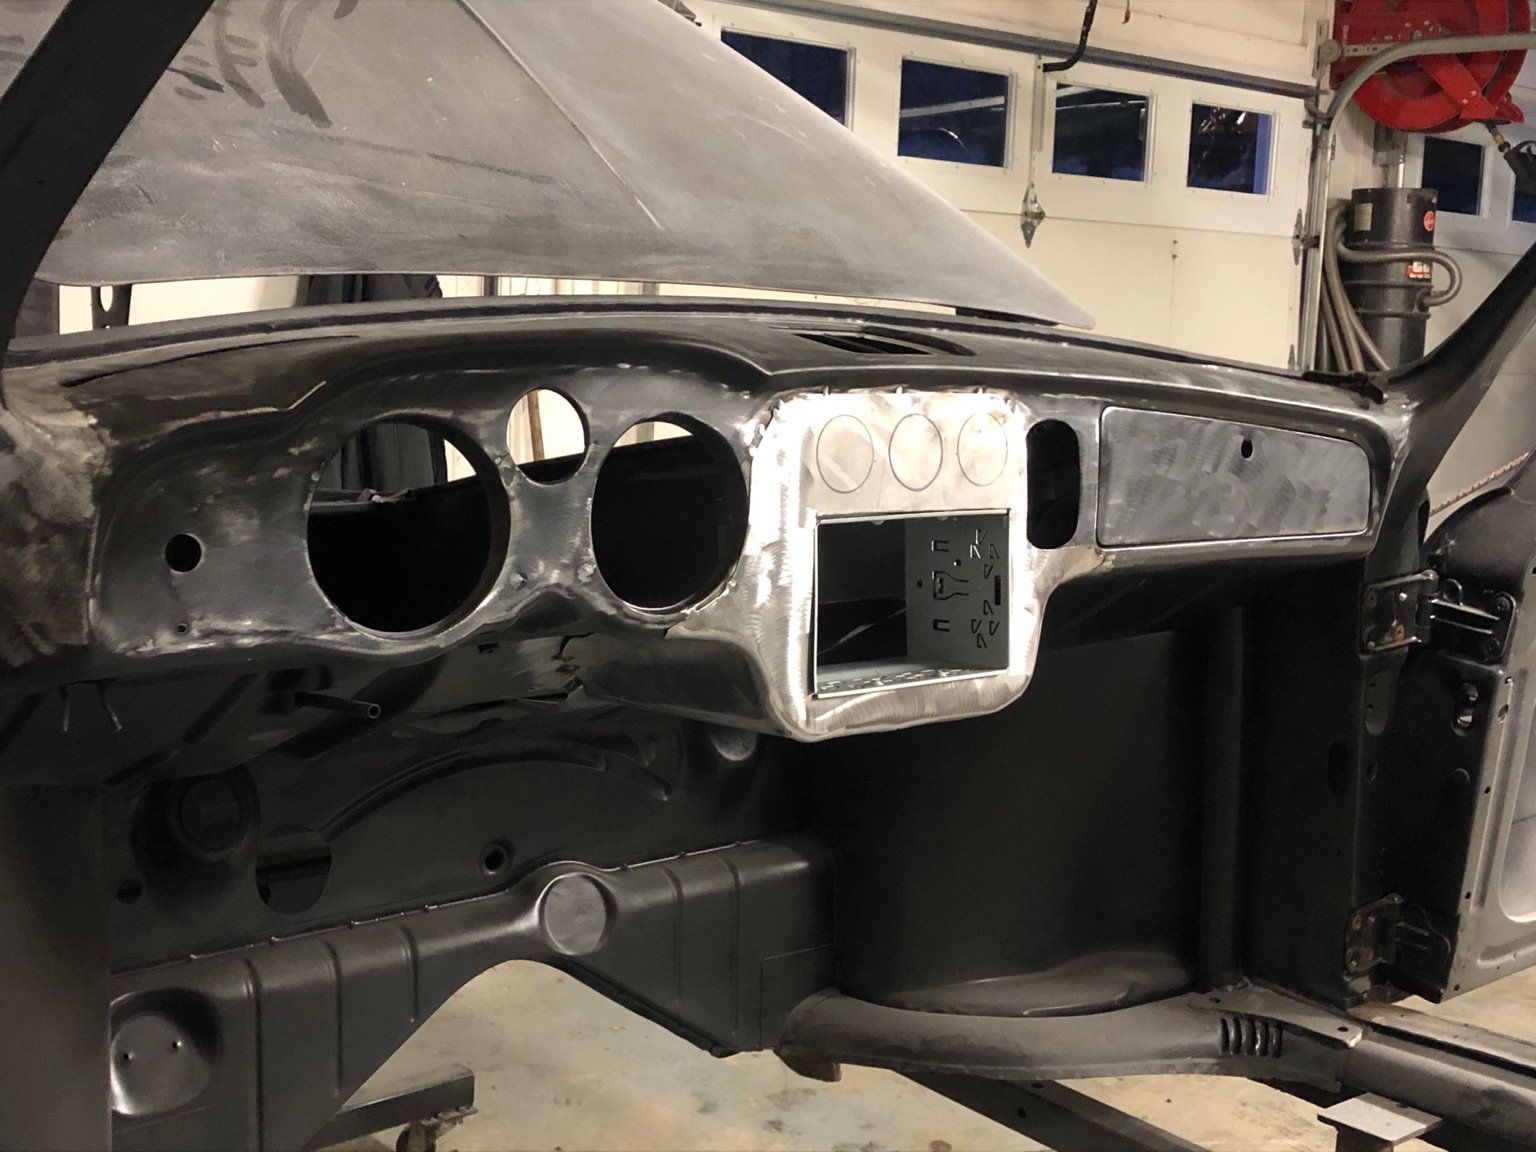 Different angle. You can see the double DIN cage in place.
17
Apr
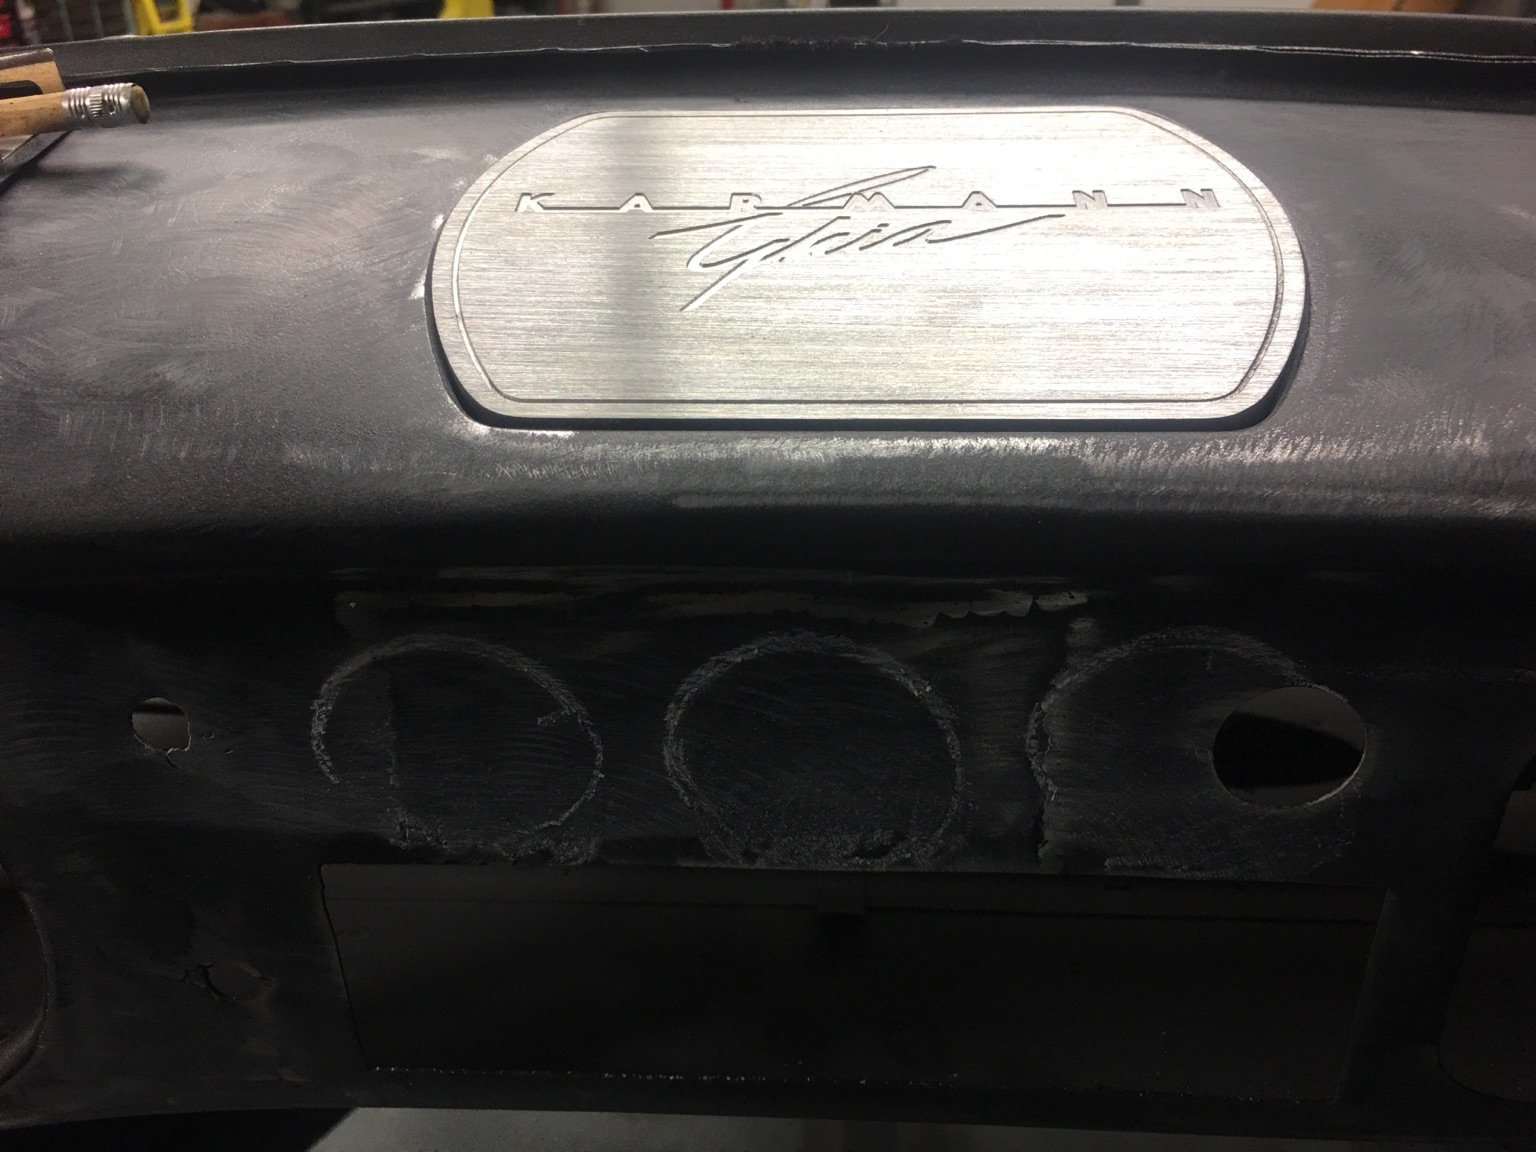
Billet Ghia speaker grill cover.
- By basil
- No Comments
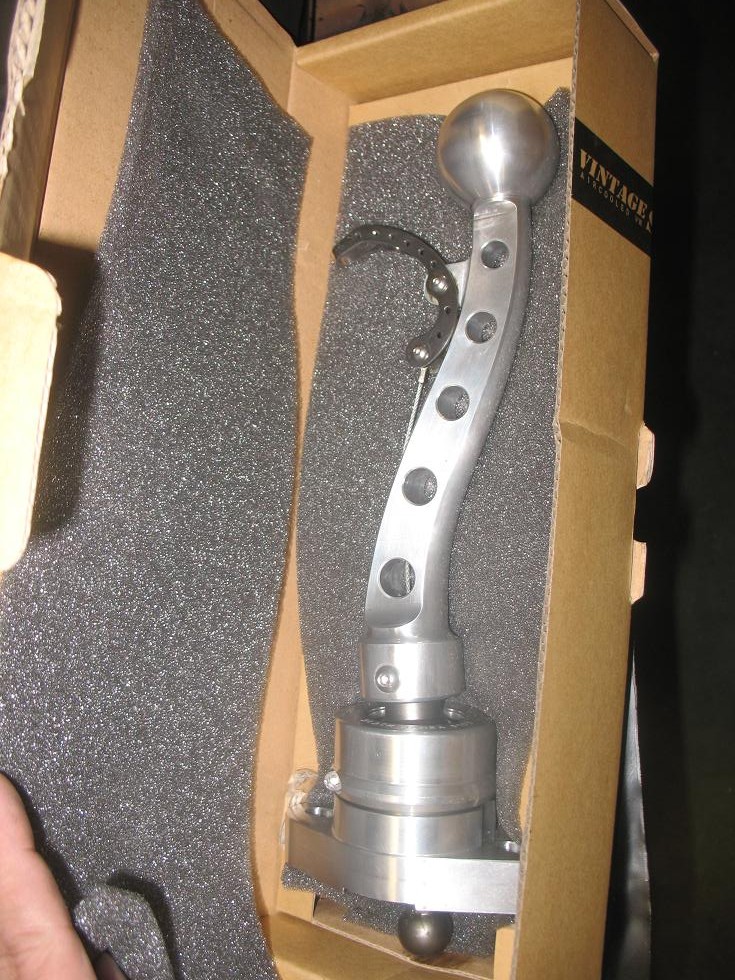
Picked up this cool speaker grill cover off eBay. Solid aluminum and will accent the dash and Black Mamba billet gear shift. It has the proper dash curvature and fits very well.
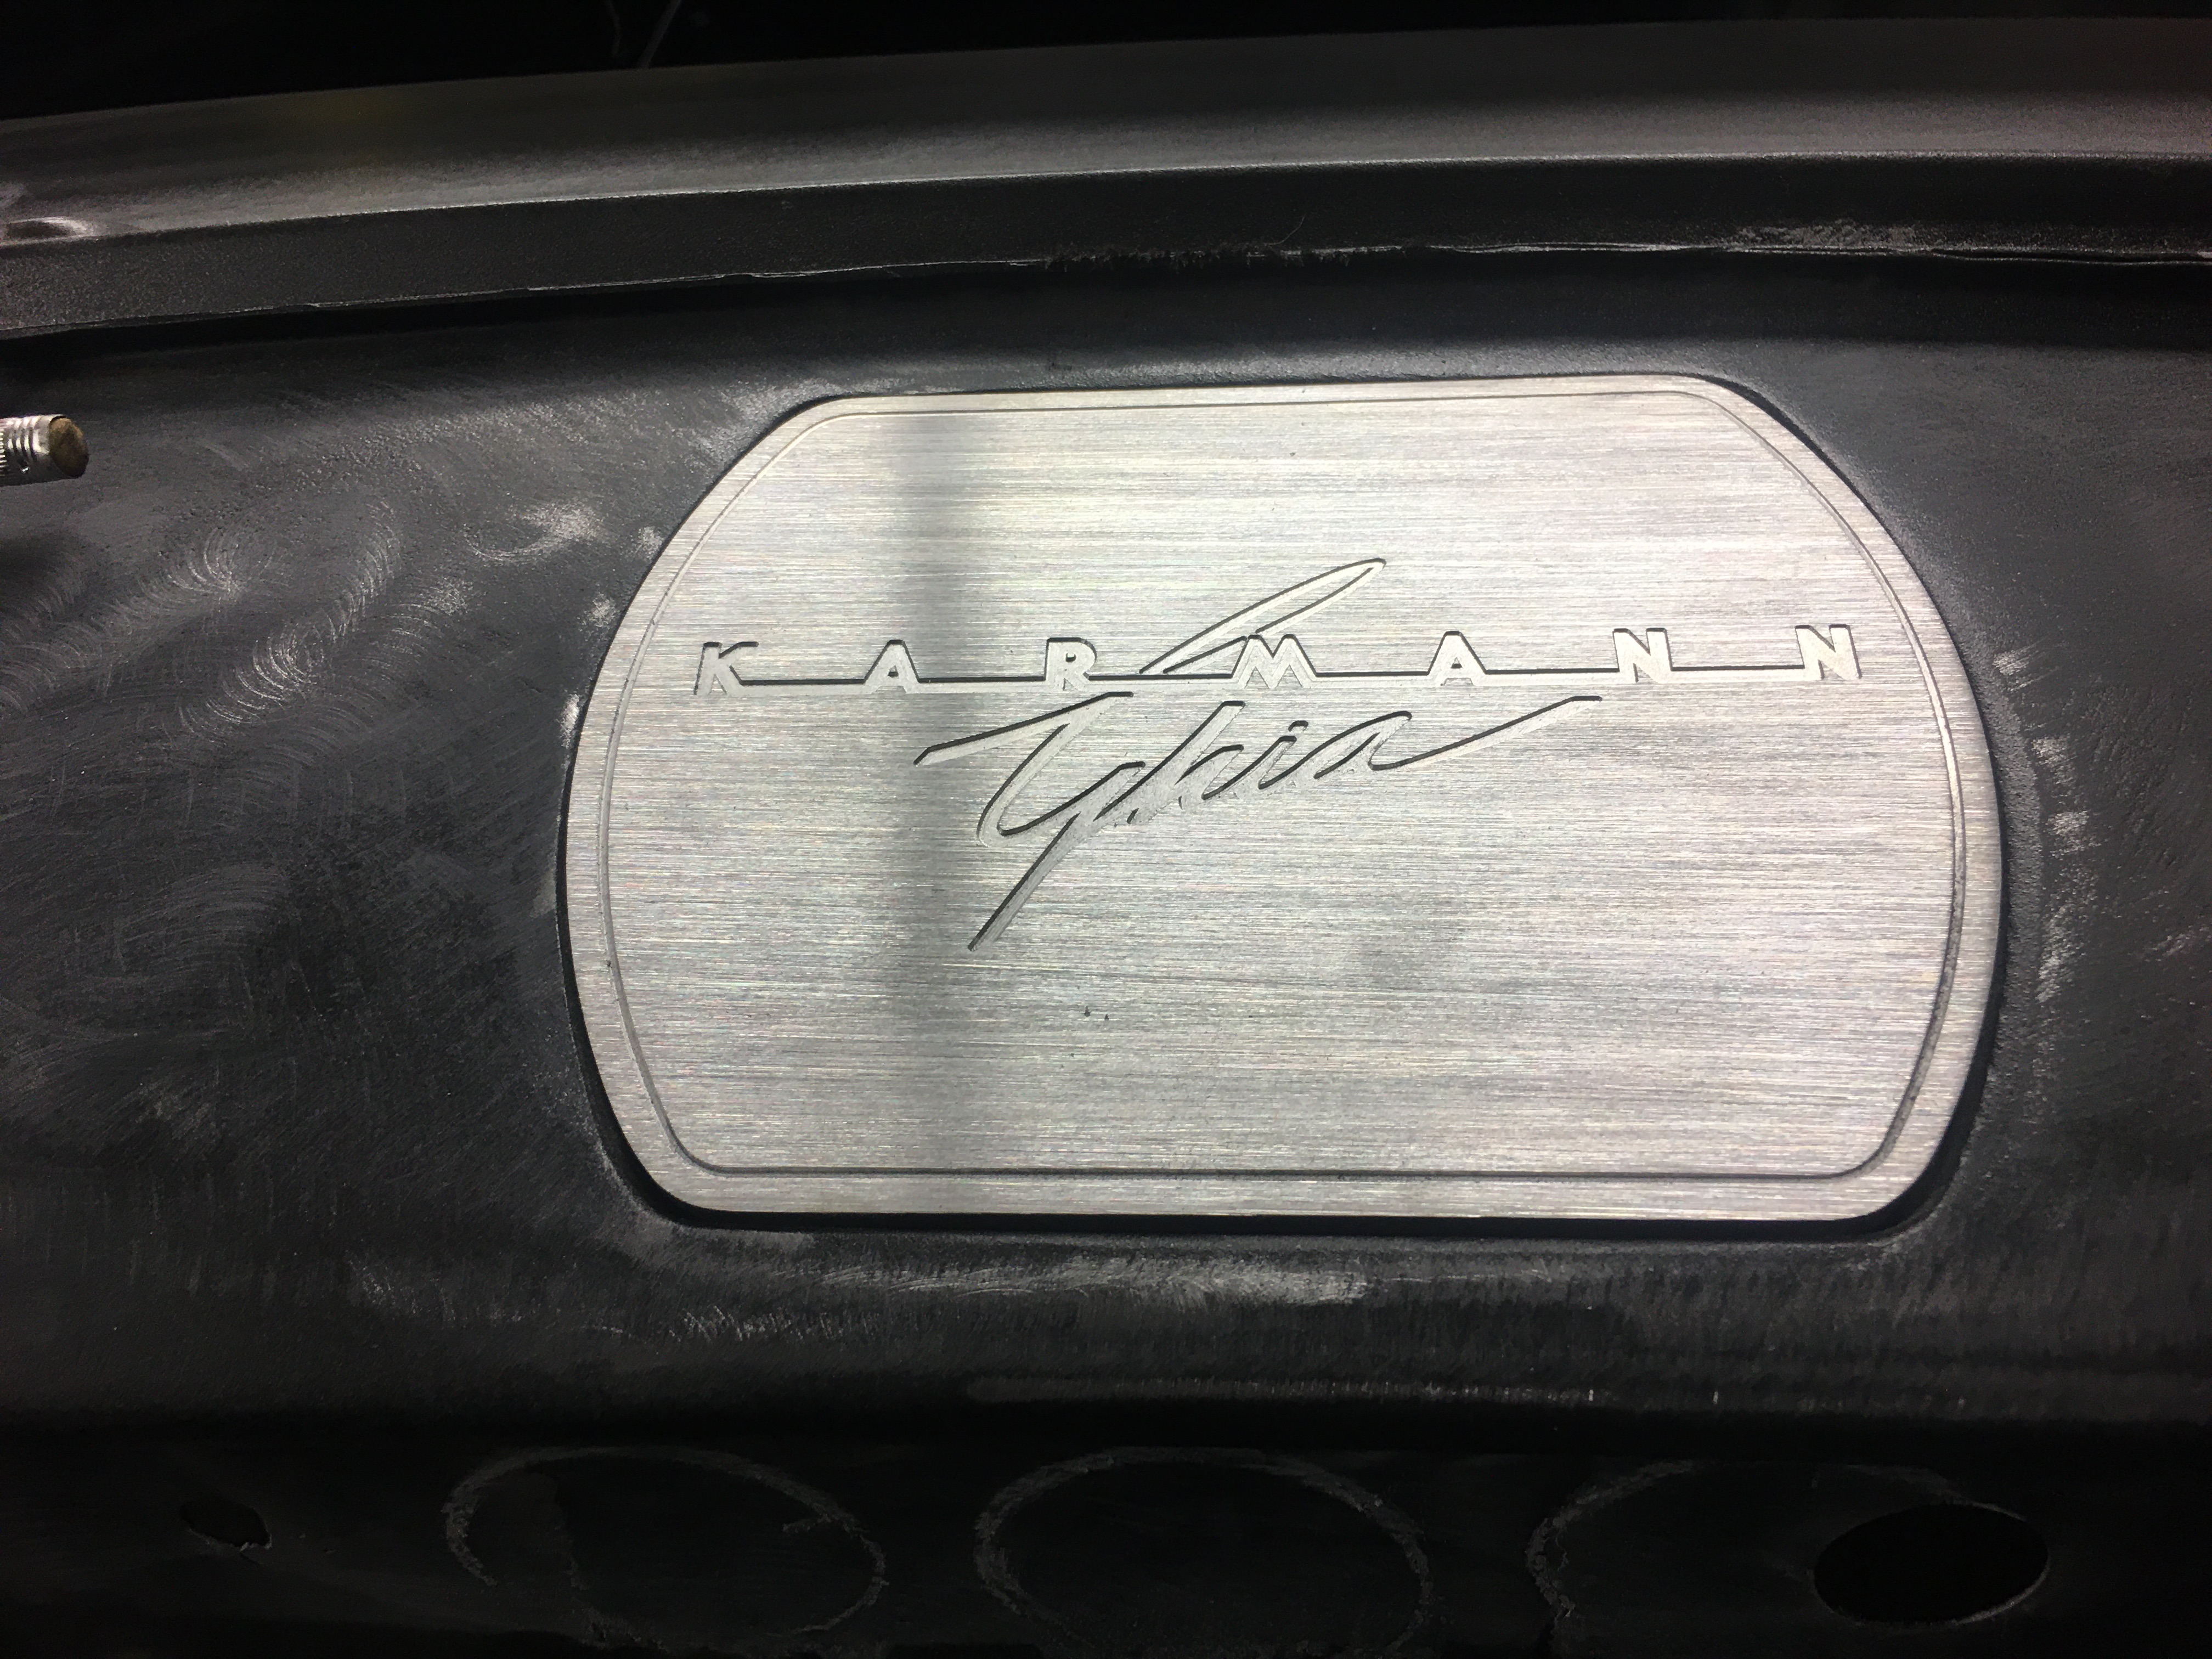
CNC engraved / milled Karmann Ghia script speaker block-off plate; 1/4″ thick aluminum, brush finish.
09
Apr
Ghia custom dash/console mock up – Part 1
- By basil
- No Comments
CJ at Revenant made some templates for the modified dash idea, looks pretty sweet:
(mostly) original dash before the console mods.
Double DIN cage purchased for future mockups.
Cardboard mockup – 1.
Cardboard mockup – 2.
For reference, this is what the original vision was. And of course, my OCD kicked in! :)
29
Mar
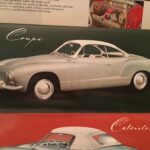
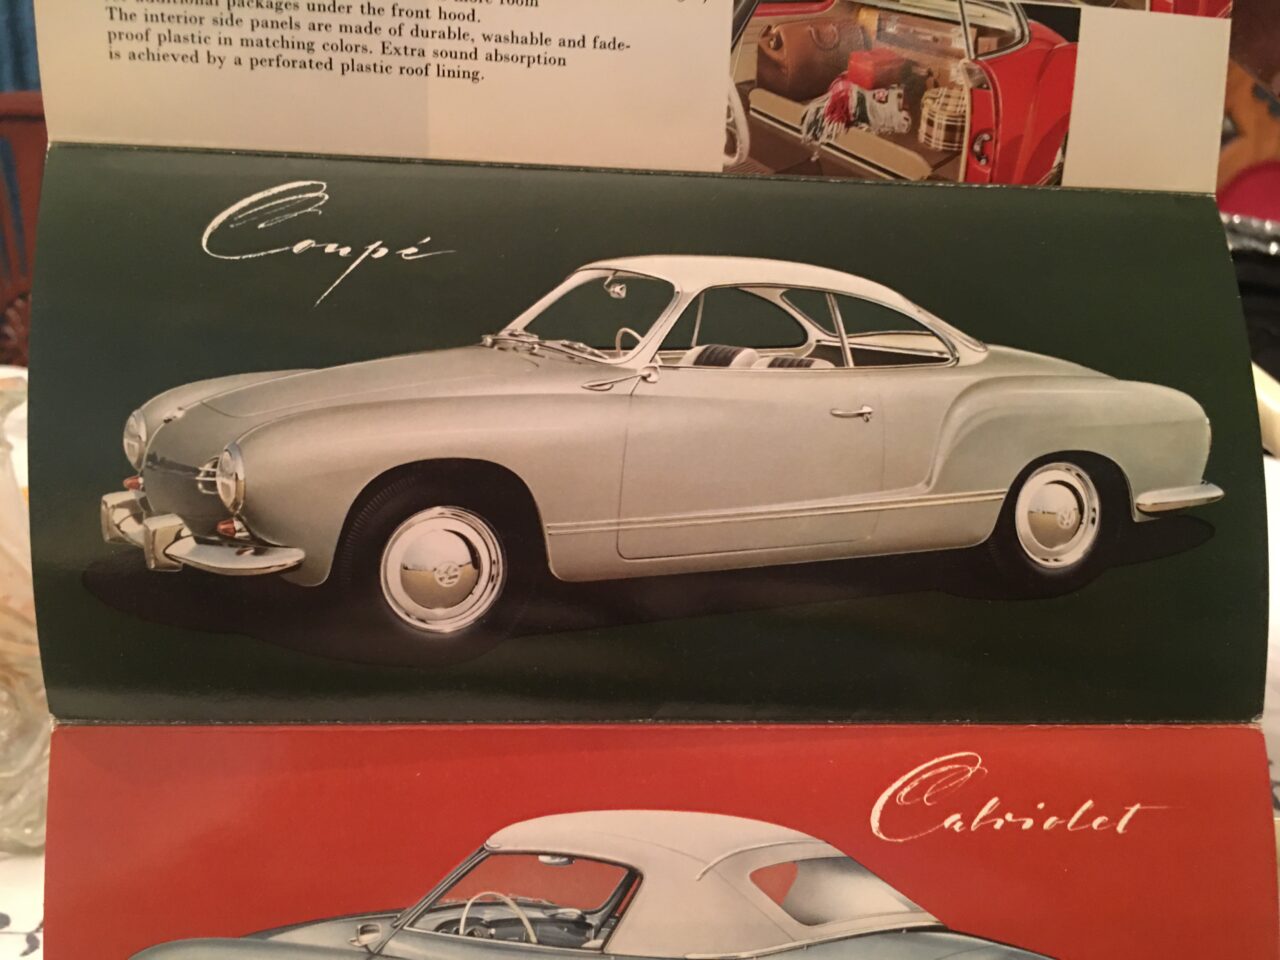
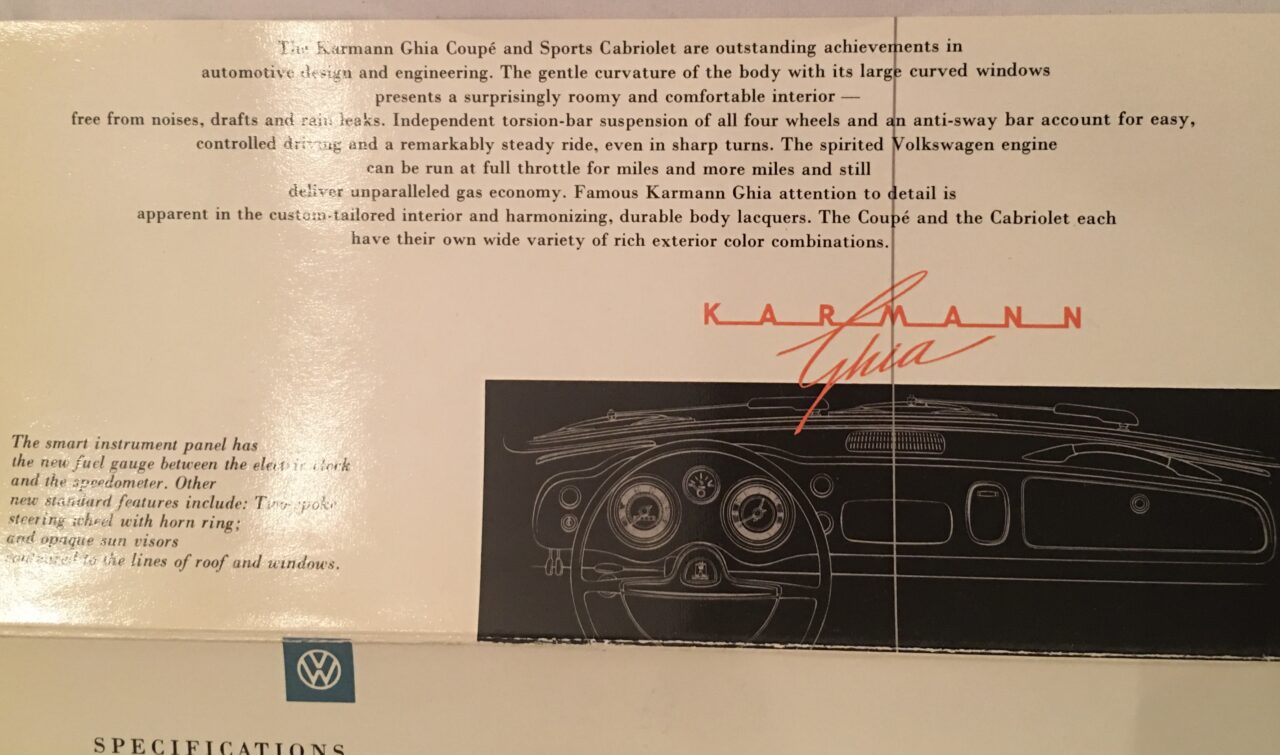
NOS Karmann Ghia Sales Brochure
- By basil
- No Comments
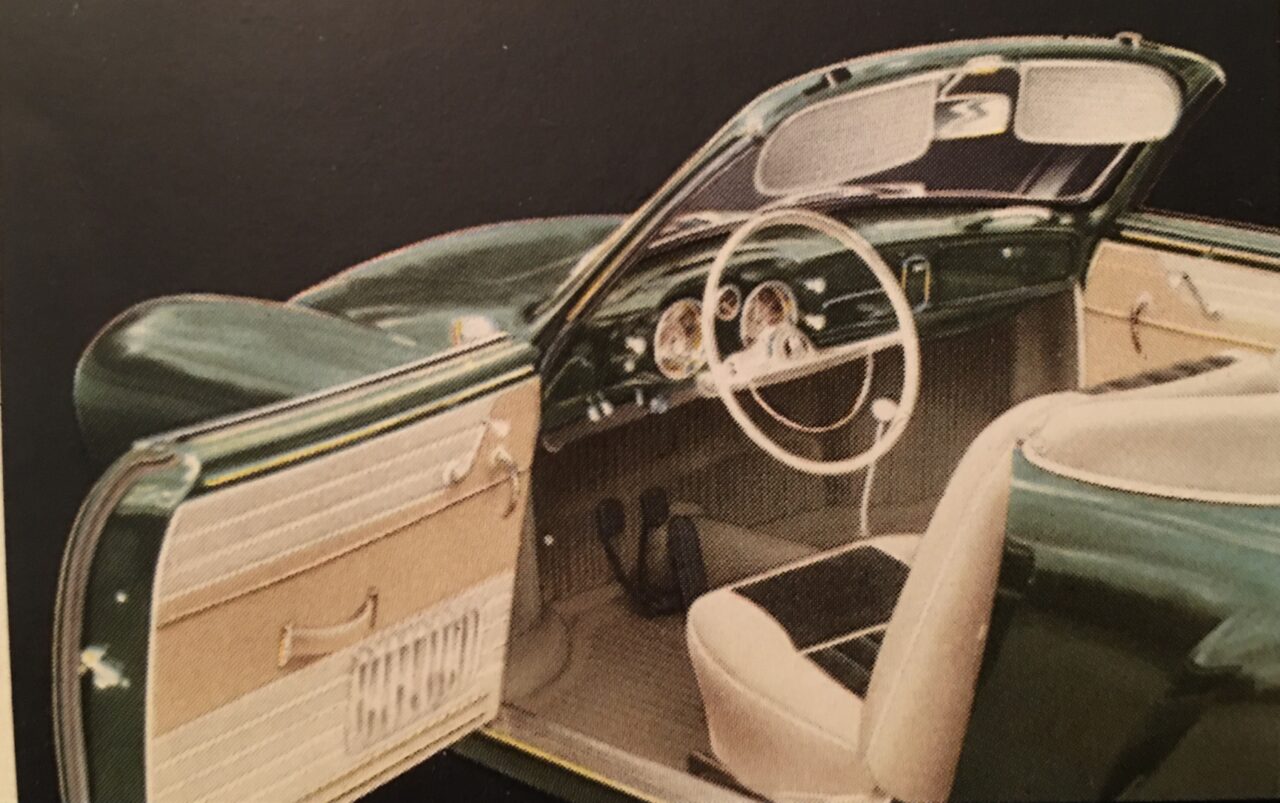
I bought a new, old stock (NOS) sales brochure for the low light Karmann Ghia. I thought it’d be cool to have it sitting in the car as a conversation piece. Second, I wanted to look at the original, stock design cues so that I could blend the Porsche RS vision with the original.
-
- Clean lines.
-
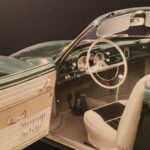
- Stock interior closeup.
-
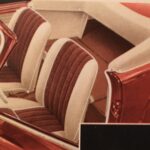
- Seat patterns
-
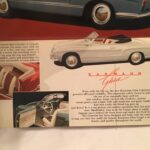
- Brochure copy 1.

-
- Brochure copy 2 – with dash details.
24
Mar
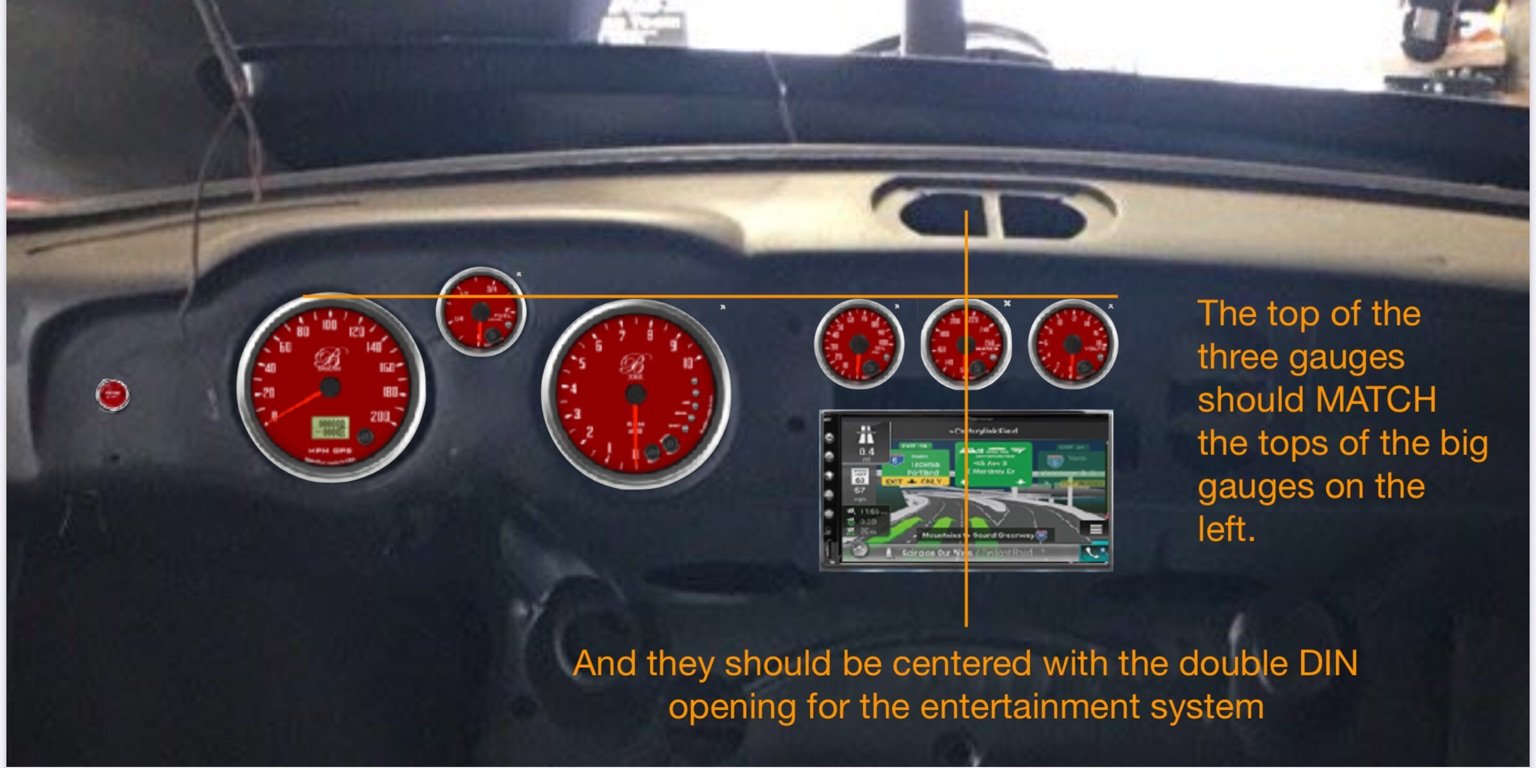
Modern dash, old car – some new ideas.
- By basil
- No Comments
Spent some time tinkering with dash designs. I’m going for a modern treatment but without detracting too much from the period design.
Here are a few digital mockups I did to get a sense of how it may turn out:
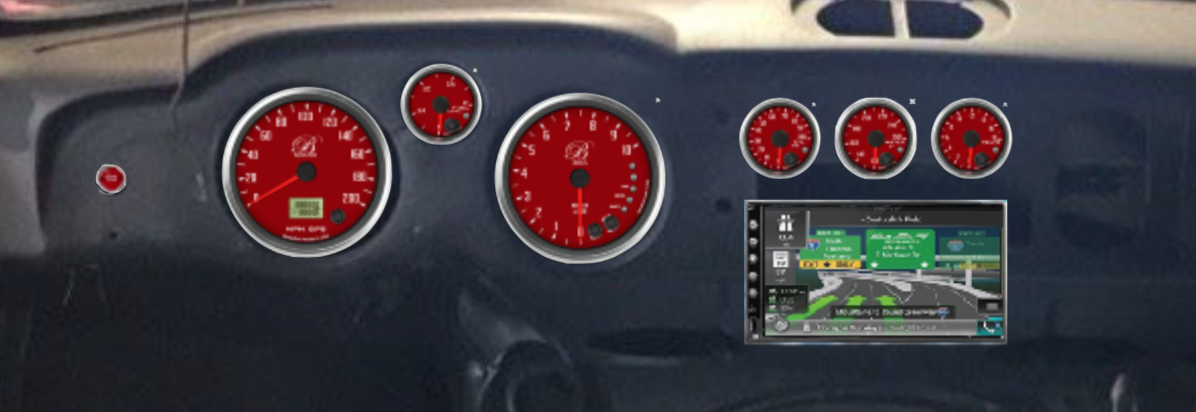
First mocked up option for the Ghia dash.
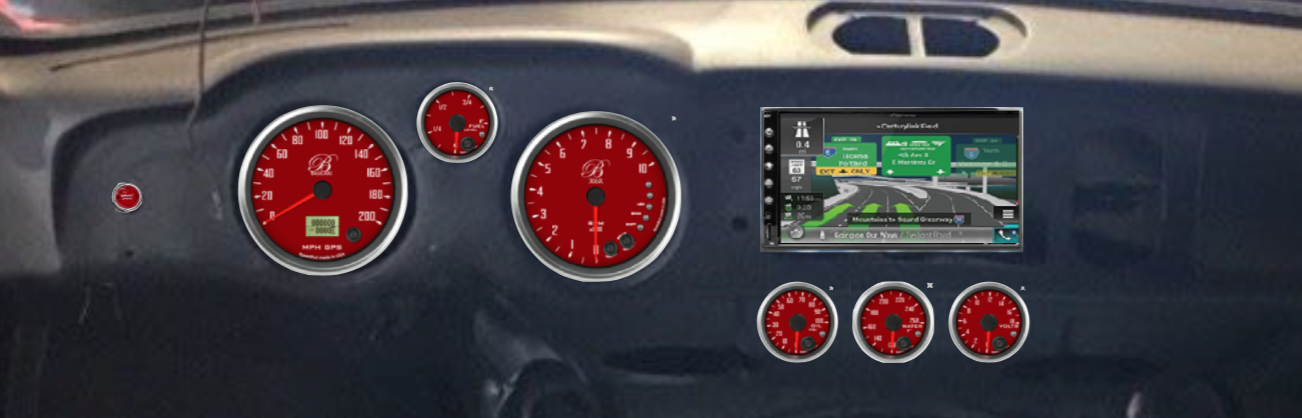
Second mocked up option for the Ghia dash.
I ran these ideas by a few friends and family and the consensus was the first option with the three small gauges on top of the double DIN opening. The thinking was “performance and engine monitoring first”, so that’s what we’re rolling with – the critical gauges (oil temp, water temp, volts) above the double DIN.
The DIN until will feature a touchscreen, bluetooth, GPS, the audio features you’d expect, rear camera support and GPS inputs for the navigation software. It’s Android based so the ODB2 apps for car maintenance and enhanced performance monitoring can run there as well. The ashtray will be used as a hidden USB media and charging port.
15
Mar
Gauge mockup
- By basil
- No Comments
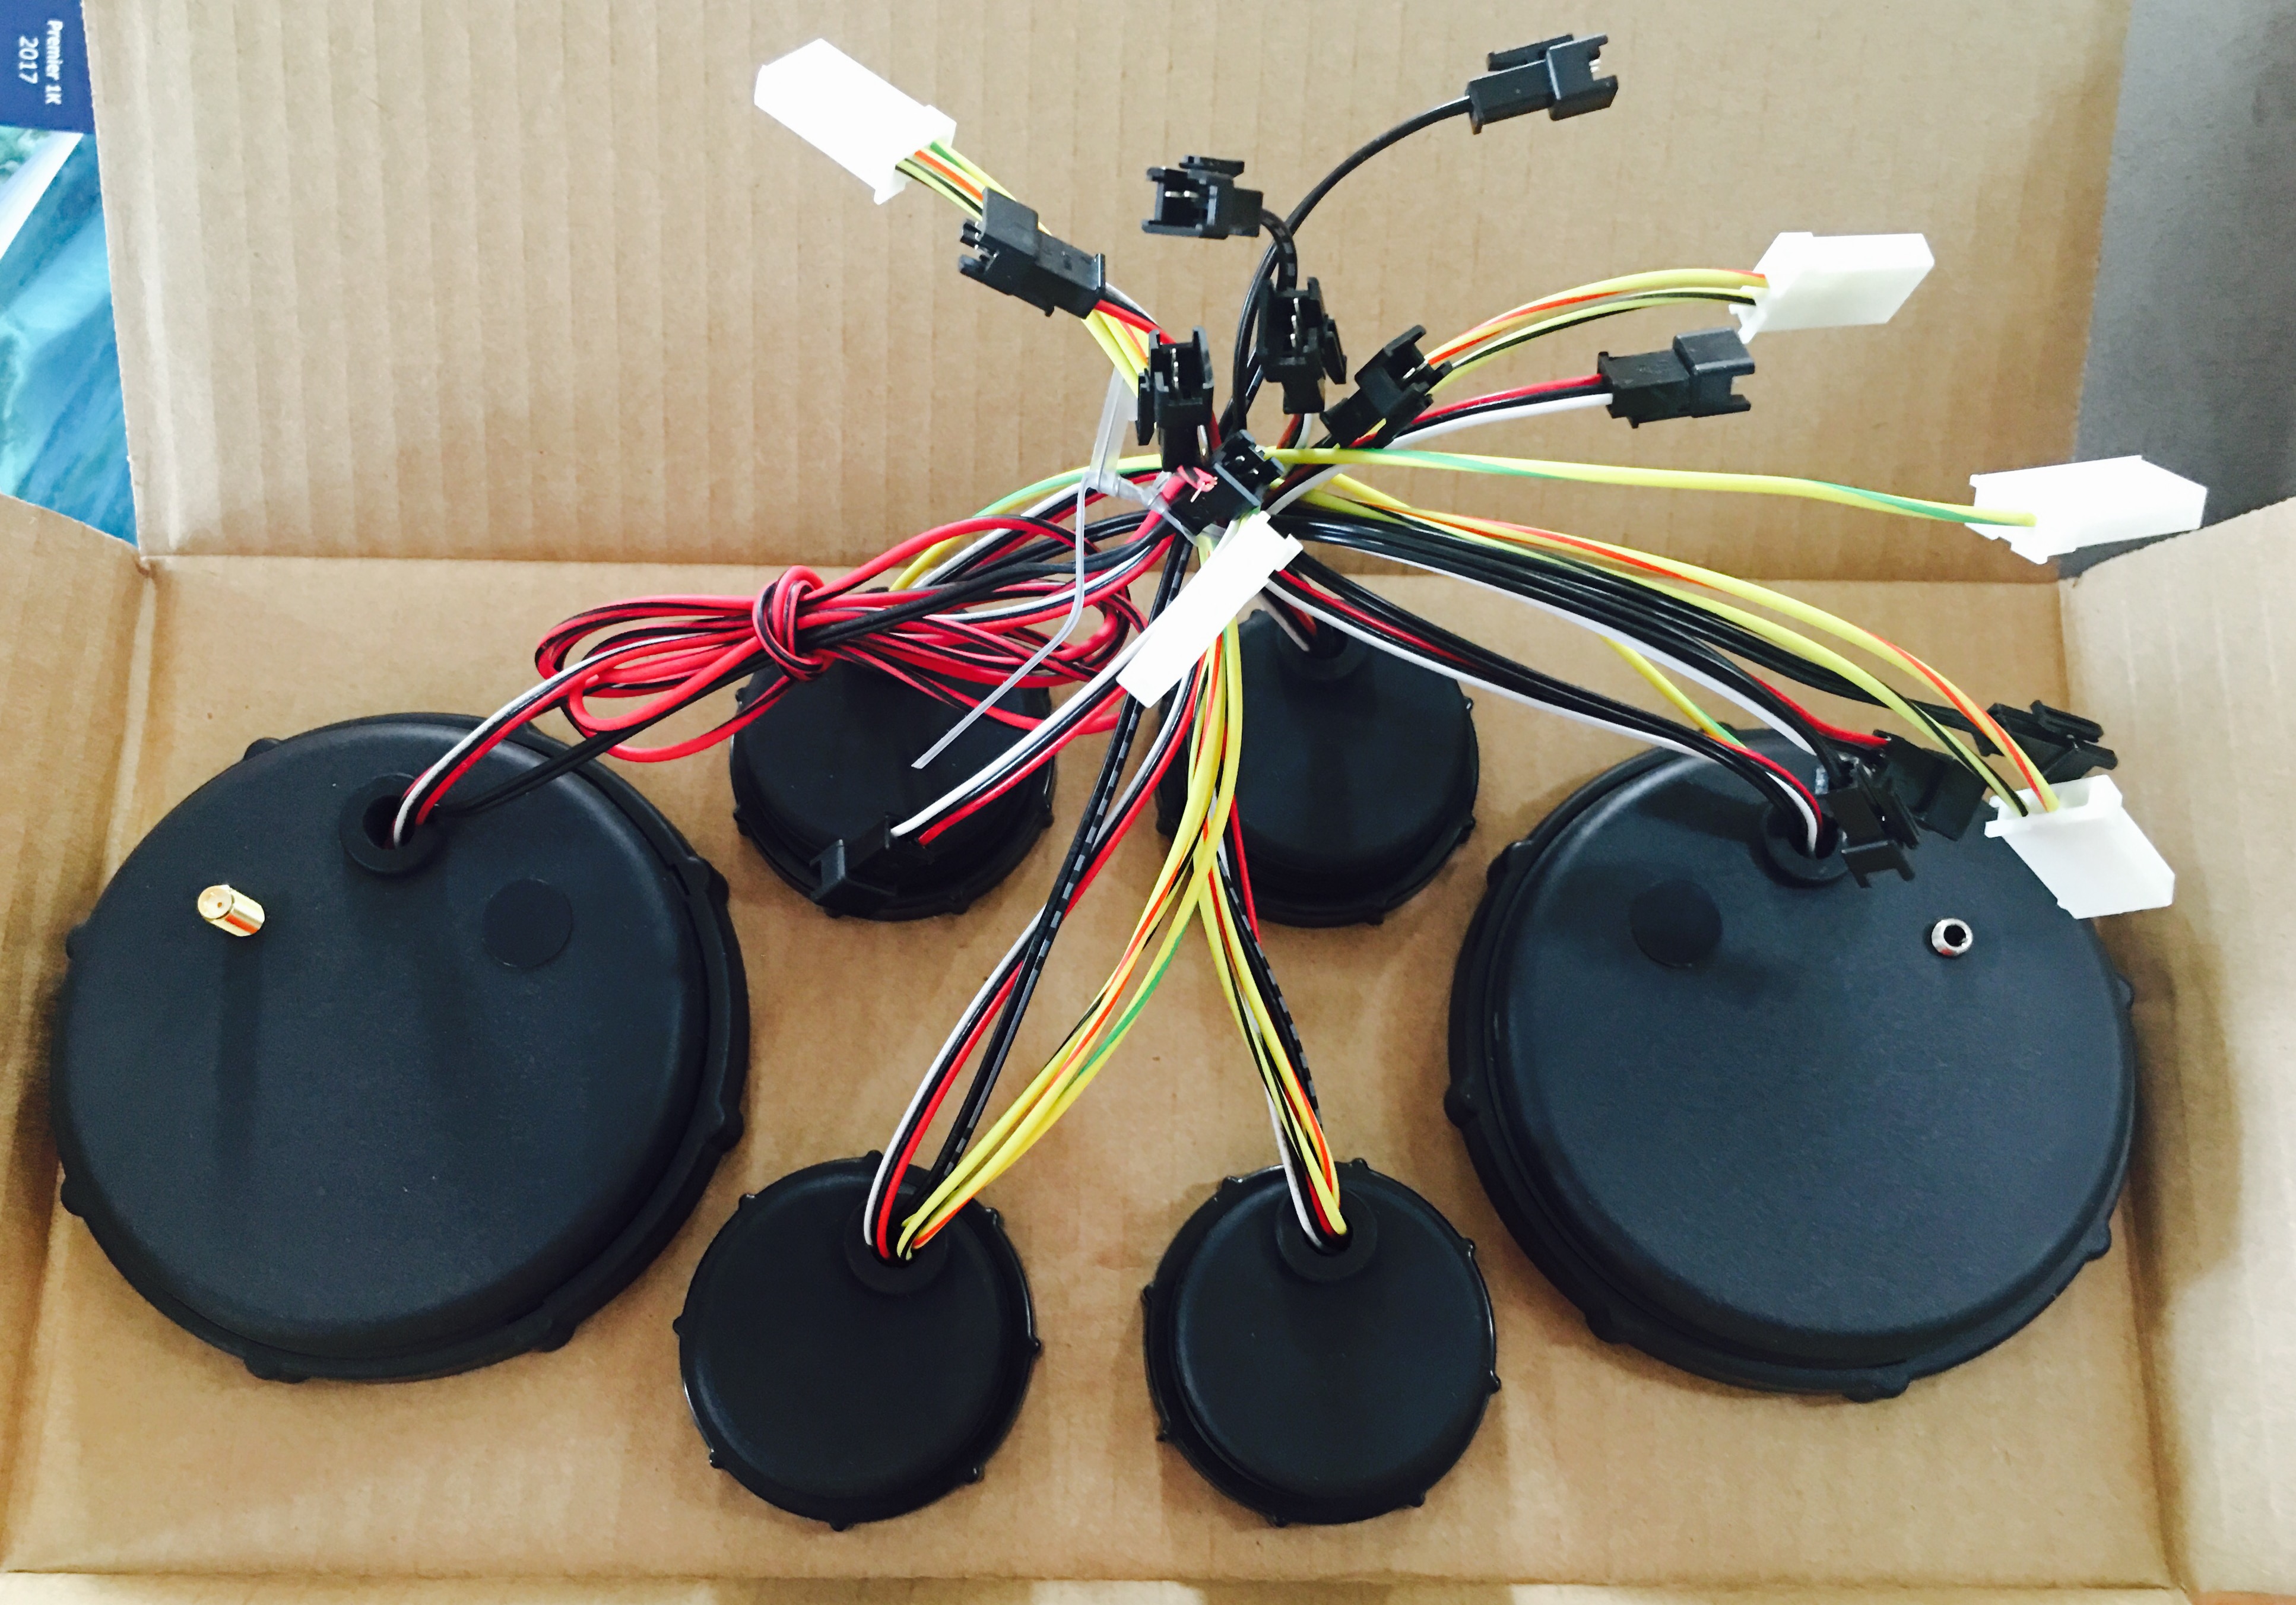
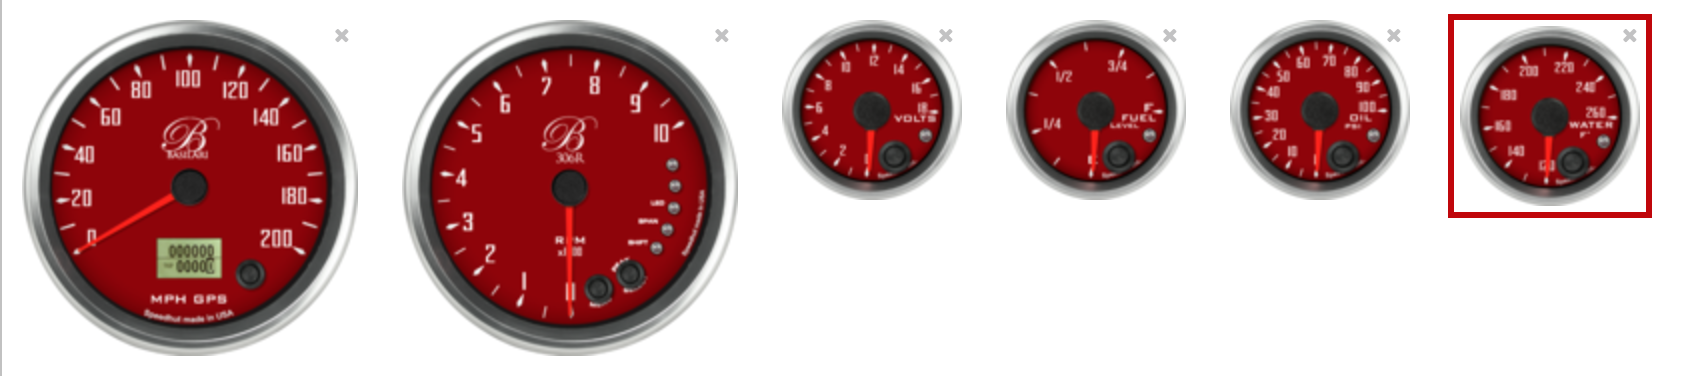
Dropped off the new gauges over at Revenant. Took the tach, speedo and fuel gauge out for a quick mockup and fit test.
13
Mar
Gauges arrived.
- By basil
- No Comments
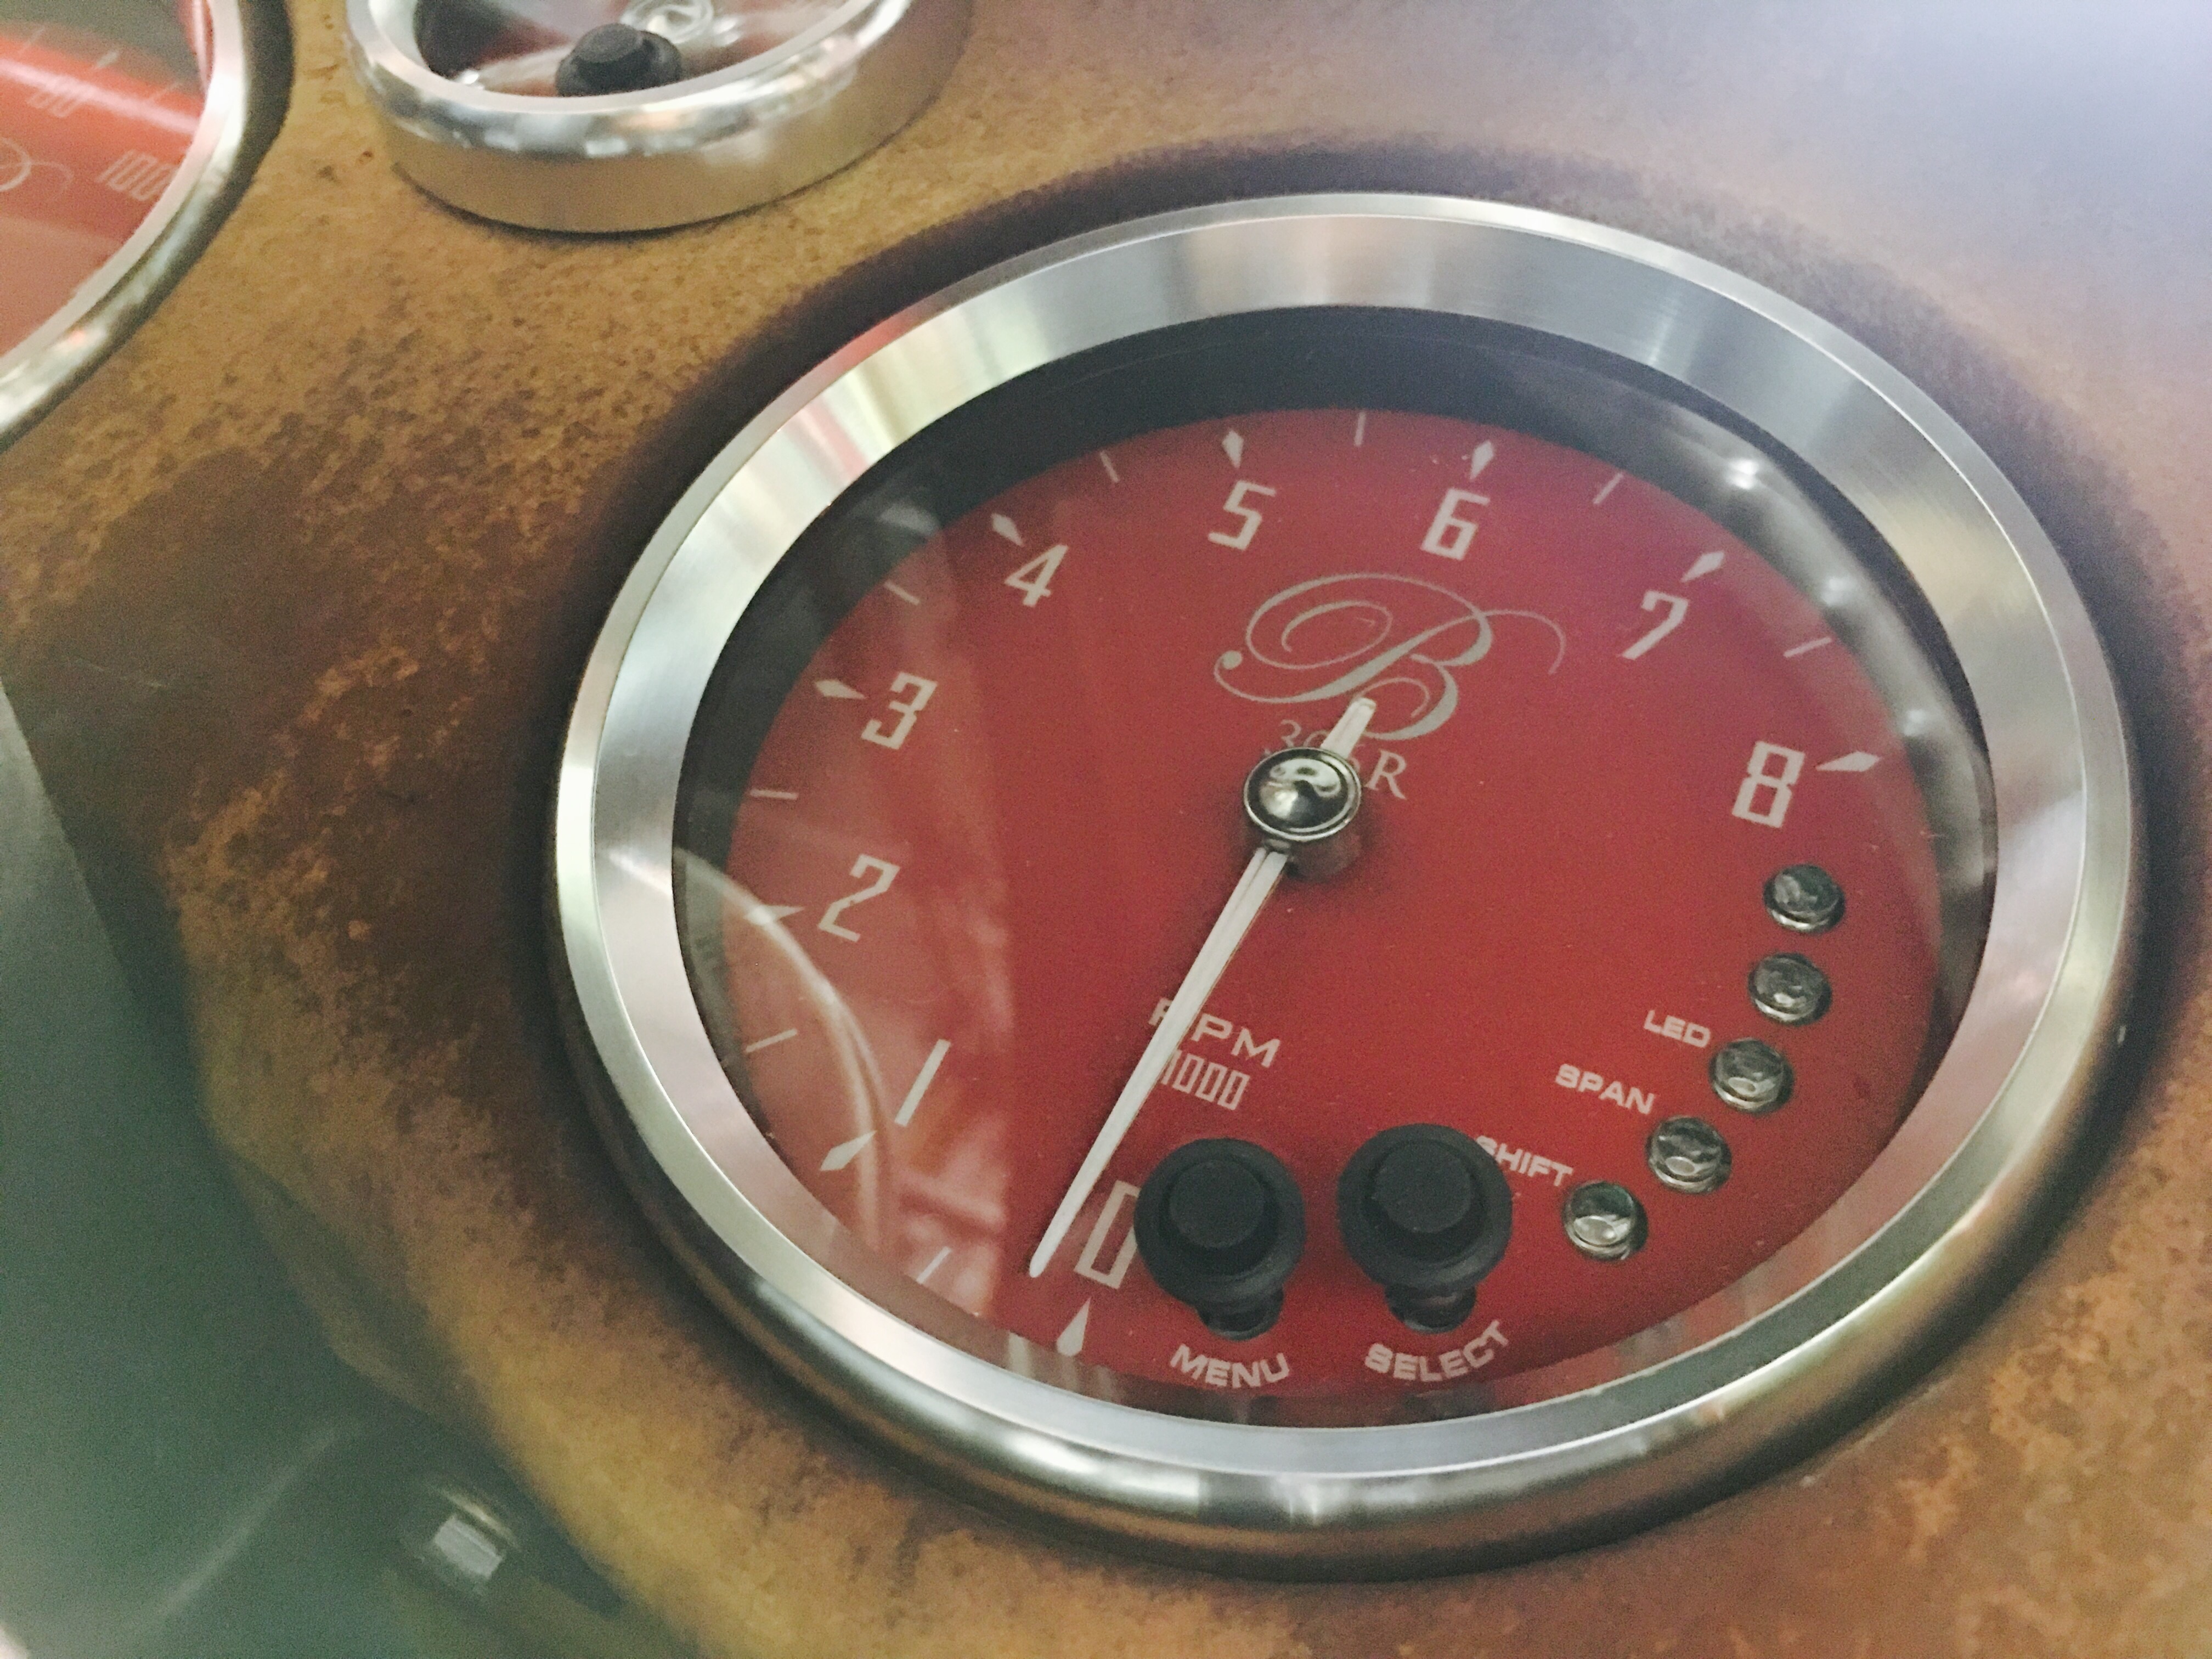
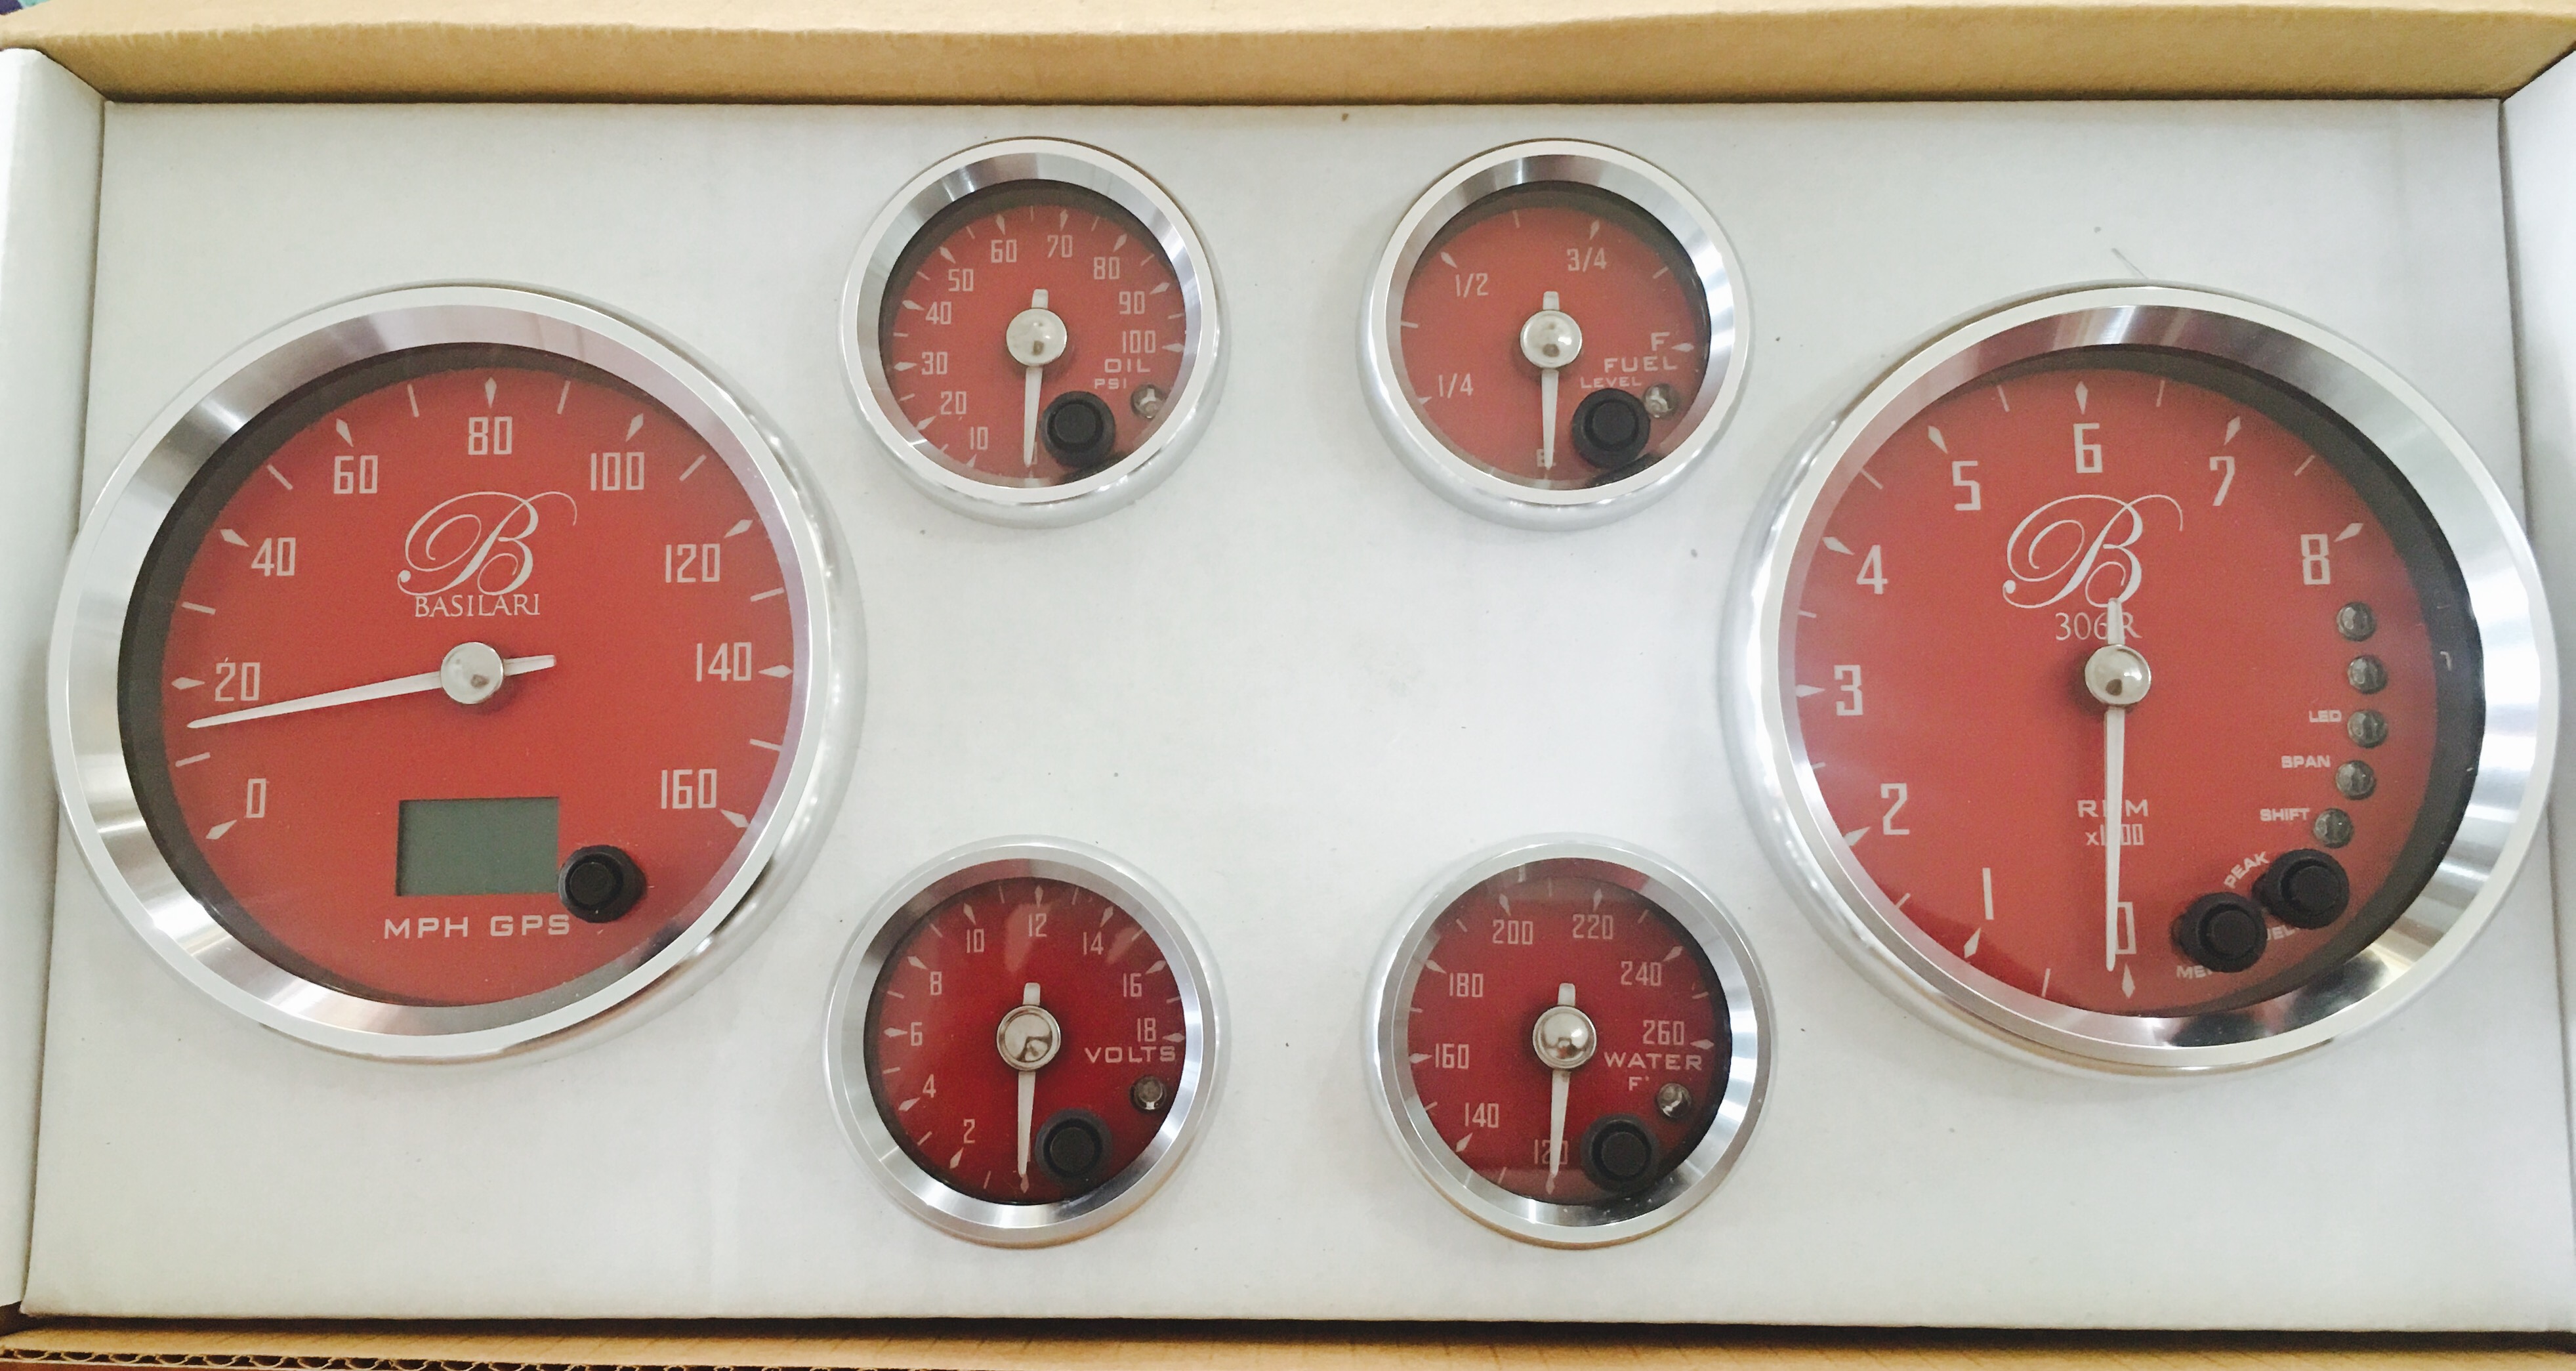
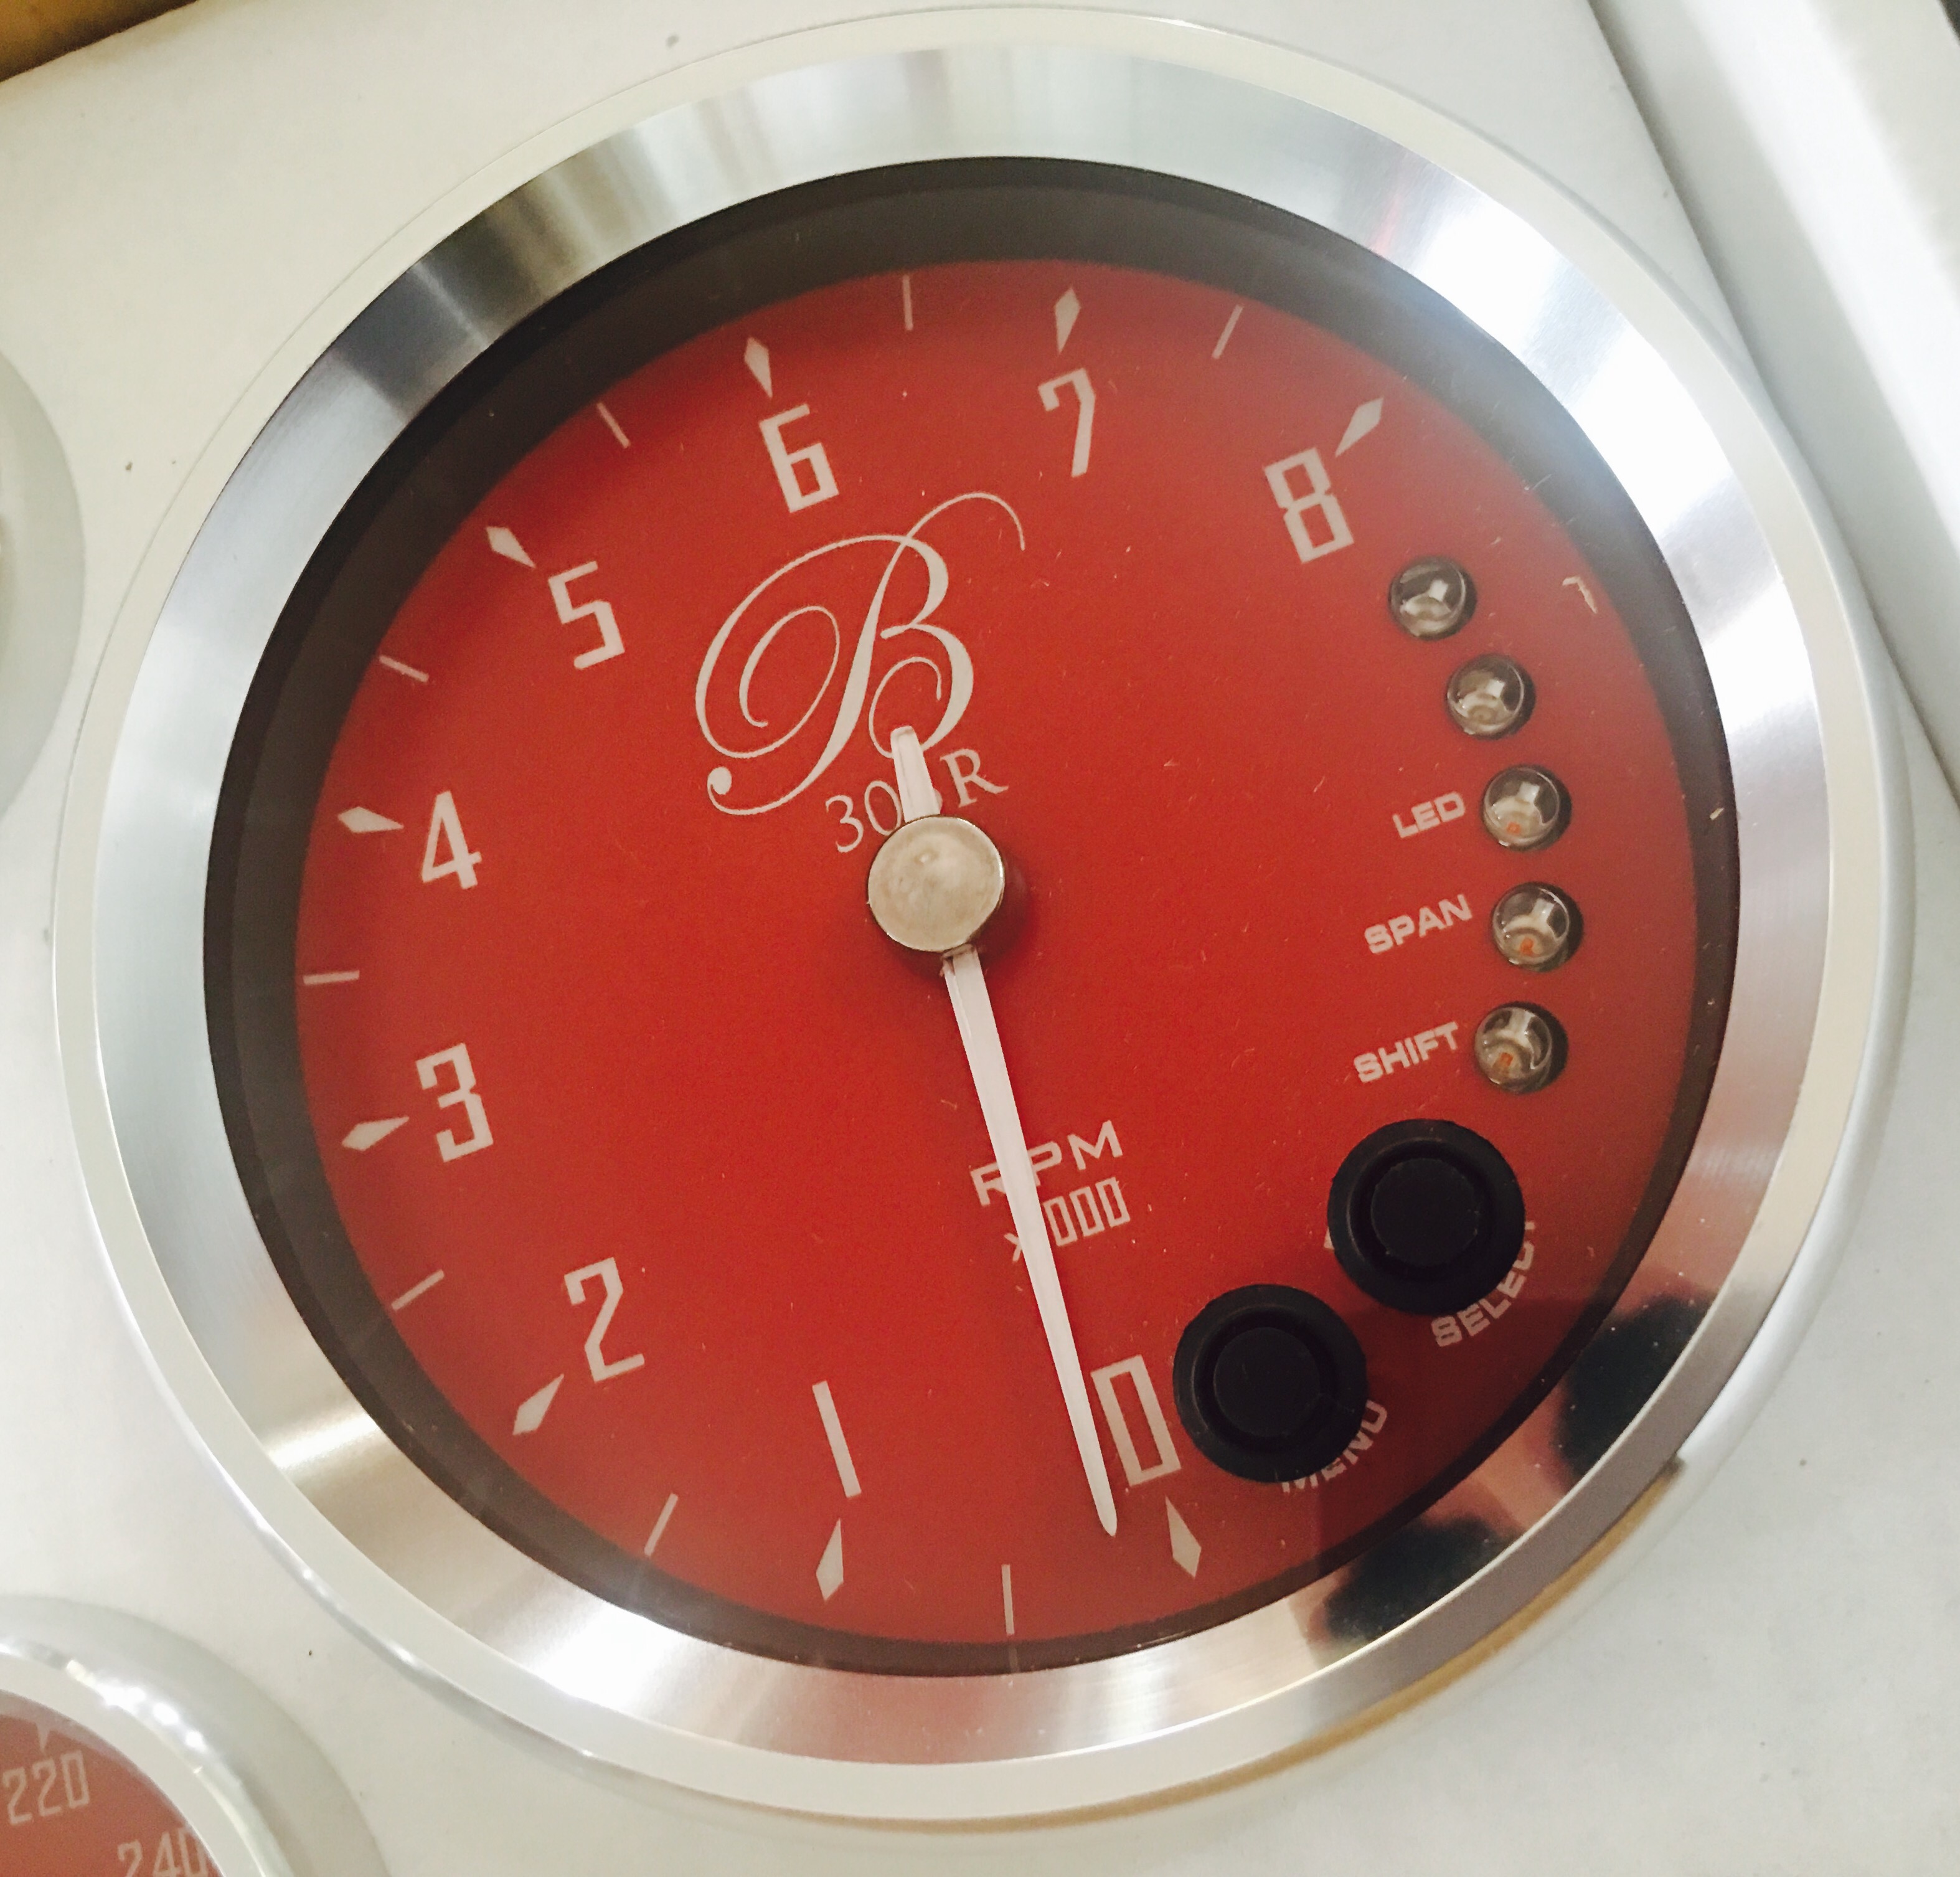
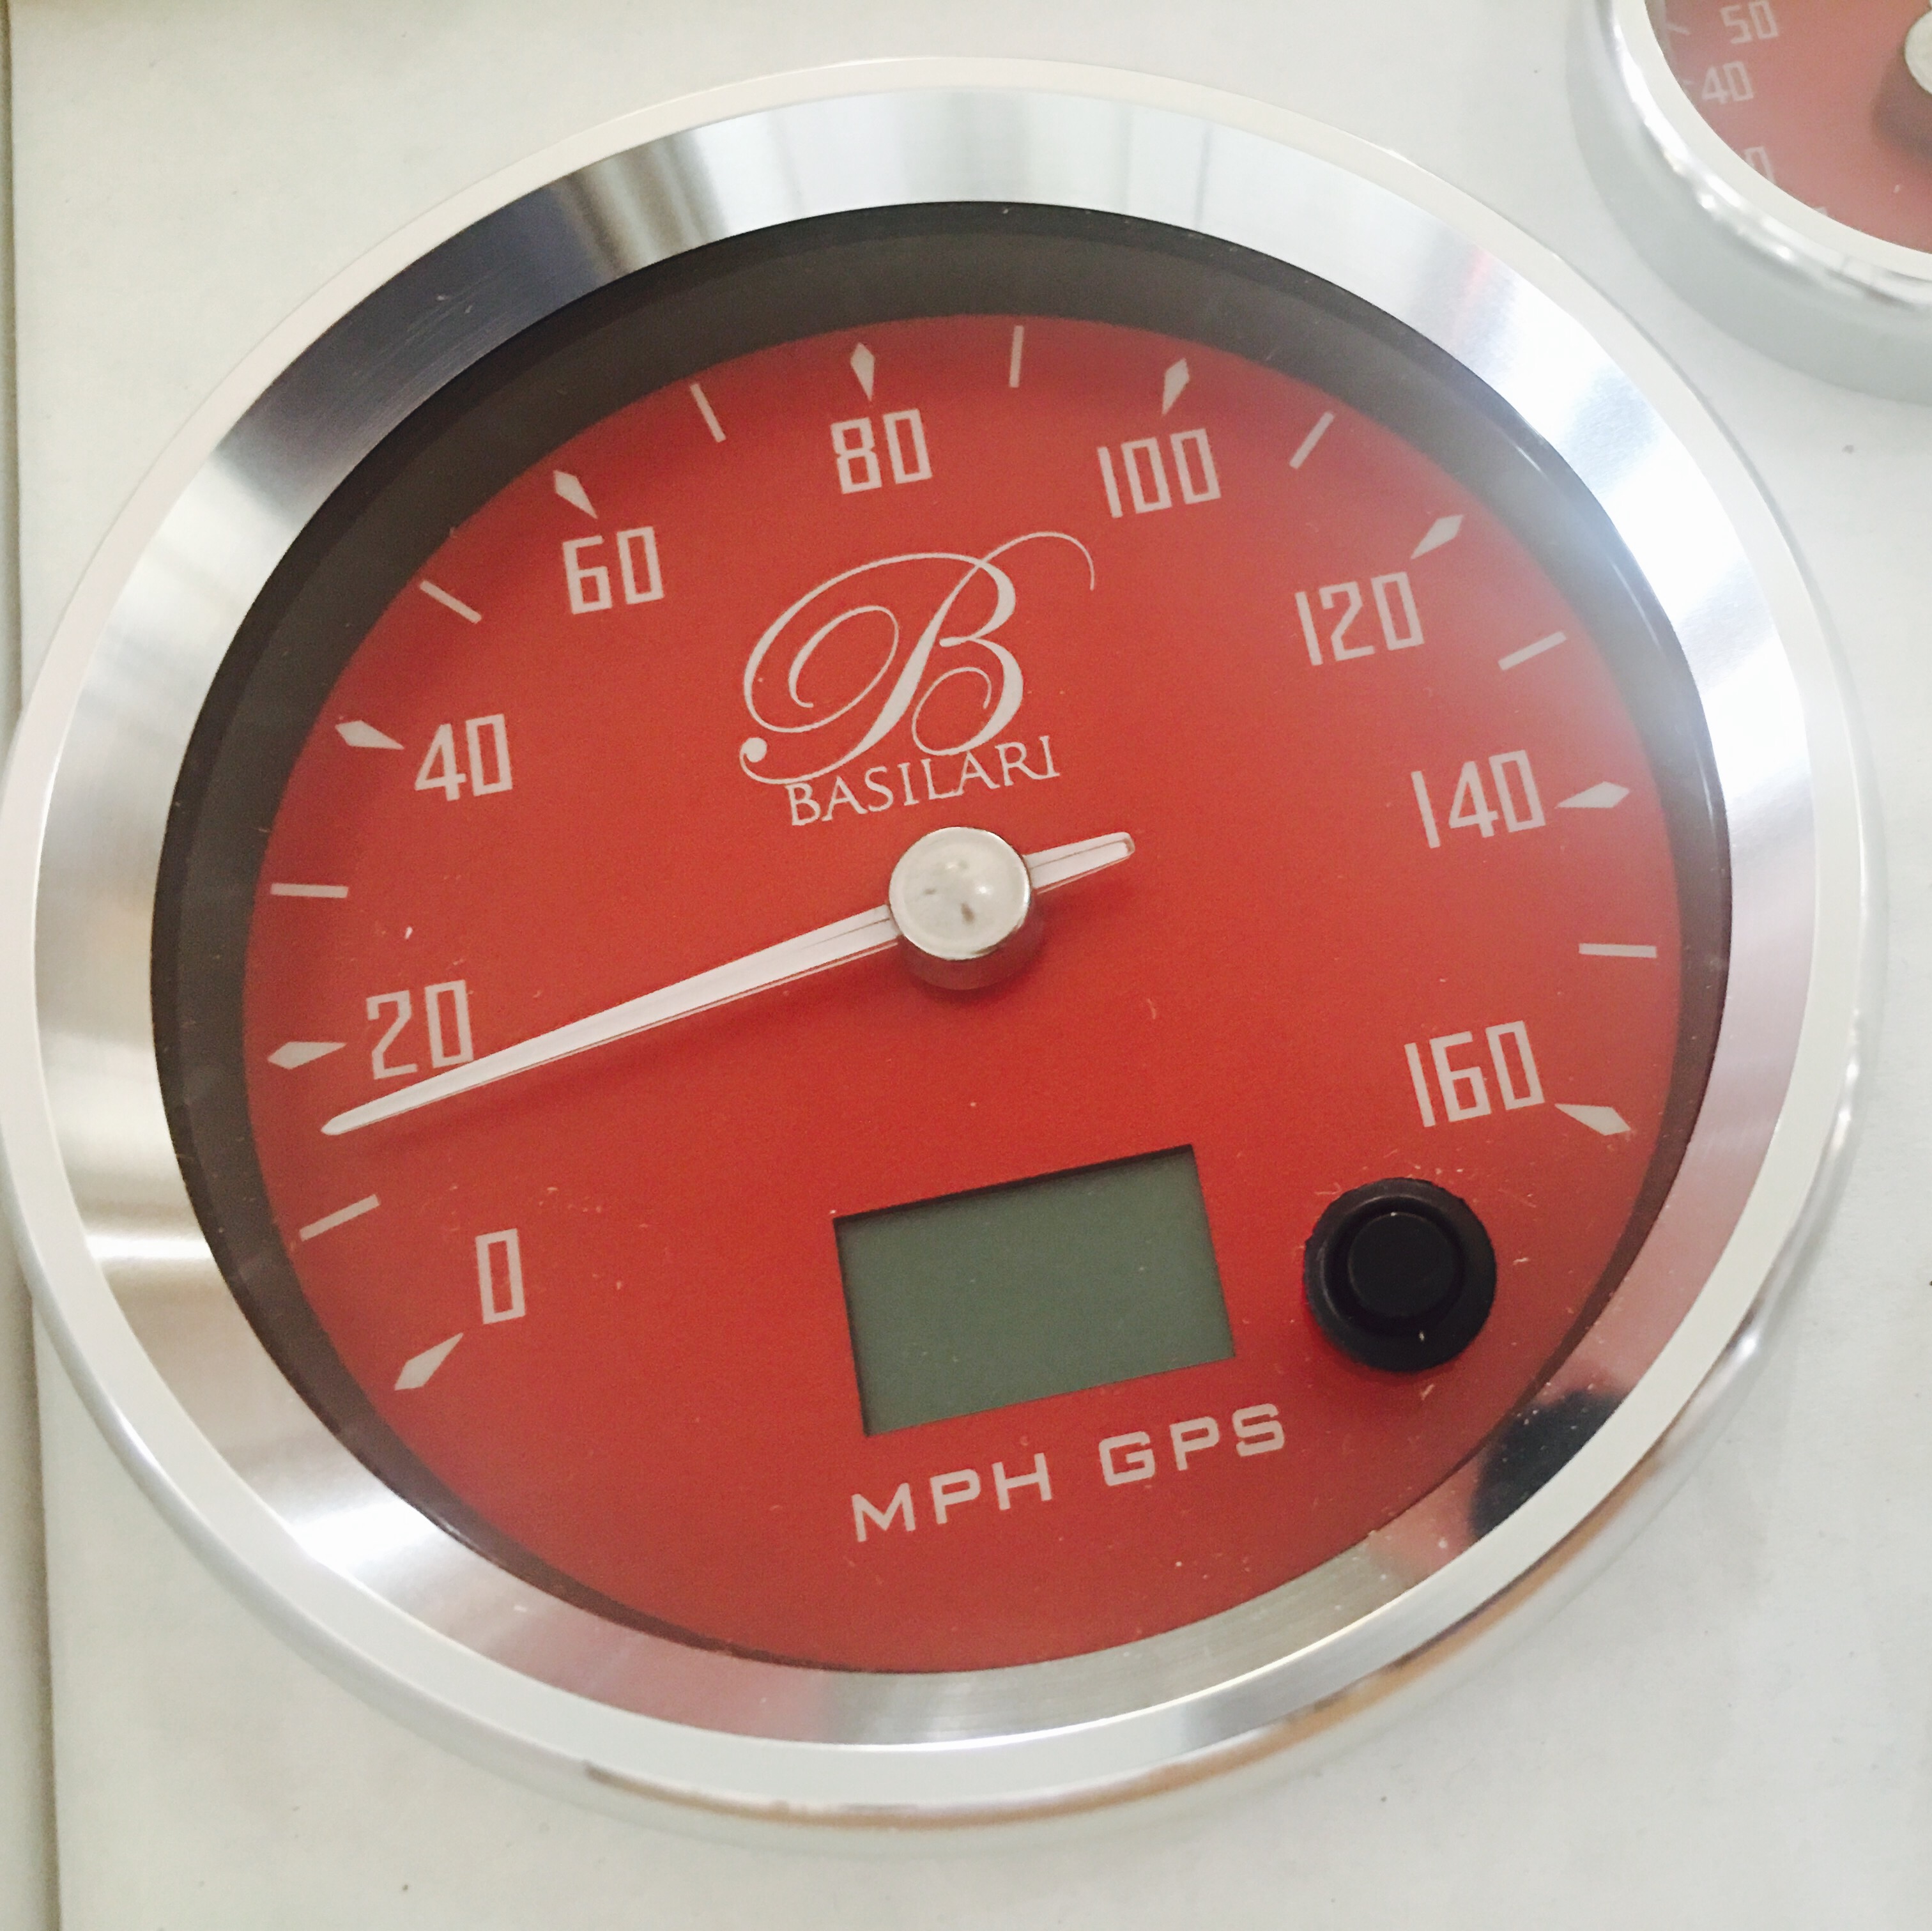
Our custom Speedhut gauges arrived and they look pretty sweet. I must say that this is one of the highlights of this build. Feels like Christmas with all the red!
06
Mar
Speedhut Gauges proof
- By basil
- No Comments
The first round of proofs for the gauges came back. Needed to make some adjustments to the sizing of the logo. The changes where made and here is the final proof as provided by the Speedhut artwork team:
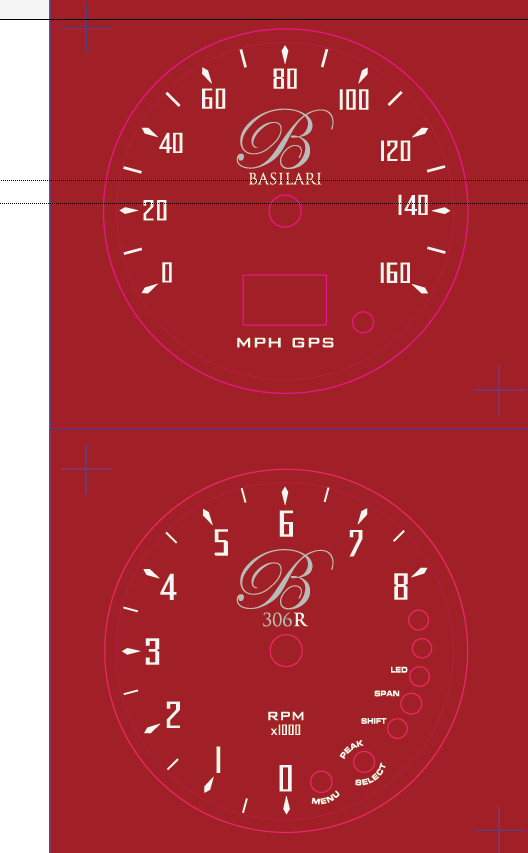
Off to print and delivery. Stay tuned.
24
Feb
New gauge set ordered
- By basil
- No Comments
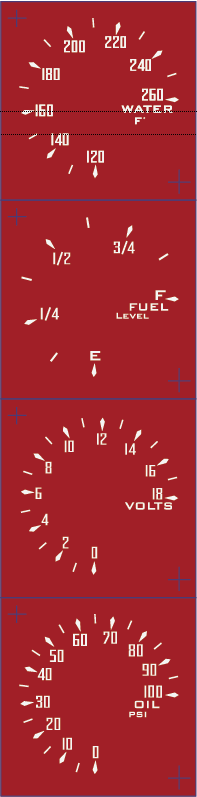
We ordered Speedhut gauges in red:
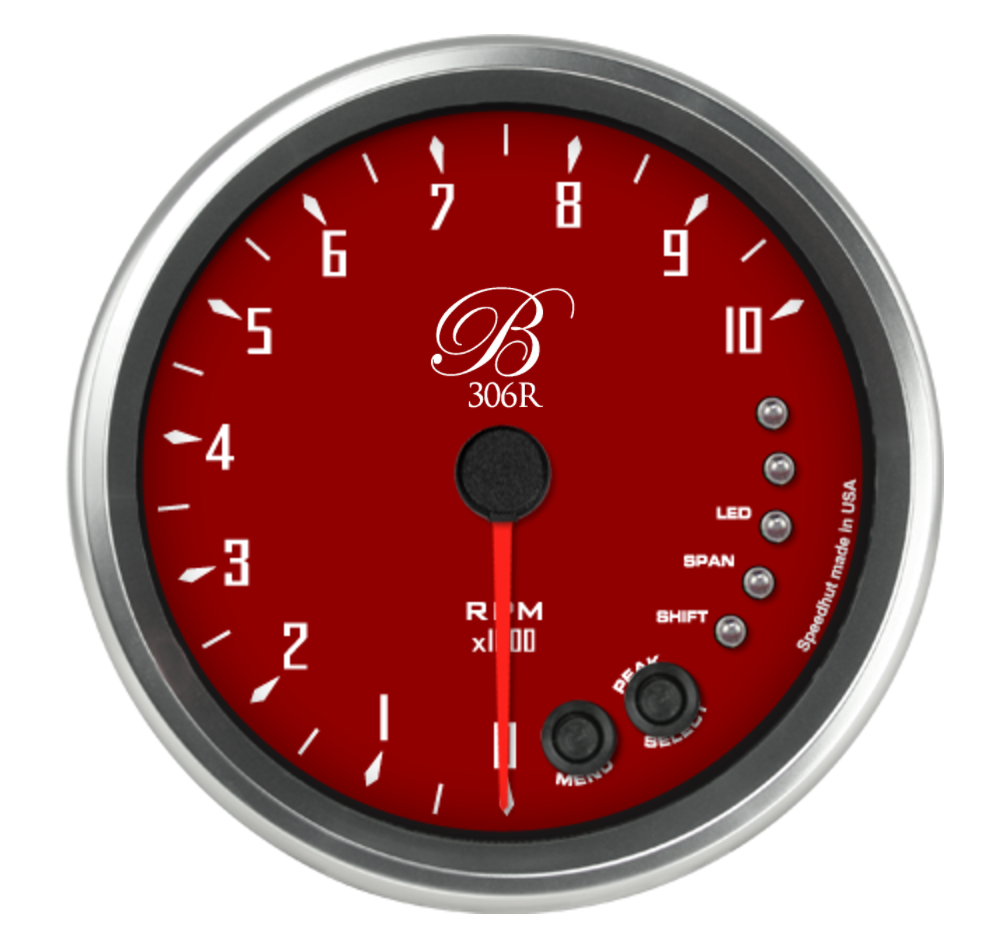
Speedhut gauge example (10k shows, but 8k will be delivered)
02
Feb
Interior inspiration
- By basil
- No Comments
Going for a Porsche RS inspired interior. If you recall, we are going with black paint for the top of the car. Our roll cage is already red and the dash will be the same color as the top of the car (frozen black). 
We’ll see if we can get the pull tab style door handle. :)
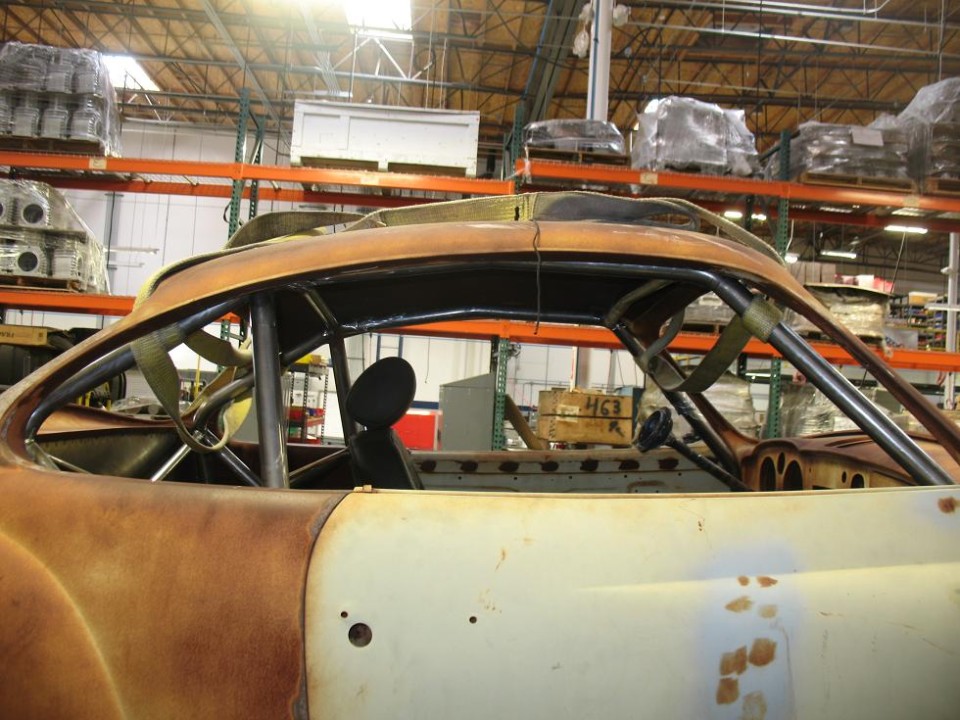
Roll cage box already checked for us:

Early pic of the Basilari roll cage
Better view of the Porsche RS cage:

Porsche RS cage
18
Jan
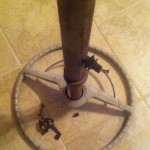
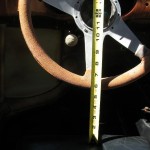
Steering wheel from the parts car..
- By basil
- No Comments
-
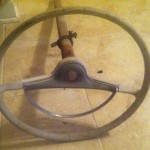
- Steering wheel from the parts car – pic 1.
-
- Steering wheel from the parts car – pic 2.
-

- Steering wheel from the parts car – pic 3.
The good folks over on TheSamba confirmed that this is a 1958 steering wheel.
13
Dec
More roll cage photos..
- By basil
- No Comments
Roll Cage (driver’s side)
Karmann Ghia Roll Cage (bar view)
Karmann Ghia Roll Cage (bar view)
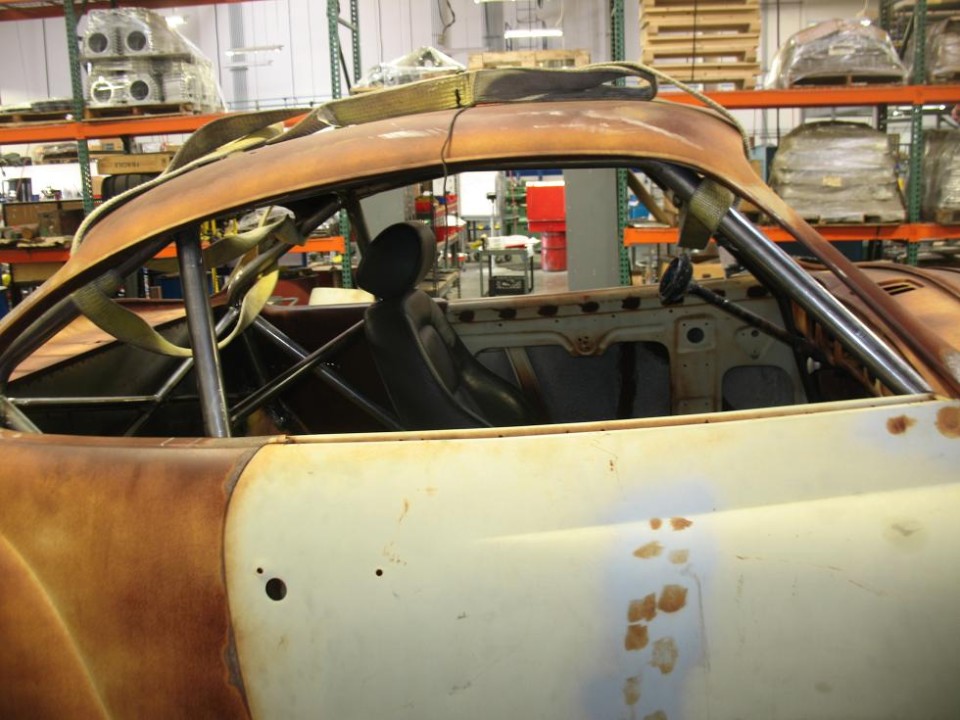
Karmann Ghia Roll Cage (driver’s side)
Photo updates for the roll cage build.
30
Nov
Build update: roll cage and other items
- By basil
- No Comments
-
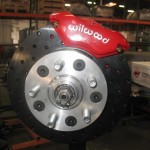
- New Airkewled brake kit with Wilwood calipers.
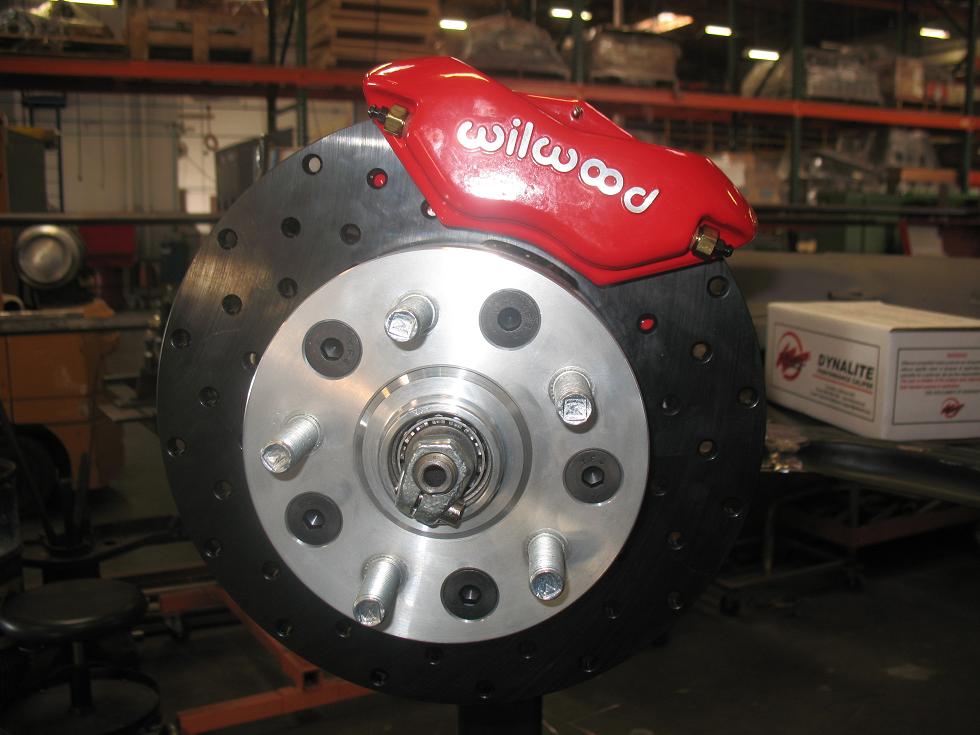
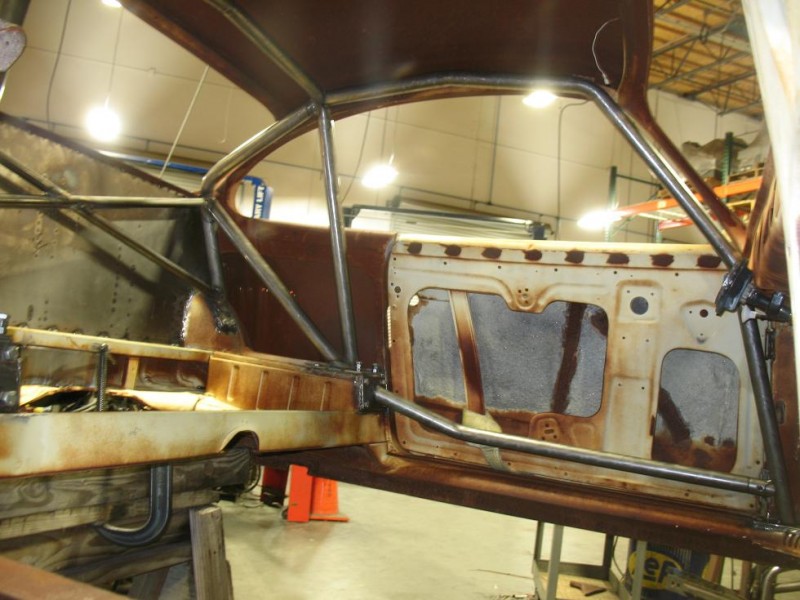
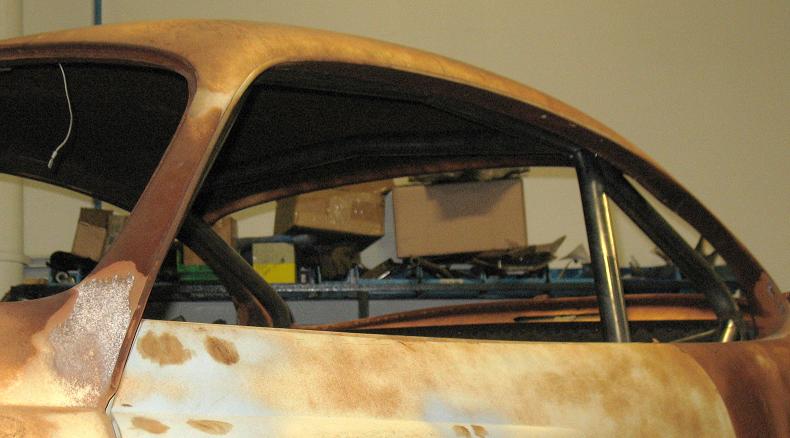
Good progress on the roll cage was made this week. In the photos you’ll see some welded bracing placed at strategic points on the body. The interior shots are of the custom bends and cross barred section in the rear. Kevin said there’s going to be about 50 feet of steel tubing used when it’s all said and done. And we’re going to power coat the whole monstrosity in the same red as will be found in the suspension components.
Other photos are more cosmetic – the black mamba shifter is shown (we’ve had it a while) and the rear Wilwood calipers with e-brake setup are in as well. We’re getting there!
[subscribe2]
20
Nov
Seat work, coming together
- By basil
- 2 Comments
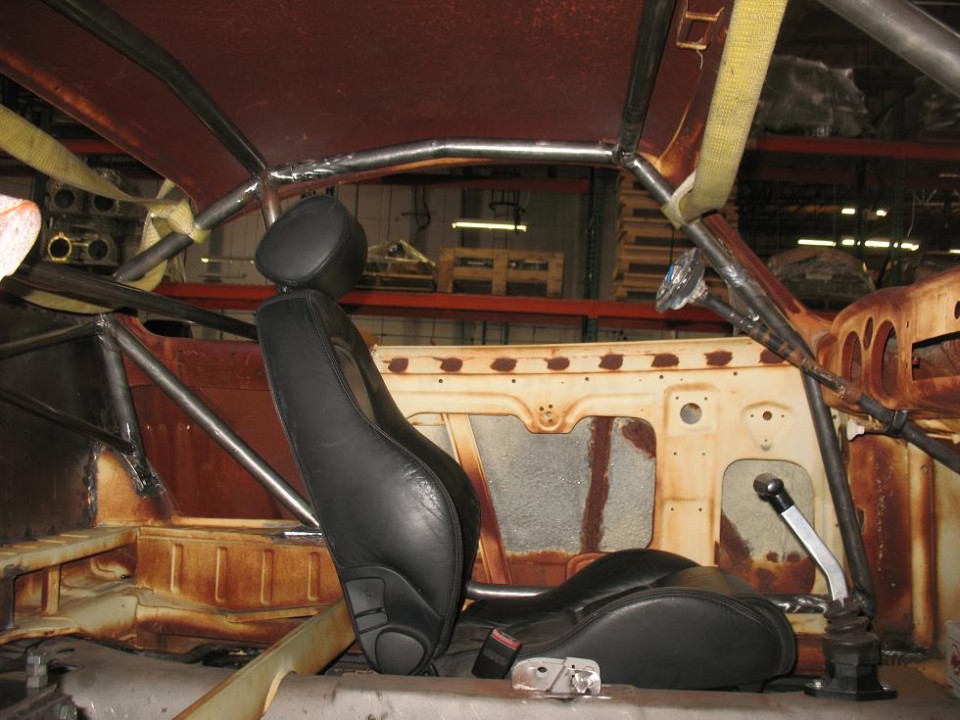
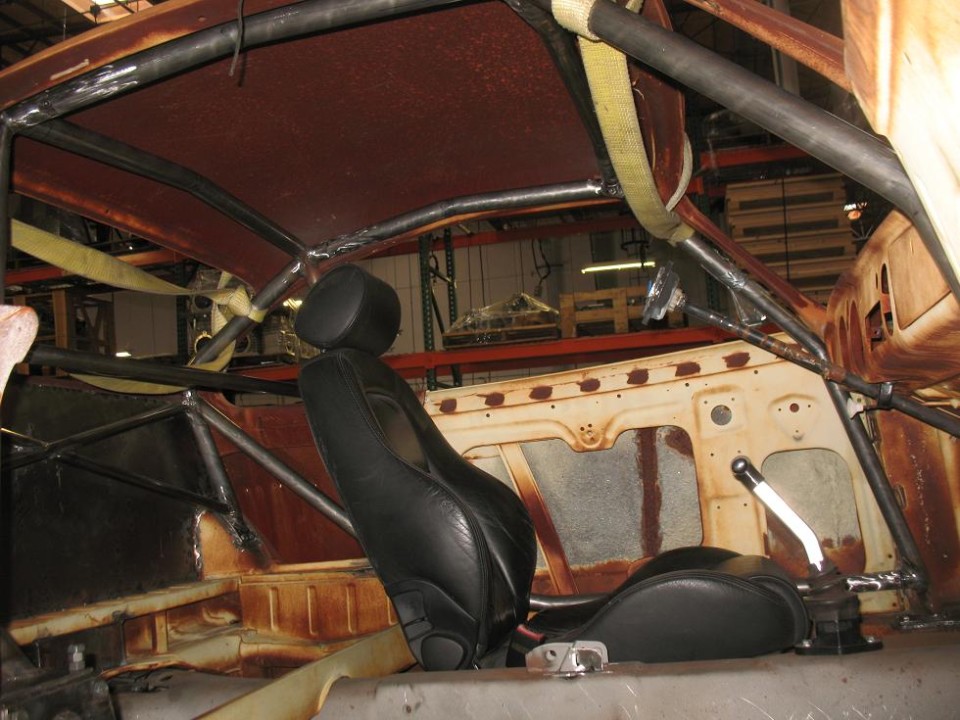
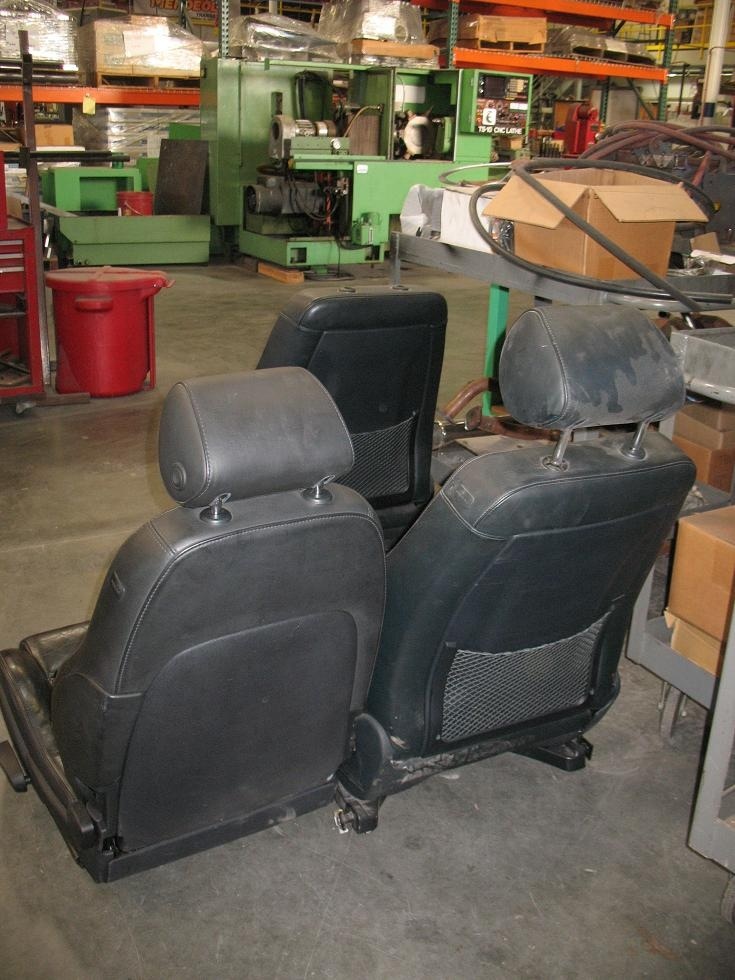
Kevin welded supports unto the pans for the Audi TT seats. Later, the driver’s seat was put into place. The TT seats fit better and seem to have a curvier look that accentuates the Ghia’s natural lines. We’re digging it very much!

30
Oct
It takes two to make a thing go right..
- By basil
- 2 Comments
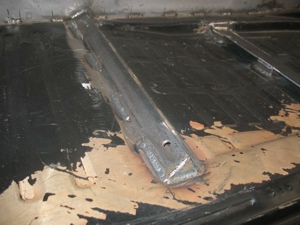
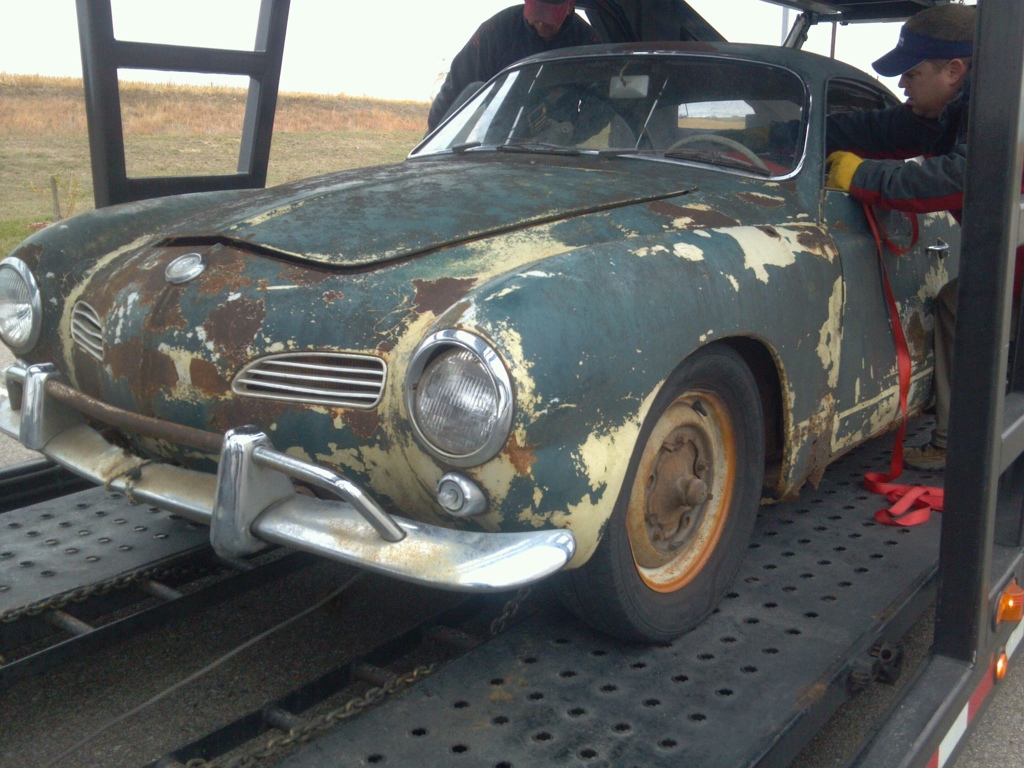
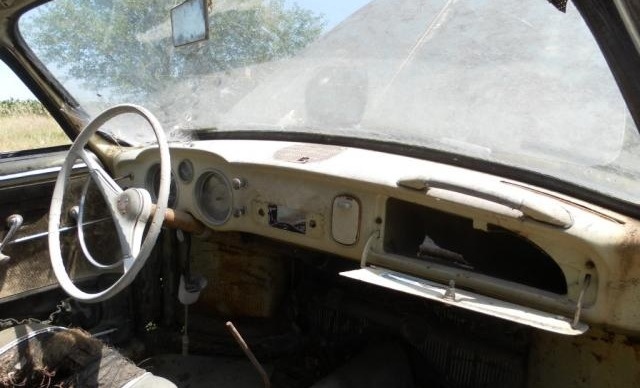
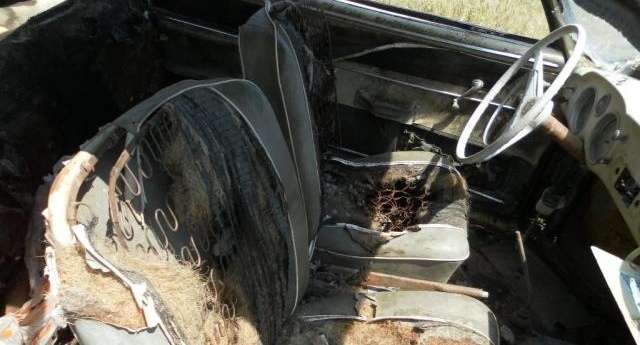
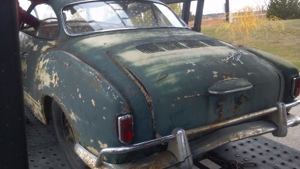
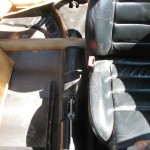
Picked up another ’58. Did the math on parts and this was an excellent buy. This thing is a total rust bucket basket case, but it’s got:
- all the glass except drivers door
- windshield trim
- bumpers
- lights and chrome ring
- front turn signal housings
- interior dash parts (+grab handle!)
- interior panel trim
- ’58 mirror and visor combo
- steering wheel
- interior and exterior door hardware
- internal door hardware
- possible donor panels for the rear
- front VW button
03
Aug
The correct driving position
- By basil
- No Comments
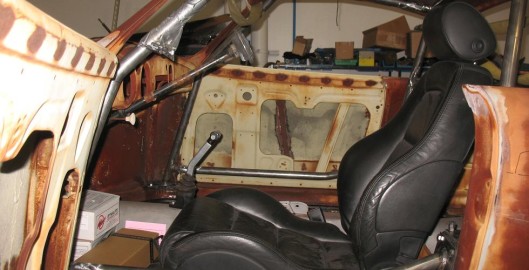
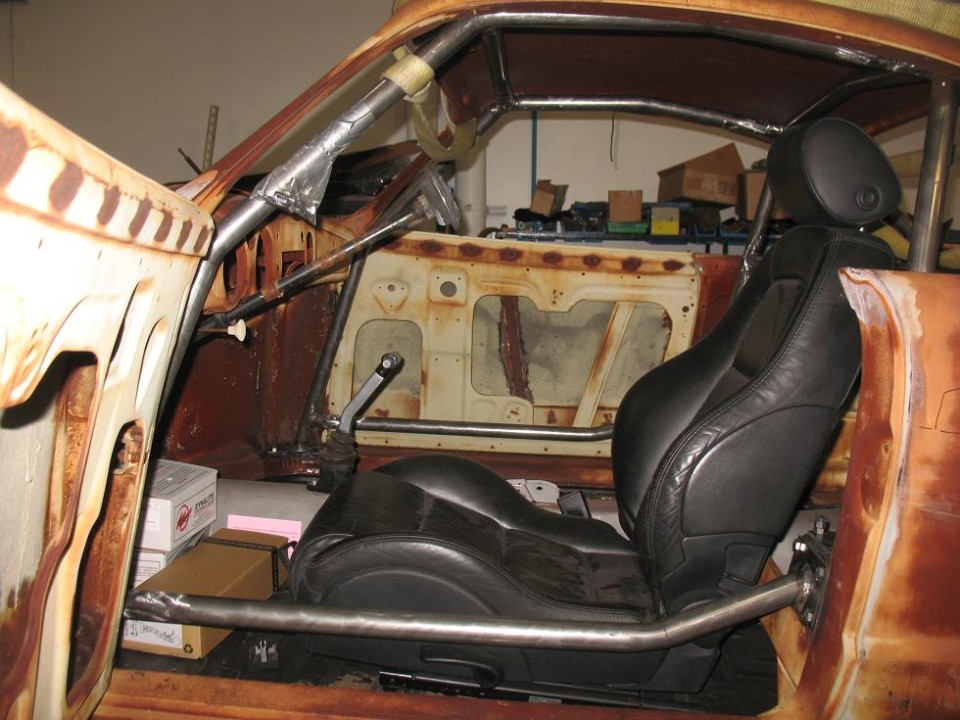
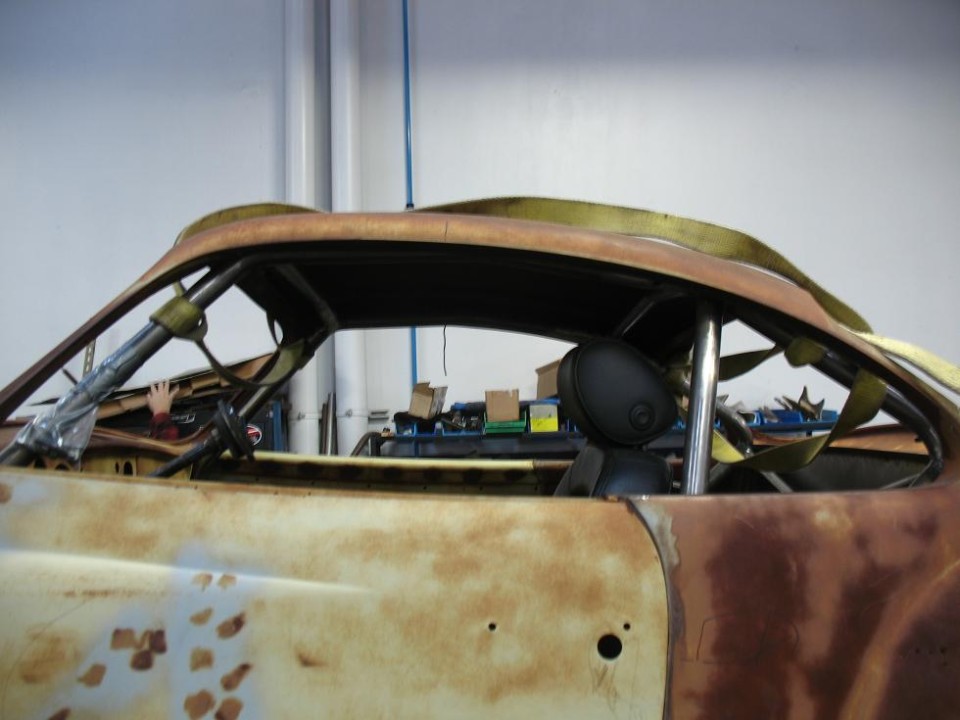
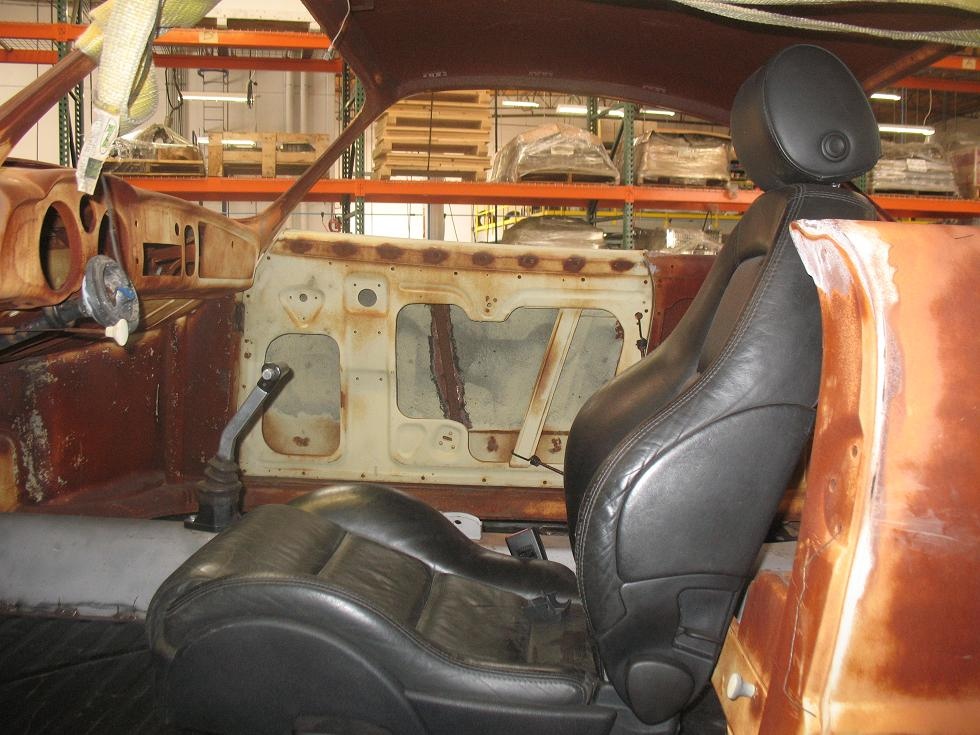
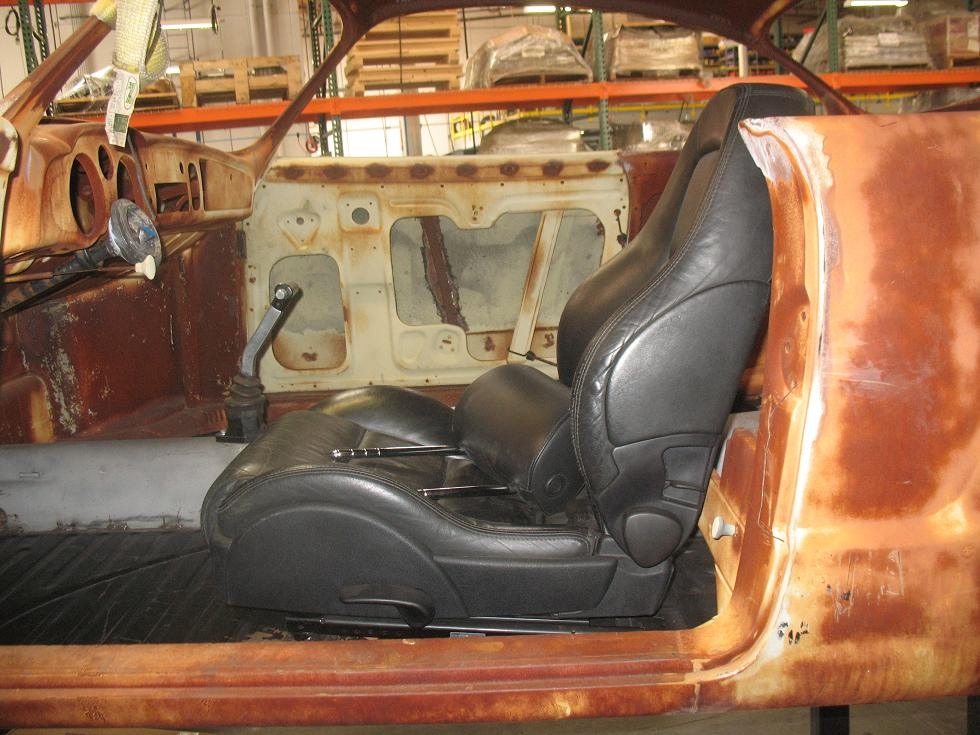
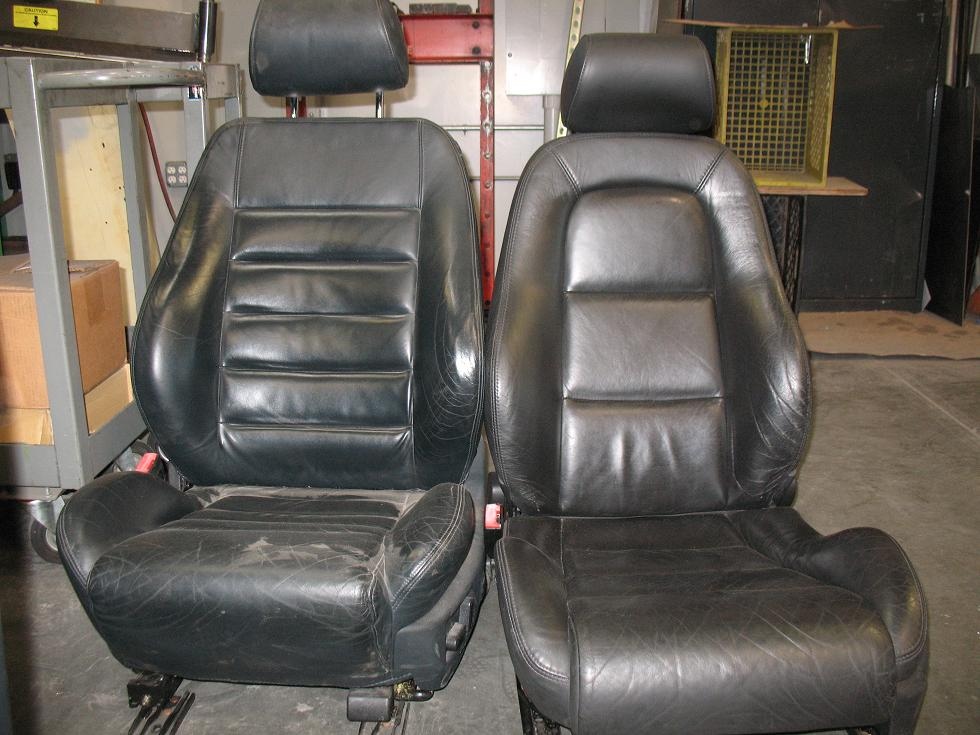
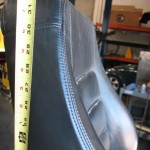
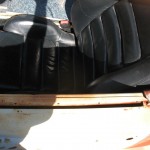
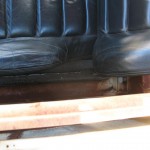
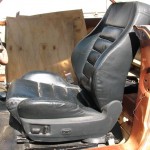
So, Ghia’s are small. I’m big. I need seating that fits the car and is “big man friendly” as my ex-special forces brother-in-law says. Kevin got the Audi S4 Recaro seats in this week and did a mock fitting in the Ghia.

Audi S4 Recaro – fresh off the truck
At this point, Kevin is saying that the seats are too big for the car. Before the build I told Kevin that I wanted my armpits to be about the same height as the door sill but I didn’t realize just how tall the Audi Recaro’s would be. We both had planned to run the seats without headrests to match the seats from the ’59 era, but they are still a bit tall because of all the power motors and frame under the seat. Kevin is 6′ and he only had about an inch of headroom when seating and the steering wheel was very low and between his legs. Not good.
So, I researched the proper driving positions and thought about solutions to the seat problem (really trying to protect my investment in leather Audi S4 Recaro seats!). Here’s the run down:
- I thought about swapping the steering column for one that was both telescopic and adjustable. I’ll need to talk to Kevin about this option. Considering something custom from Borgenson.
- A smaller steering wheel? Not sure if I want to look like a kid driving a go cart – even if it does have 300HP+ and does 0-60 in 4.2secs.. Still would have the height problem.
- Getting different seats and measure this time! Back on eBay the Audi Recaro’s would go. ;(
- Make the current seats work. This would require custom fab work. Kevin suggested maybe dropping the pan were the seat go about 4 inches. We could also remove the motors and such from under the seat, but we don’t have manual adjusters so that’s sort of pointless to try. I was also thinking that we could lob off half of the first bottom cushion section to free up some space, but that doesn’t solve the height issue.

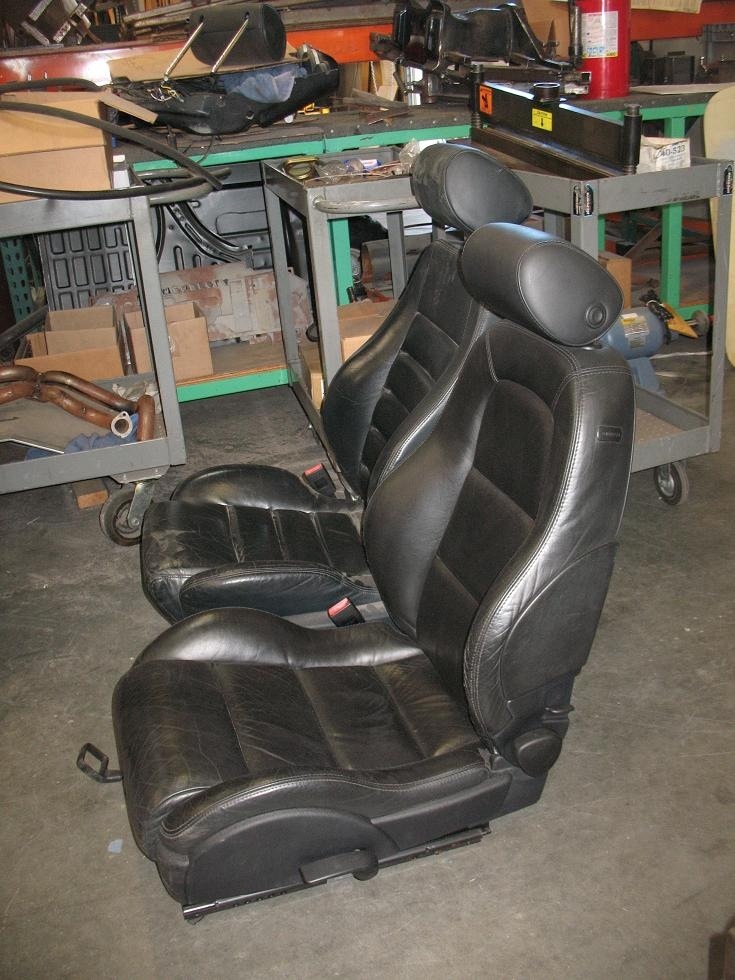
Mockup of the Recaro in the Ghia
Notes on the proper driving position as summarized from Porsche Club of America (Yellowstone Region) page:
- You get better cornering and performance by having a low center of gravity. So the first order of business is to place the driver in the seat as low as possible. There are other benefits like chassis feedback so go read the page for complete details.
- The distance between the pedals and the seat should allow your knee to maintain some bend. A fully extended leg will not provide the leverage you need for braking and/or clutch work. And, you don’t want the steering column interfering with your leg movement.
- With your back squarely against the seat, the wrists of your arms should rest on the top of the steering wheel. Your hands should be able to drop over the steering wheel naturally. You can move/adjust the rear angle of the seat until you get this right.
- Hand position should be a 9 and 3 o’clock with thumbs on the inside steering wheel spokes. Also, make sure that all gauges are visible.
So, I think we will need to continue with other parts of the build until I can get out to the shop for a more precise fitment.

Recent Comments