

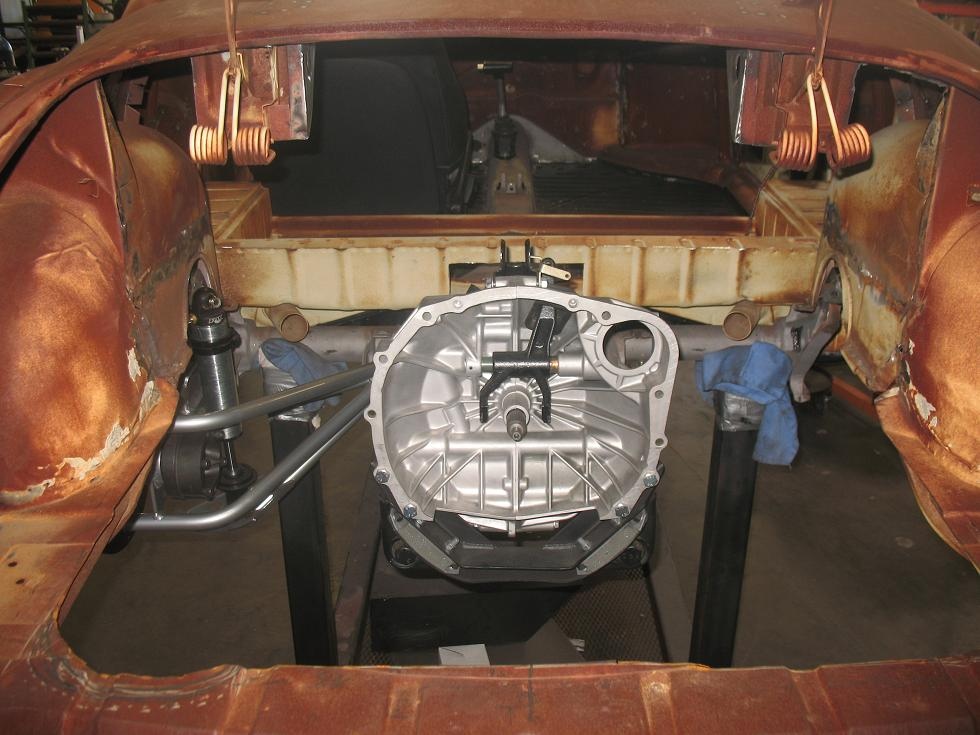
build updates
30
Dec
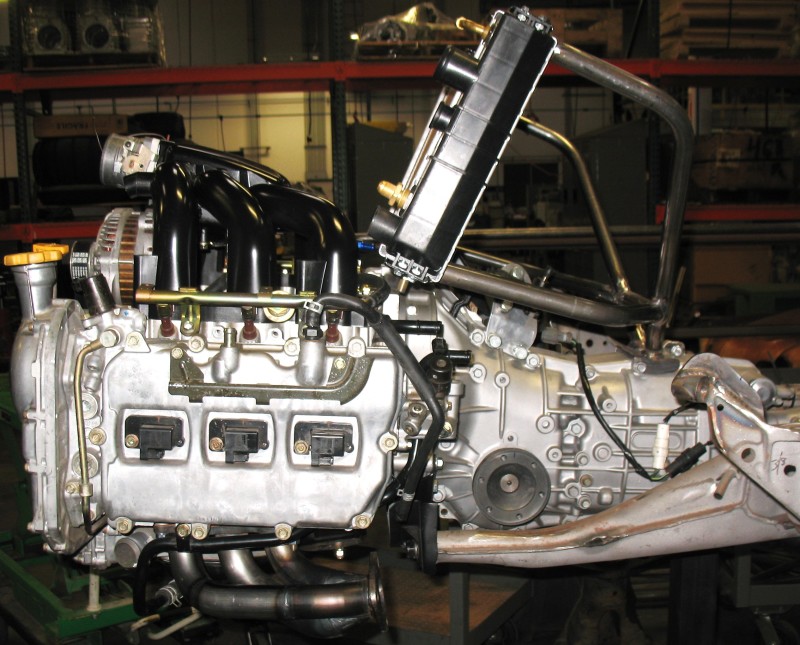
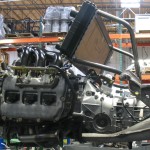
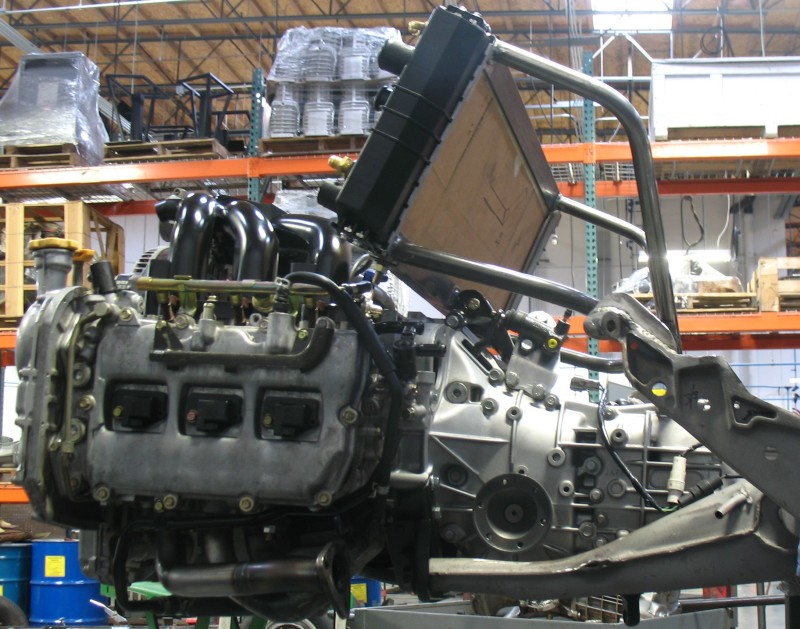
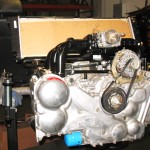
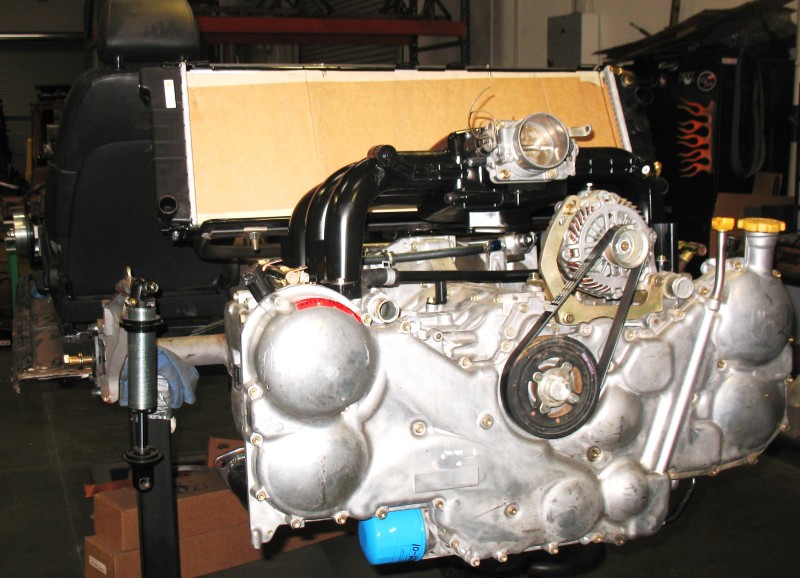
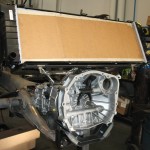
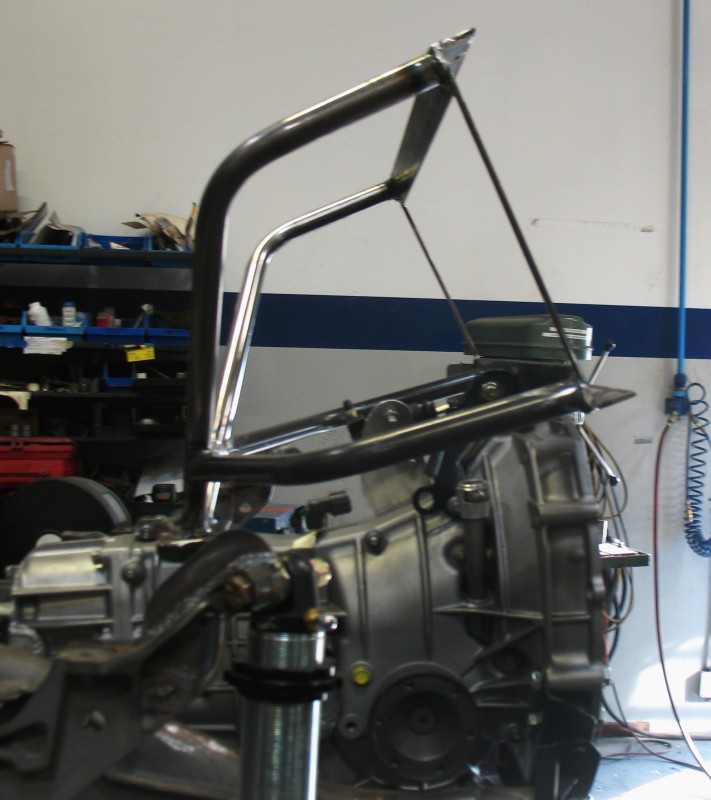
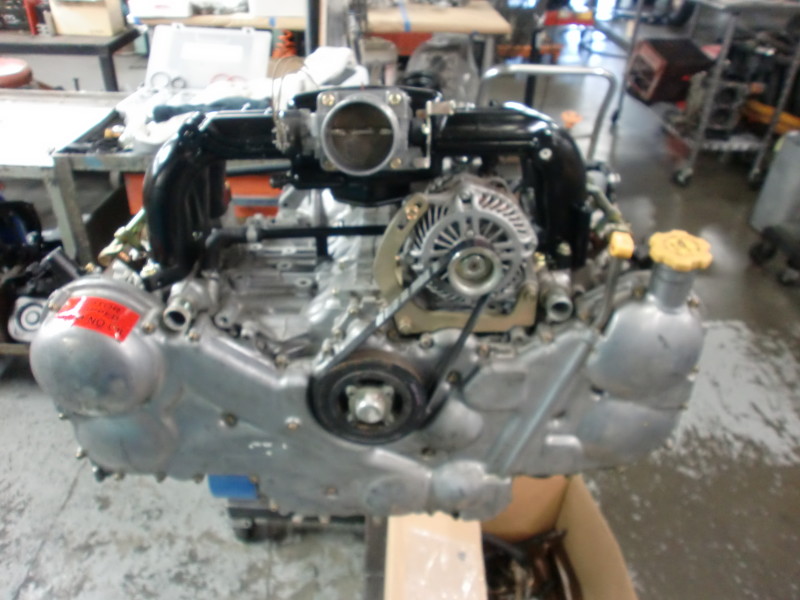
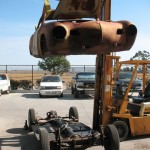
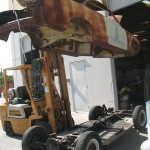
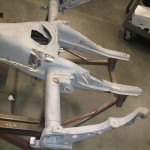
Engine, transaxle and radiator mounted!
- By basil
- No Comments
-
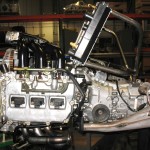
- Engine, transaxle and radiator – closeup.
-
- Side view of the mounted engine and radiator placement.
-
- Rear view of the mounted engine
It’s starting to look serious!! Exhaust build/fitment work up next.
27
Dec
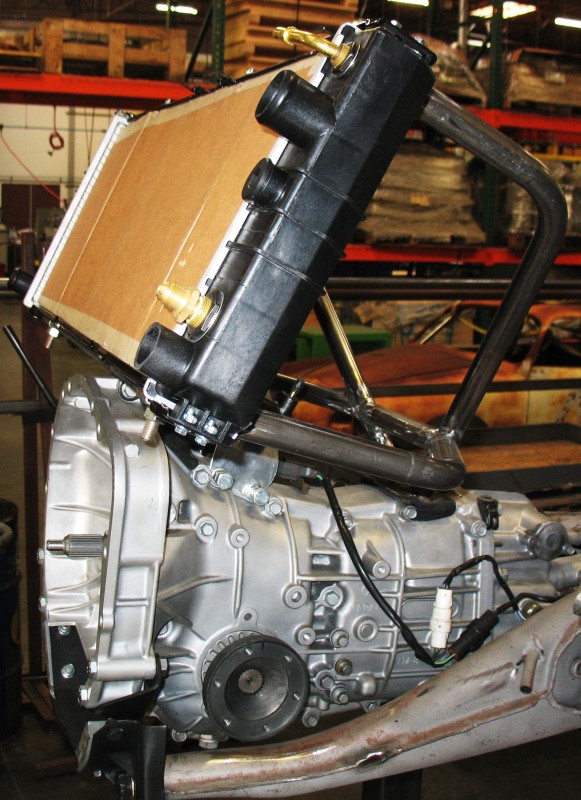
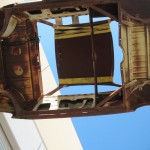
Rear radiator frame
- By basil
- One Comment
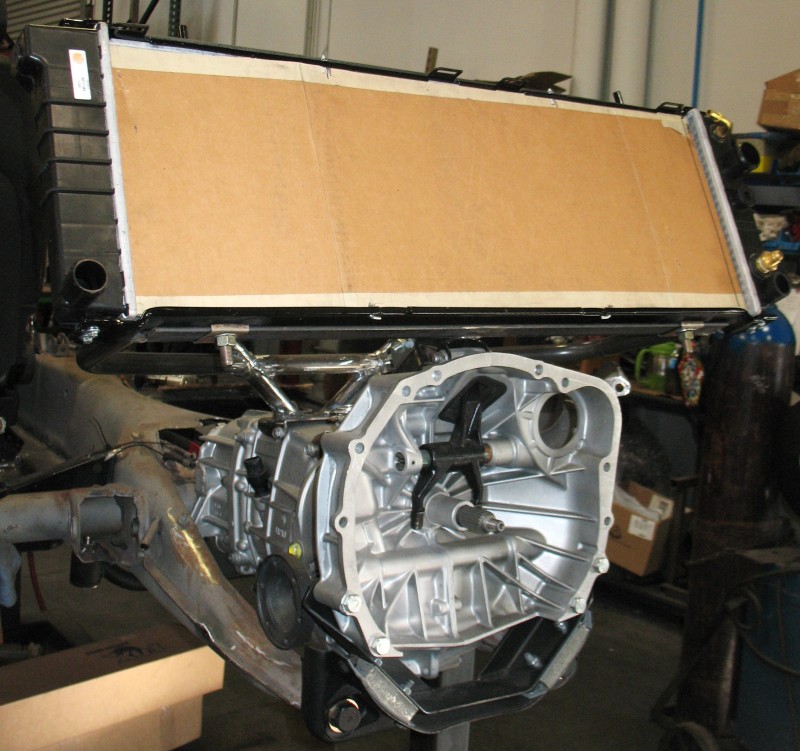
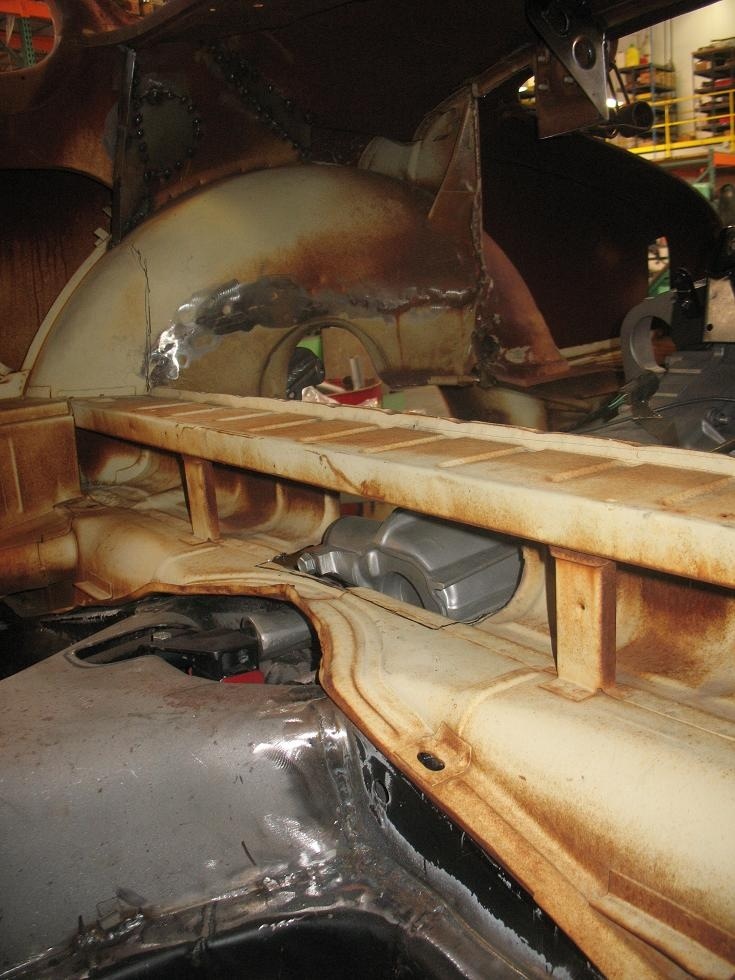
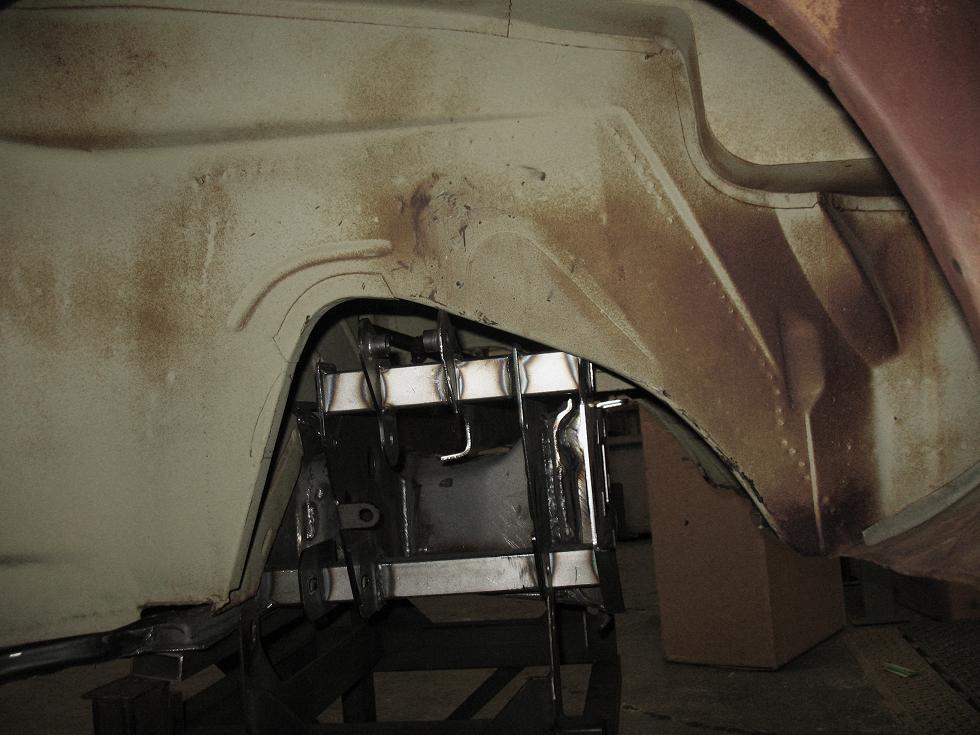
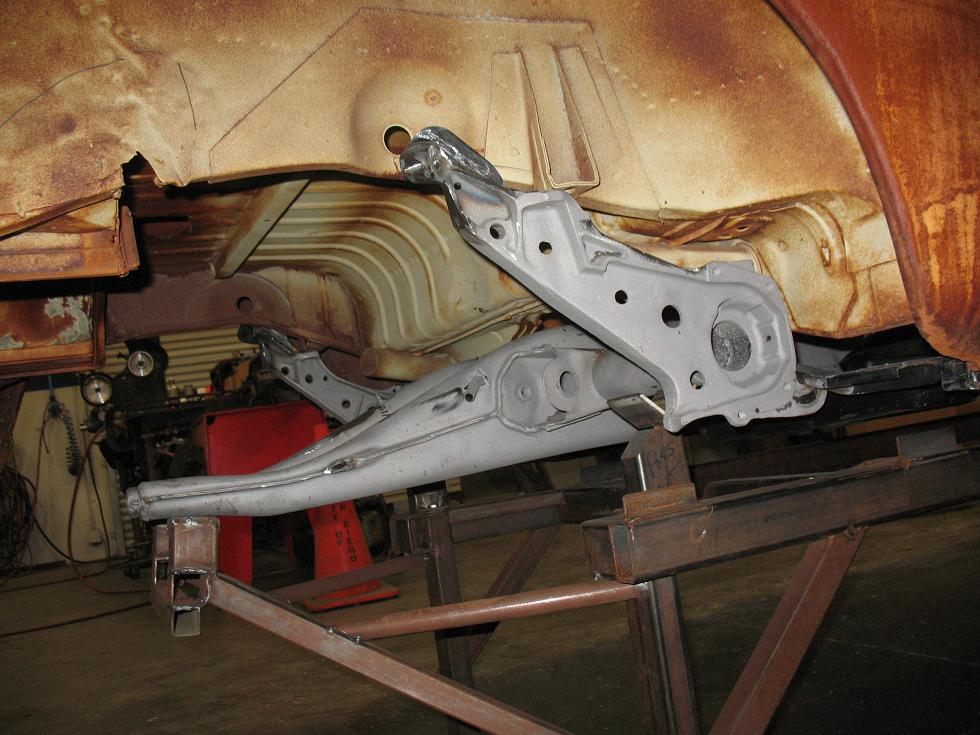
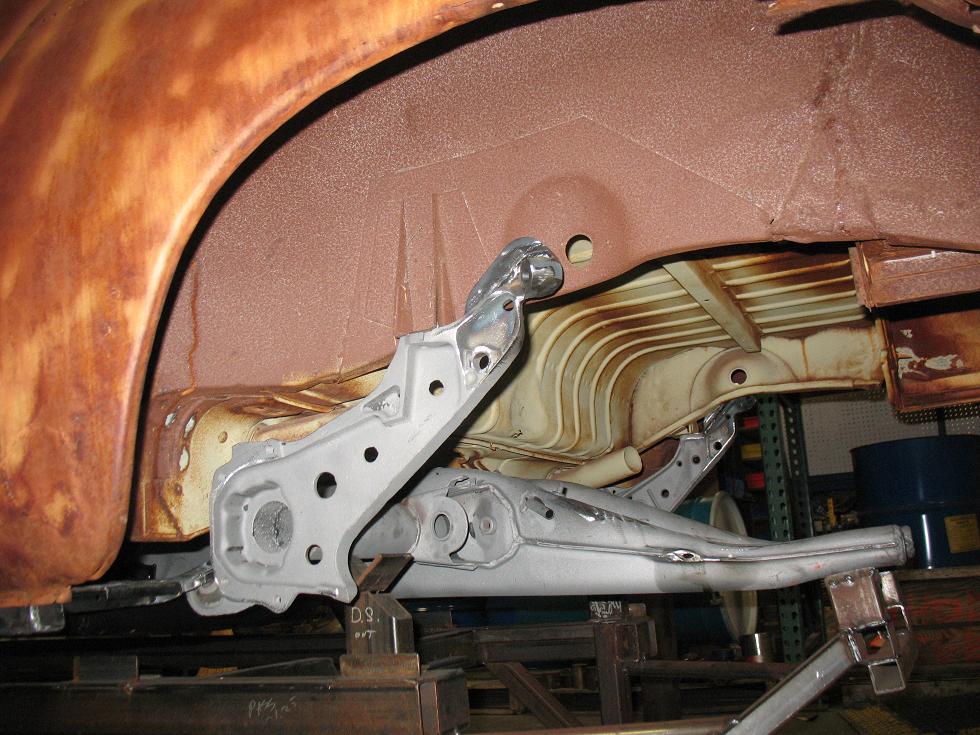
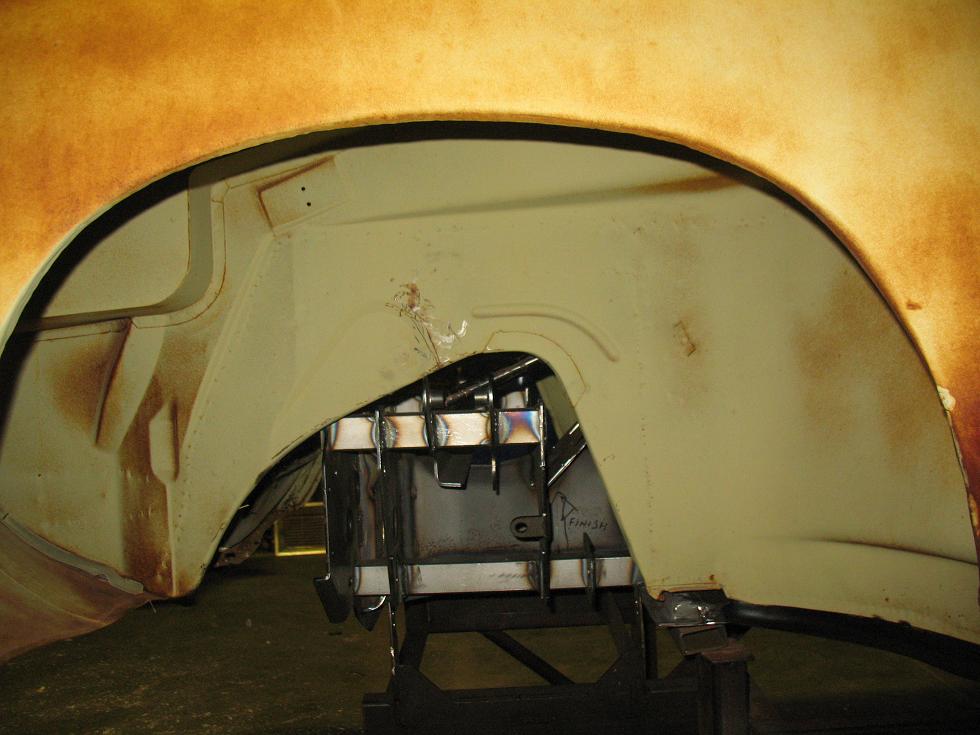
We have some updates on the radiator placement. Seems to be a bit of interest in this. The idea here is to have air flow from under the transaxle, up to the frame shown here, through the radiators and out the rear deck lid. We have a ways to go in terms of the scoops, etc. Not sure if this could be pulled off in a bug?
Check the photos below to see where we’re headed:
-
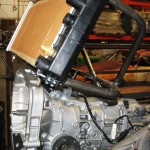
- Ghia radiator frame right side.
-

- Ghia radiator frame front left.

-
- Ghia radiator frame transaxle view.
-
- Front close up.
-

- Side view – no radiator, frame only.
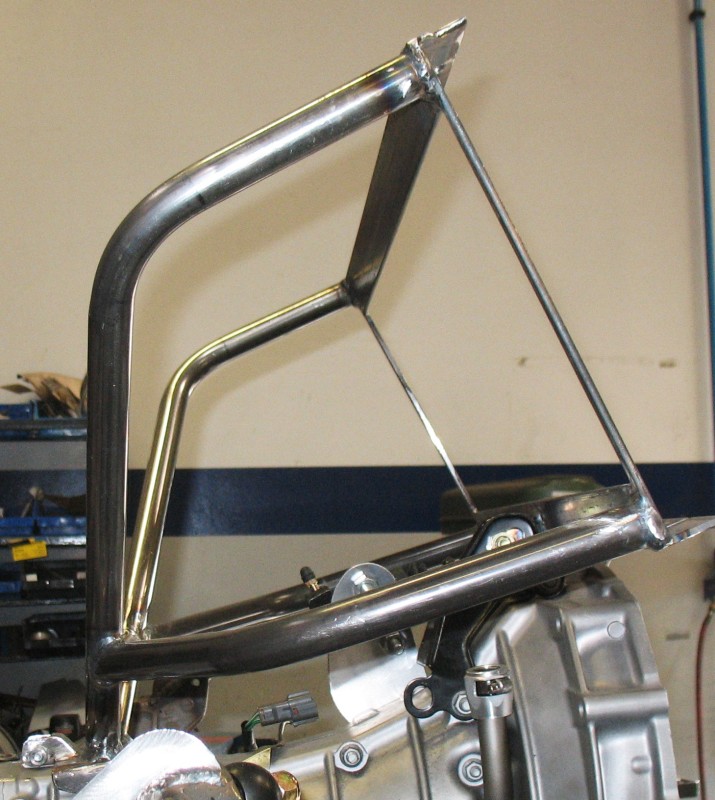
-

- Ghia radiator frame left side.
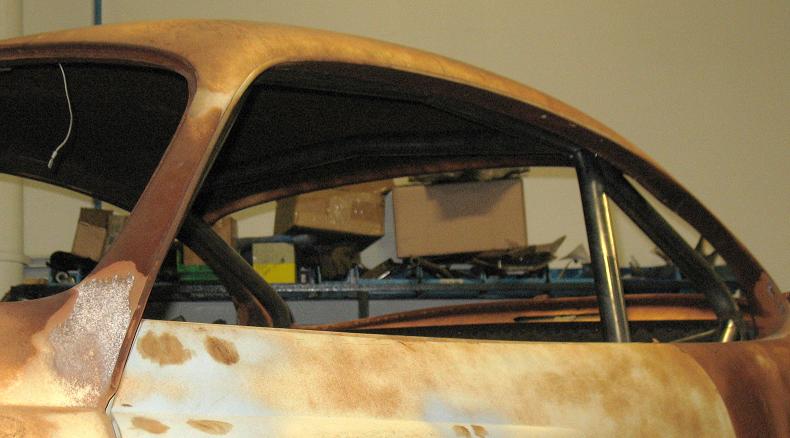
13
Dec
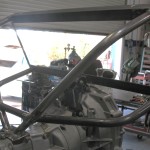
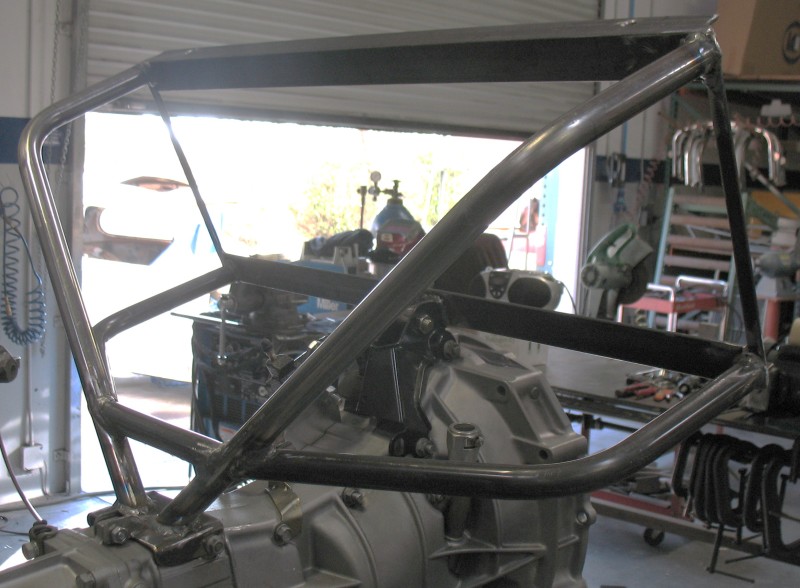
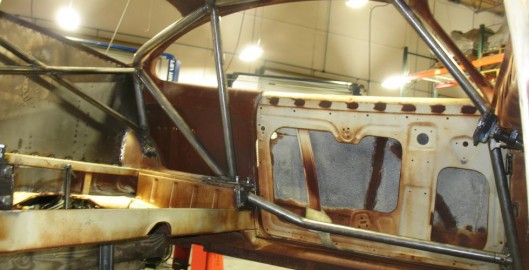
More roll cage photos..
- By basil
- No Comments
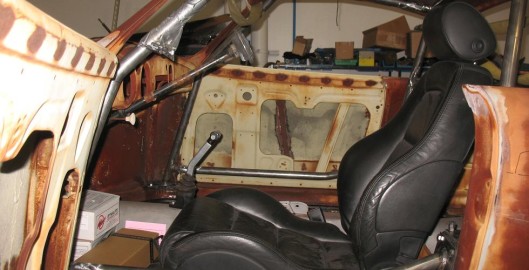
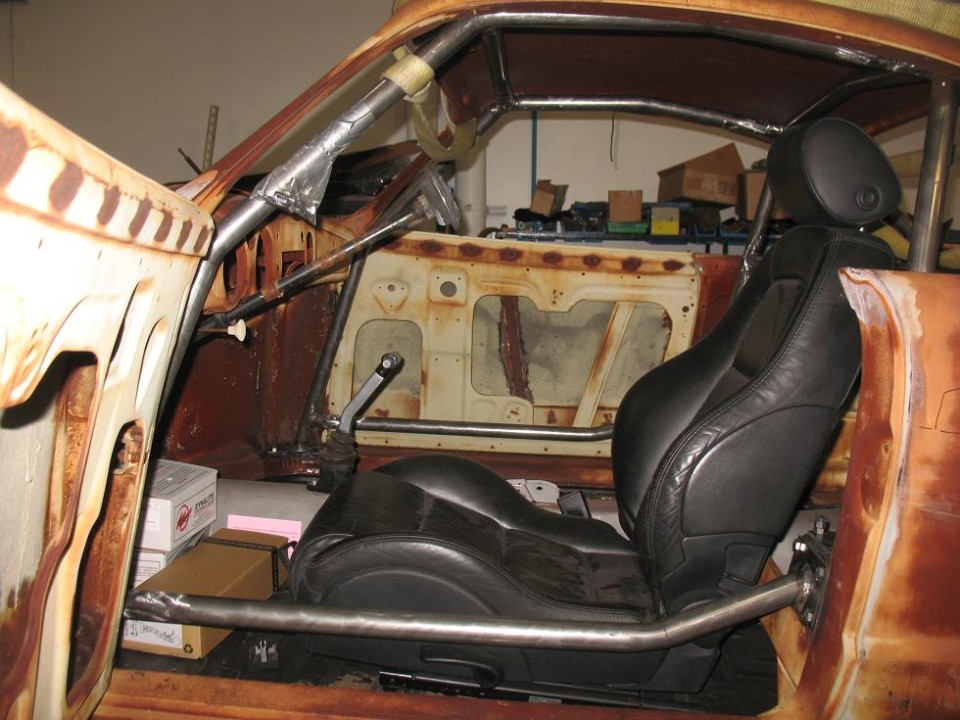
Roll Cage (driver’s side)
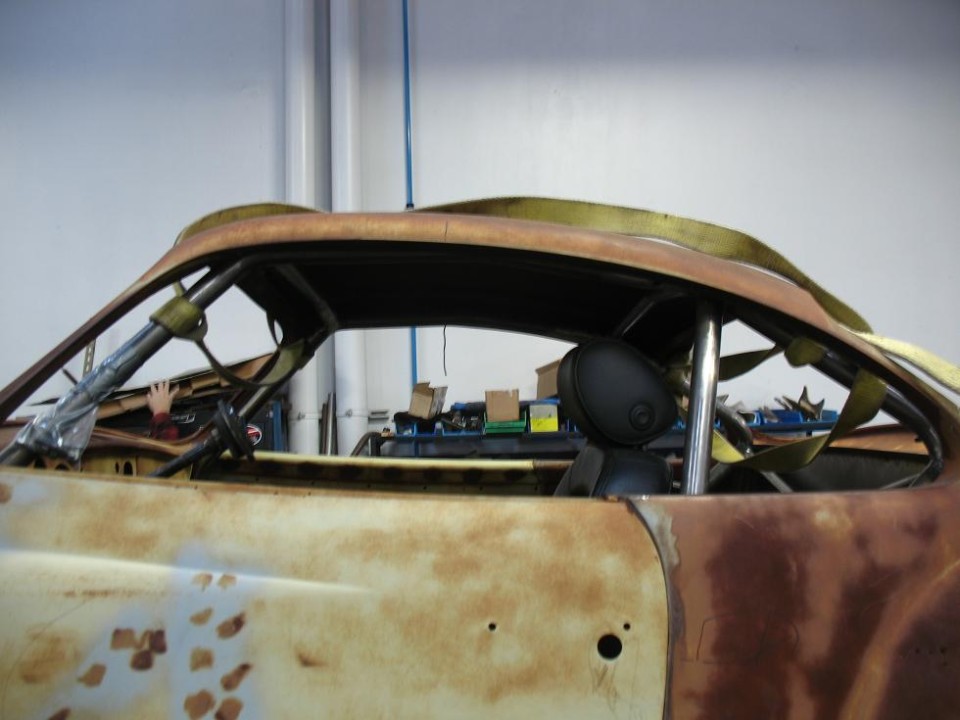
Karmann Ghia Roll Cage (bar view)
Karmann Ghia Roll Cage (bar view)
Karmann Ghia Roll Cage (driver’s side)
Photo updates for the roll cage build.
30
Nov
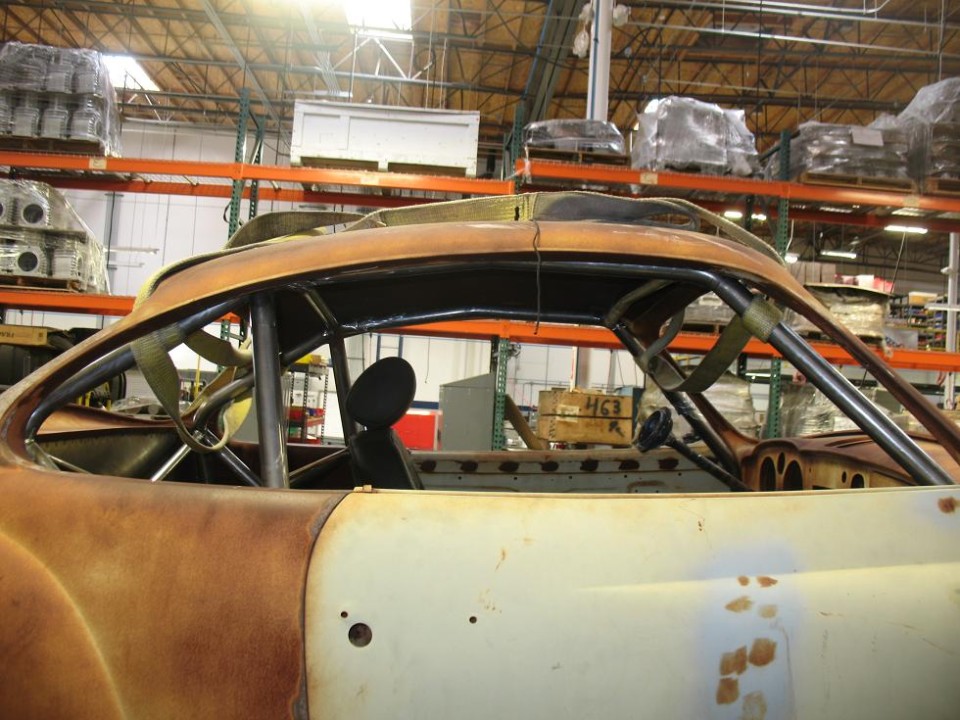
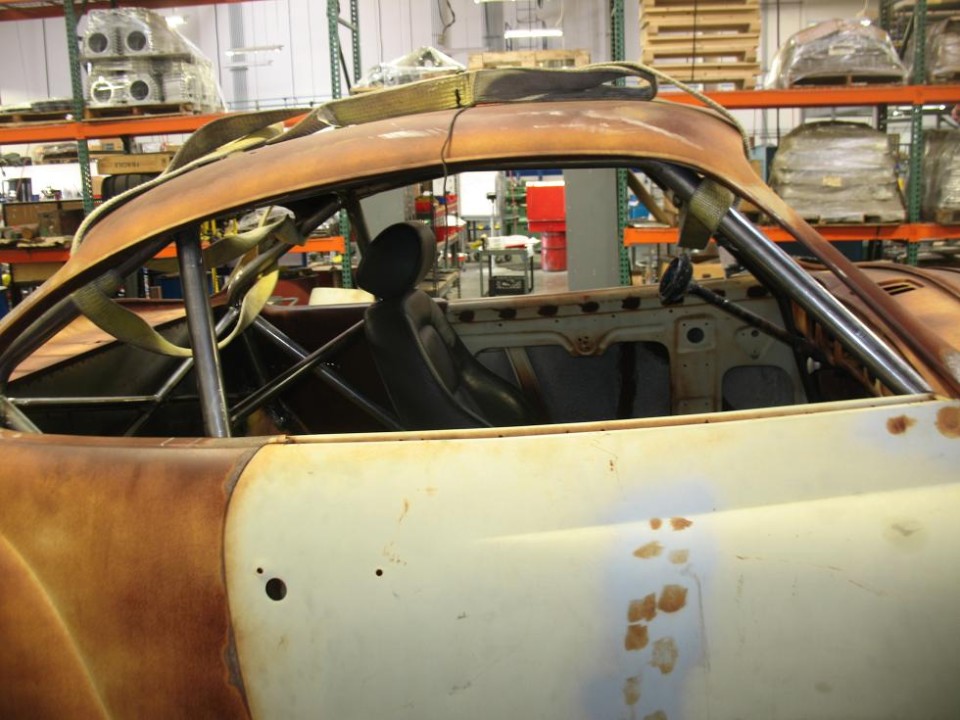
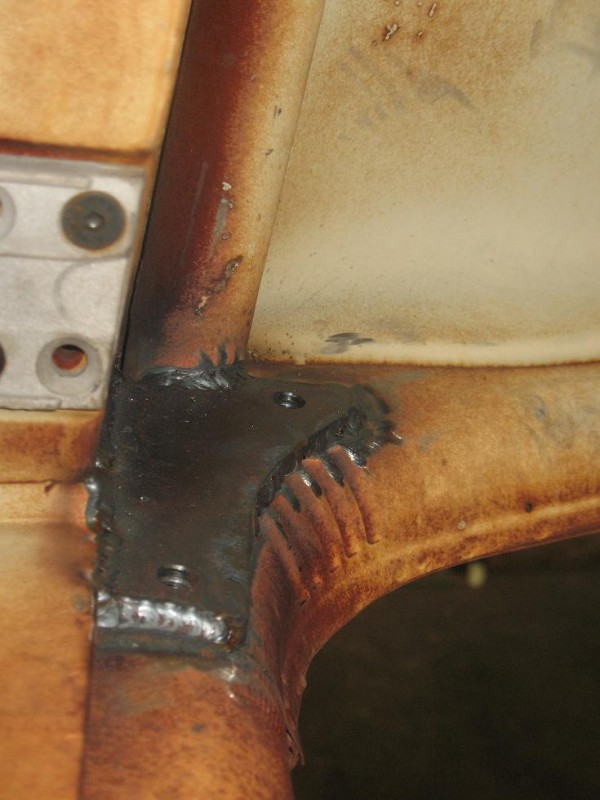
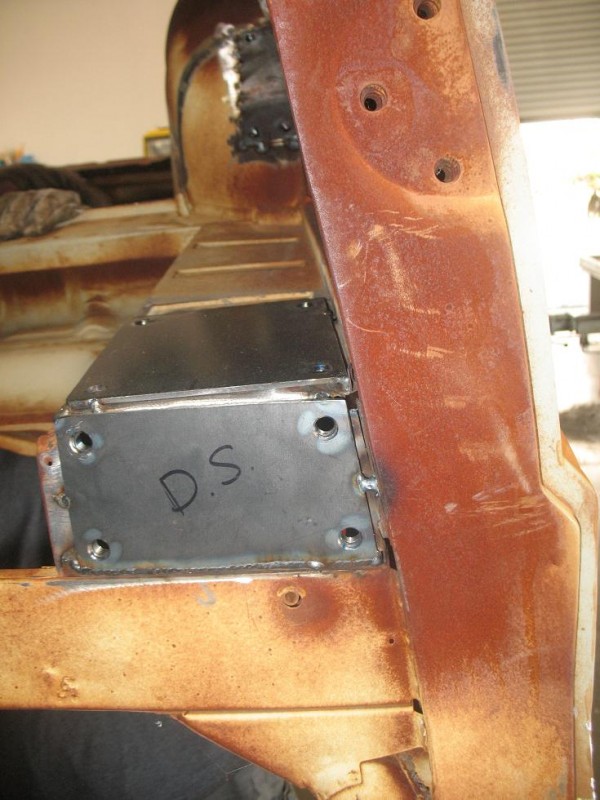
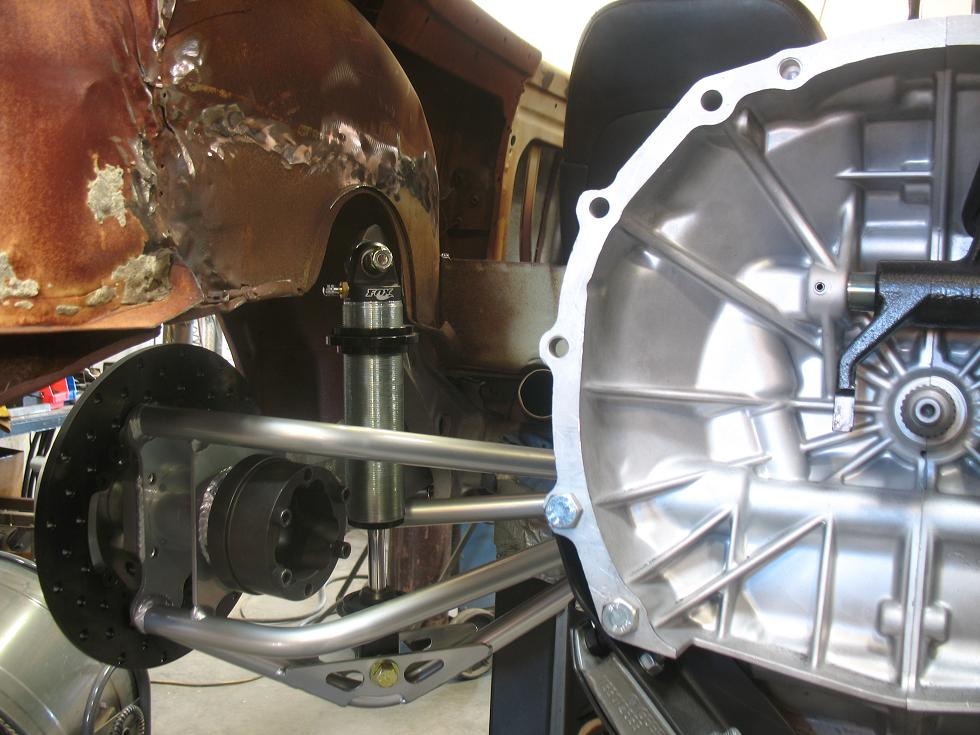
Build update: roll cage and other items
- By basil
- No Comments
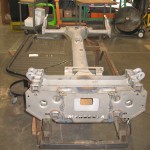
-
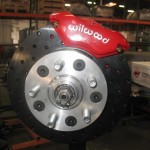
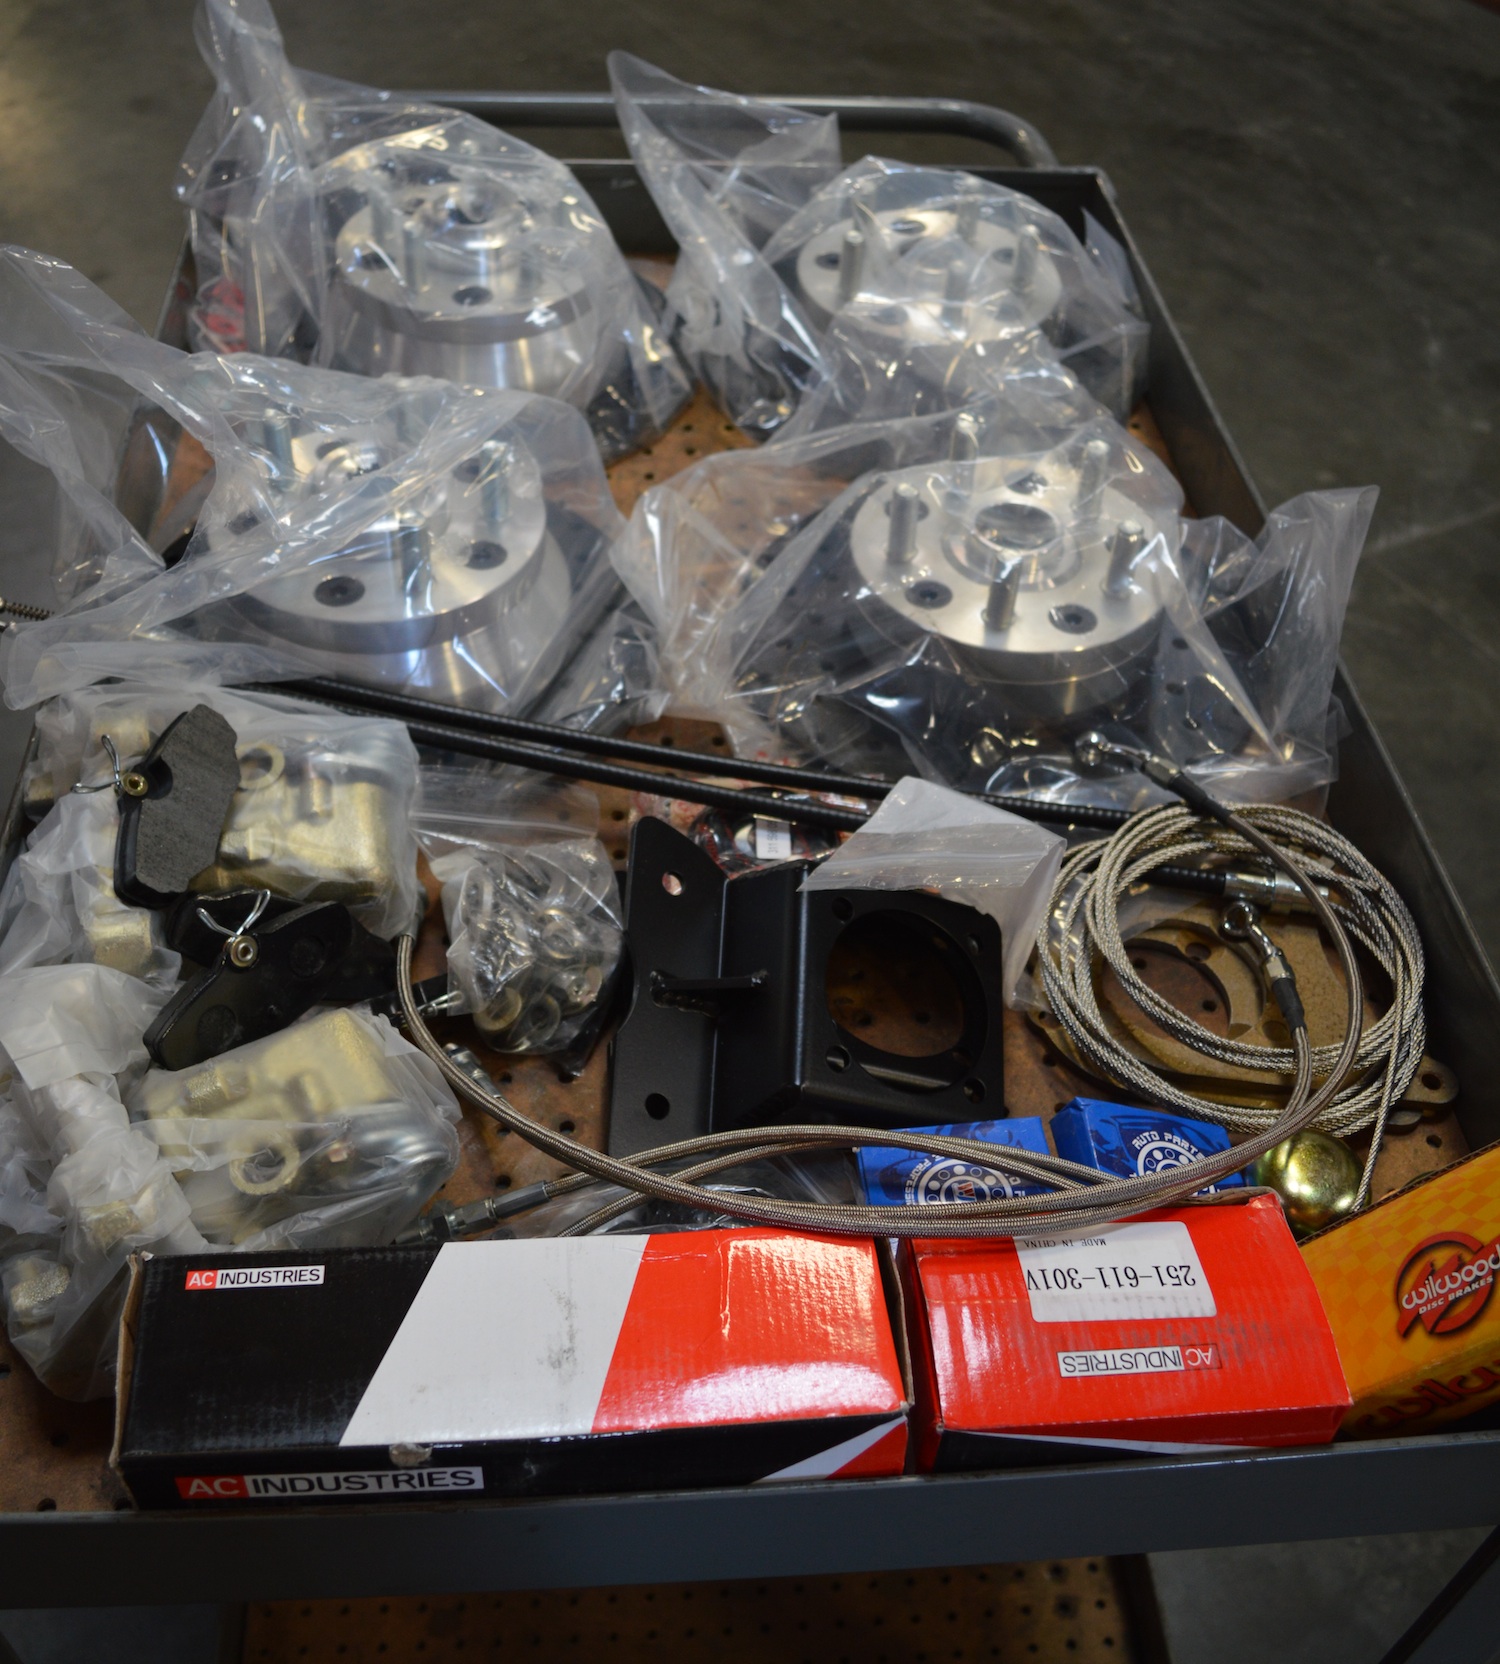
- New Airkewled brake kit with Wilwood calipers.
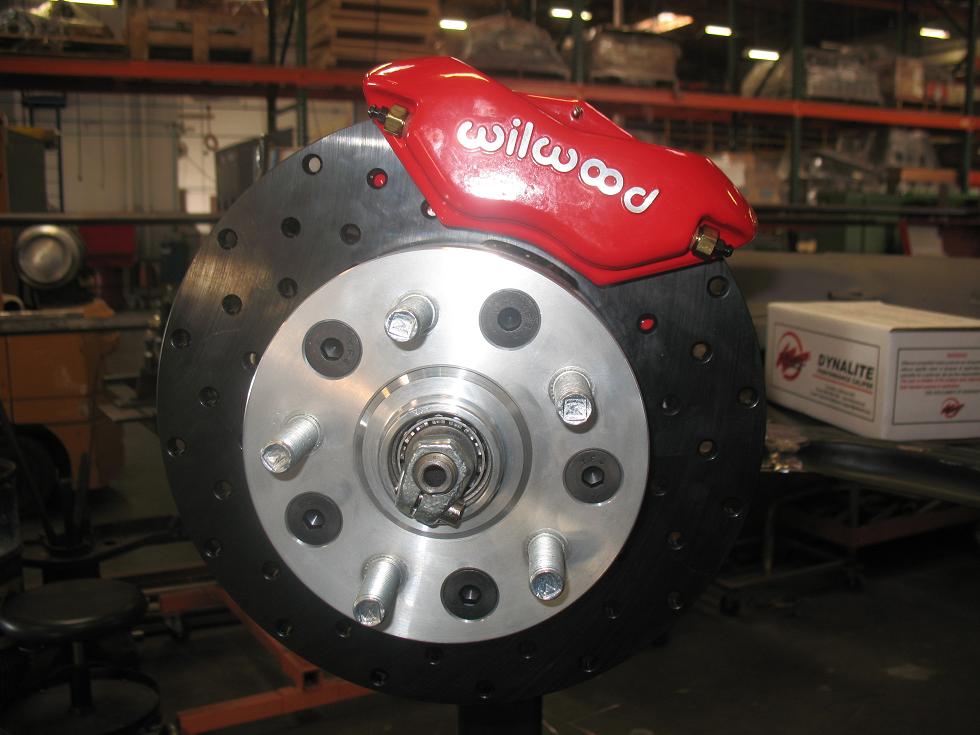
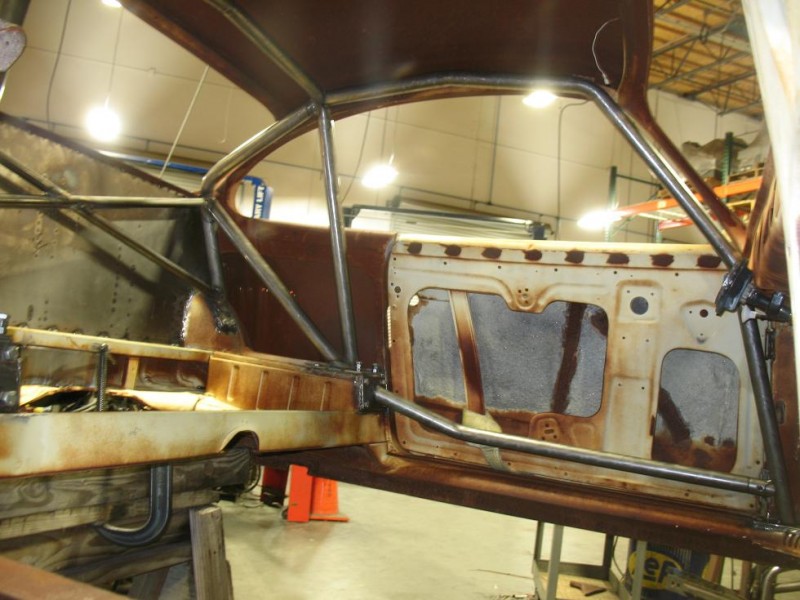
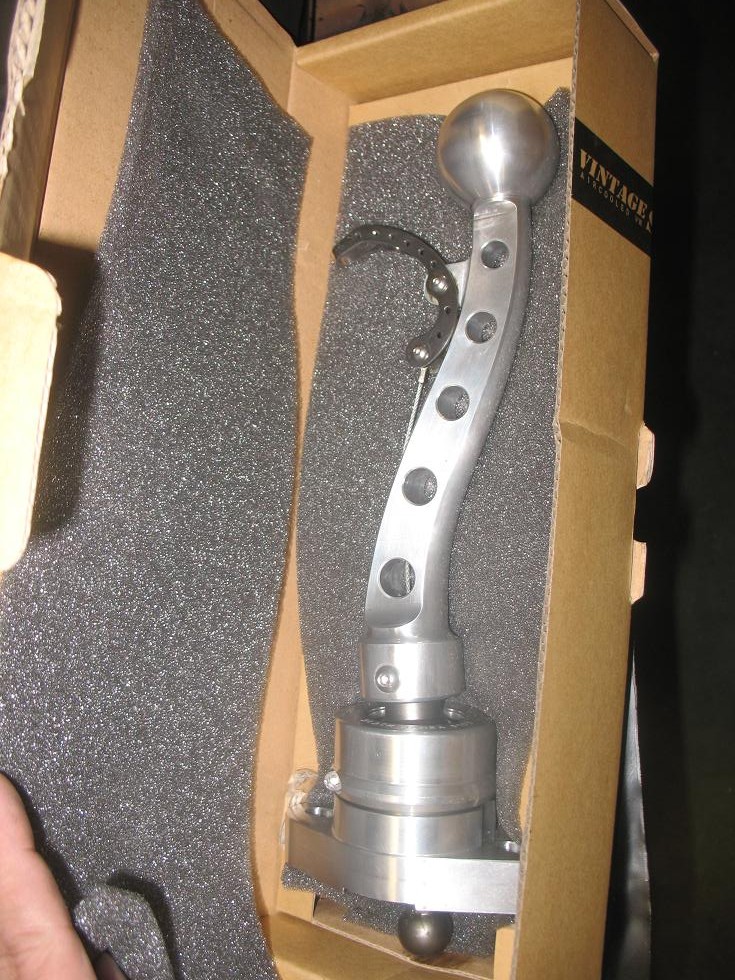
Good progress on the roll cage was made this week. In the photos you’ll see some welded bracing placed at strategic points on the body. The interior shots are of the custom bends and cross barred section in the rear. Kevin said there’s going to be about 50 feet of steel tubing used when it’s all said and done. And we’re going to power coat the whole monstrosity in the same red as will be found in the suspension components.
Other photos are more cosmetic – the black mamba shifter is shown (we’ve had it a while) and the rear Wilwood calipers with e-brake setup are in as well. We’re getting there!
[subscribe2]
21
Nov
Cooling system design
- By basil
- No Comments
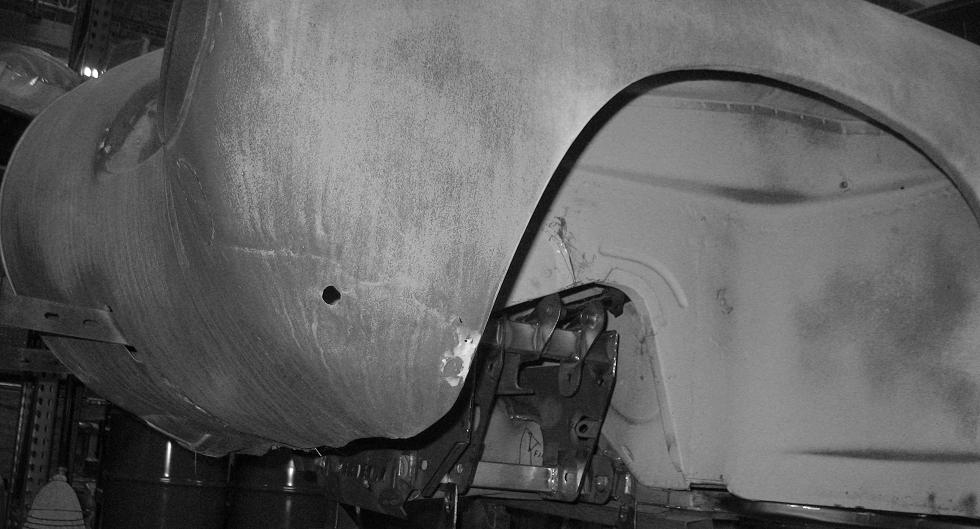
While in San Diego, Kevin and I discussed our cooling system options. Most folks doing Subaru conversions are mounting the radiators upfront in the spare tire well. Kevin wanted to do something different and after sketching out the concept on paper, I thought it was pretty cool.
Originally I was thinking that we’d place the radiator upfront just like everyone else, but it’s a tight fit and the air flow may have been problematic. It was explained to me that getting air to the radiator was the first half of the problem. Getting air out was the second half. I had visions of doing a custom reverse funnel type shroud that you find in the front noses of water cooled 911s where an intake shroud funnels air to two of three radiators. I wasn’t sure if lowlight Ghia nostrils would provide the surface area needed which would have led to making a third open or scoop down low near the horn boot opening. Being a lowlight, I didn’t want to mess up the front nose in any way. Plus, I was thinking that we could benefit from the extra weight over the front wheels.
But it was not to be.
Kevin’s idea was to build a rear mounted cooling system just above the transaxle and forward of the motor. The idea is to scoop air up from the bottom of the chassis, direct that to the radiator and then flow it out the back over the motor, similar to a standard air-cooled VW.
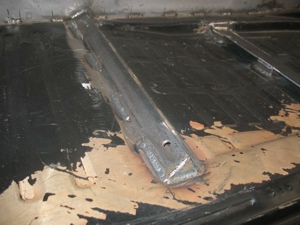
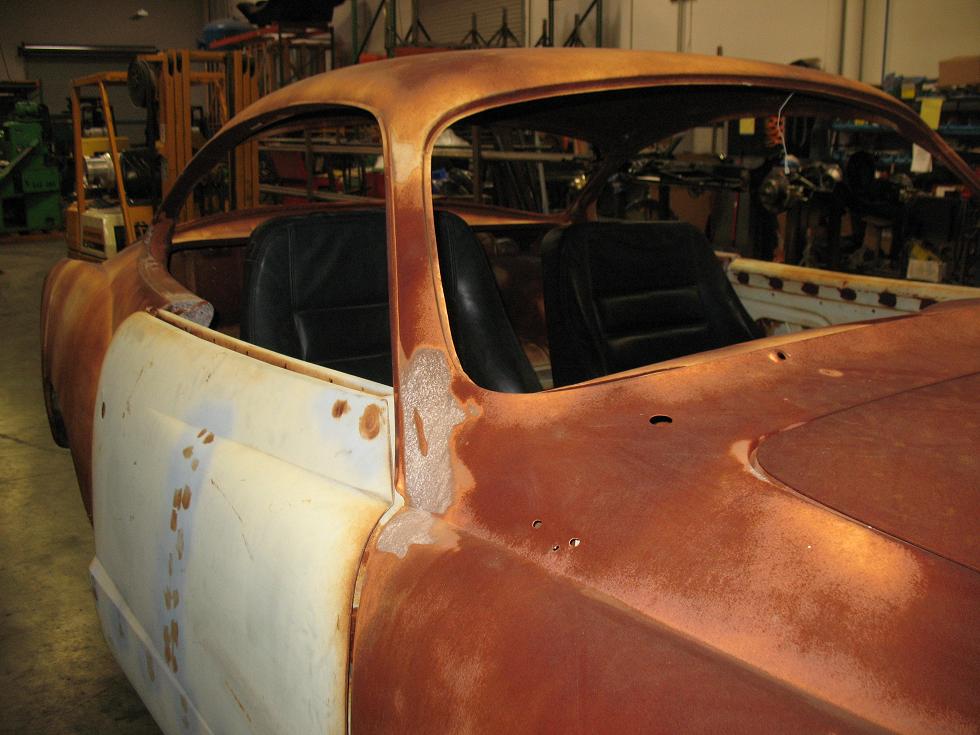
To pull this off, the parcel area behind the rear seat would need to be sacrificed temporarily while Kevin worked out the framework for the radiator and air flow. Here’s what the car looks like with that parcel cut out:
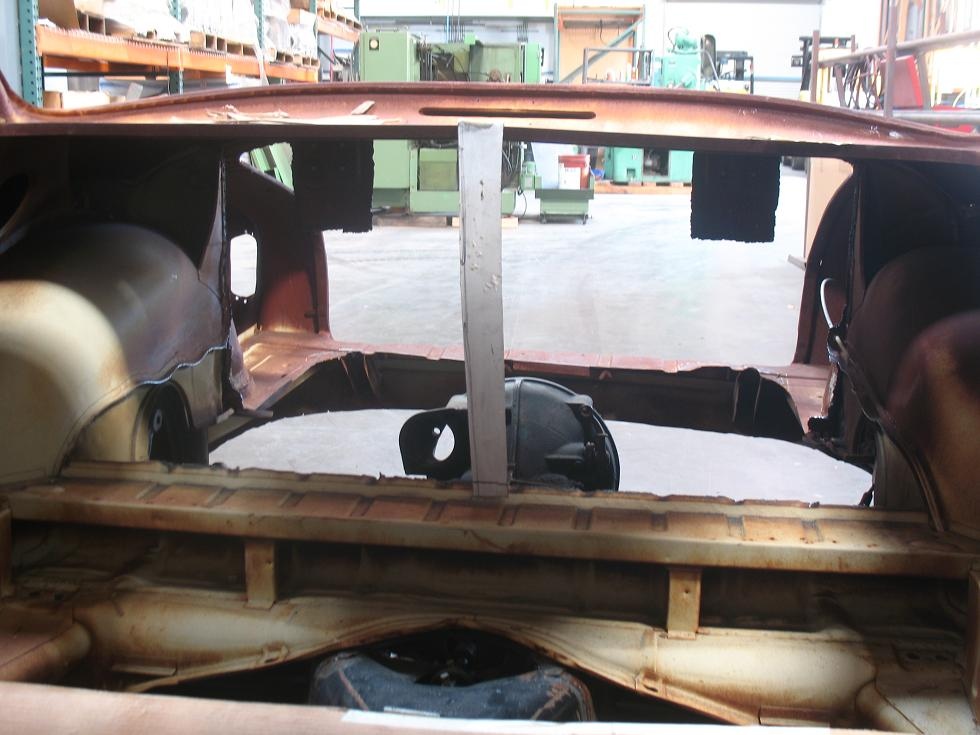
Once the radiator and system are fitted, a new firewall will be constructed to isolate the radiator and engine compartment from the interior.
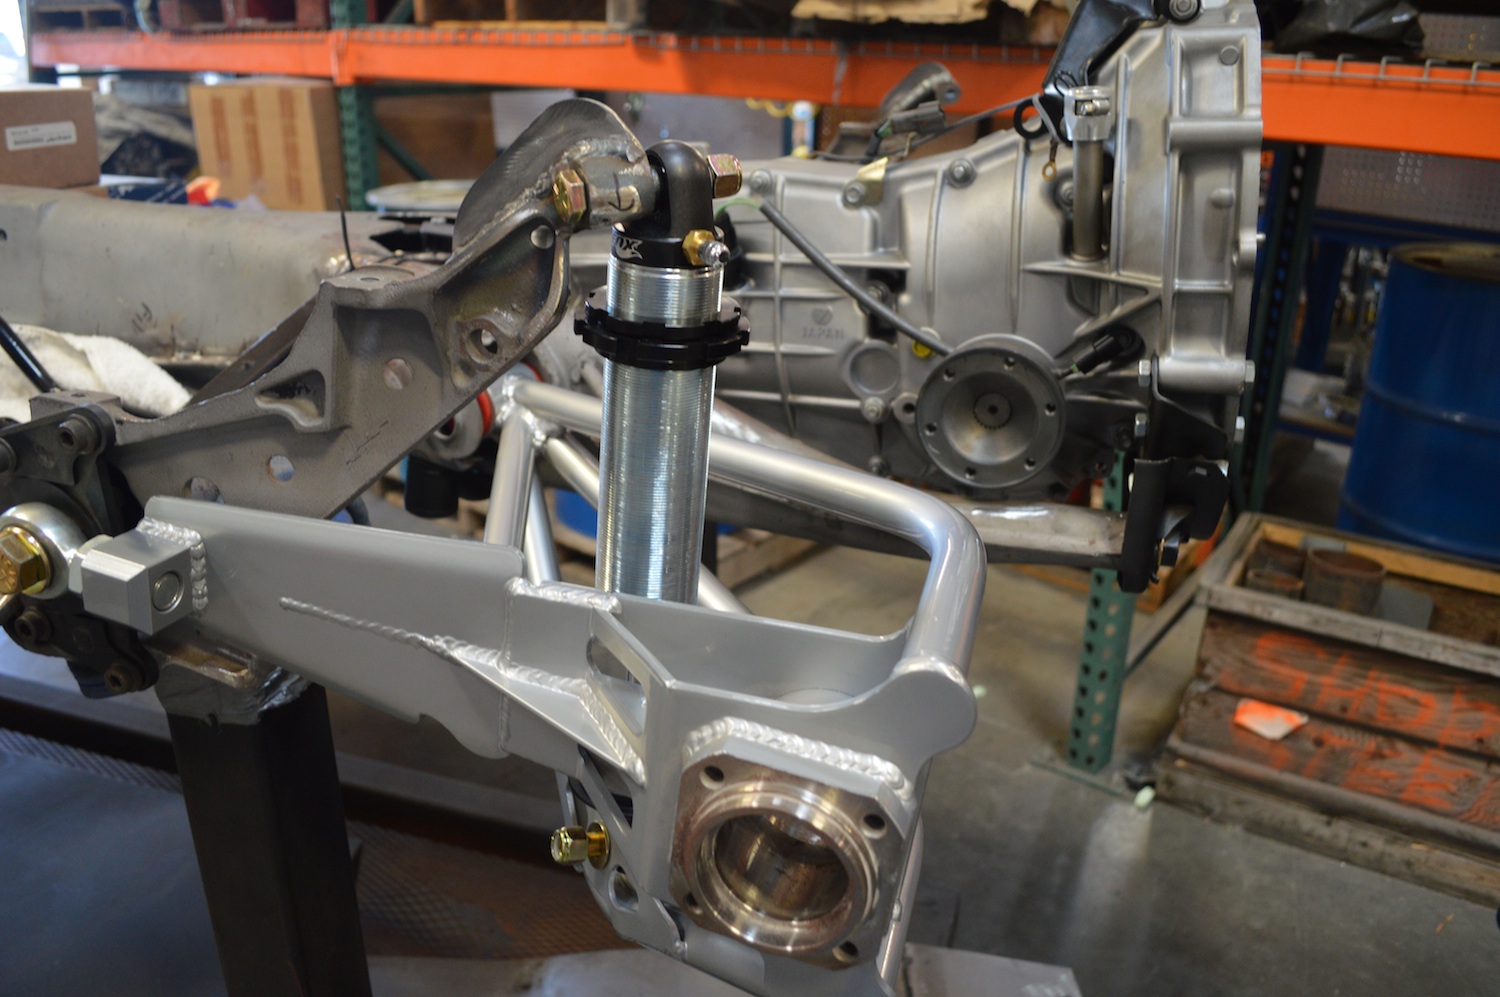
21
Nov
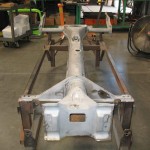
Transaxle with body on.
- By basil
- No Comments
Today we have before and after pictures of where the transaxle fits.
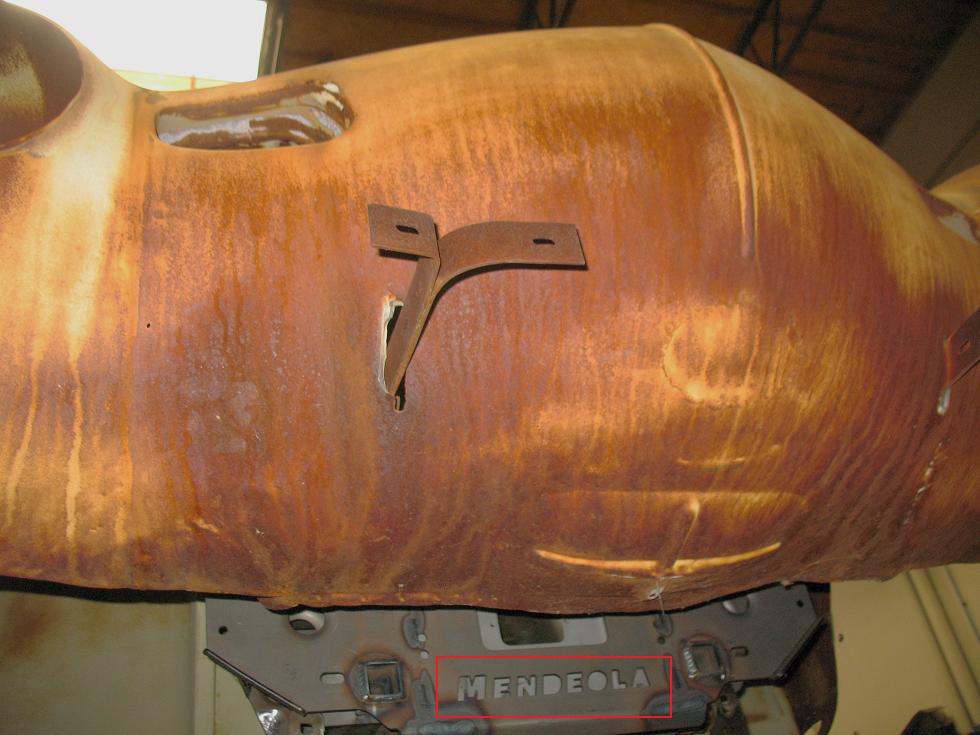
This first picture is of the 1958 body, chassis and stock transaxle:

This second picture is with the 1958 body on the new Mendeola chassis and Subaru transaxle:
And finally, close ups of the new setup:
20
Nov
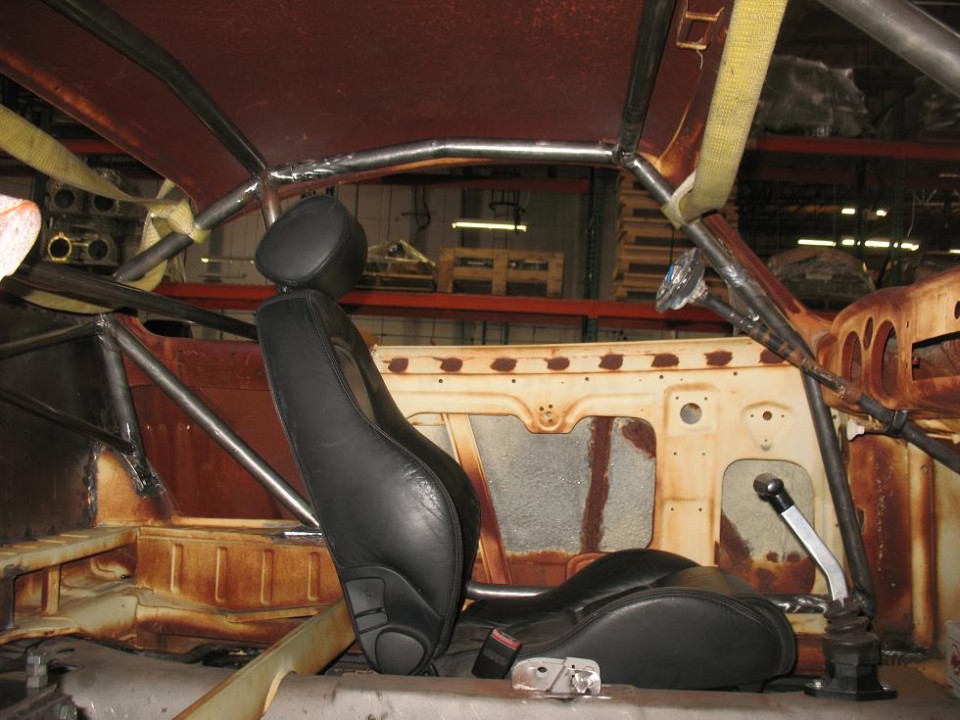
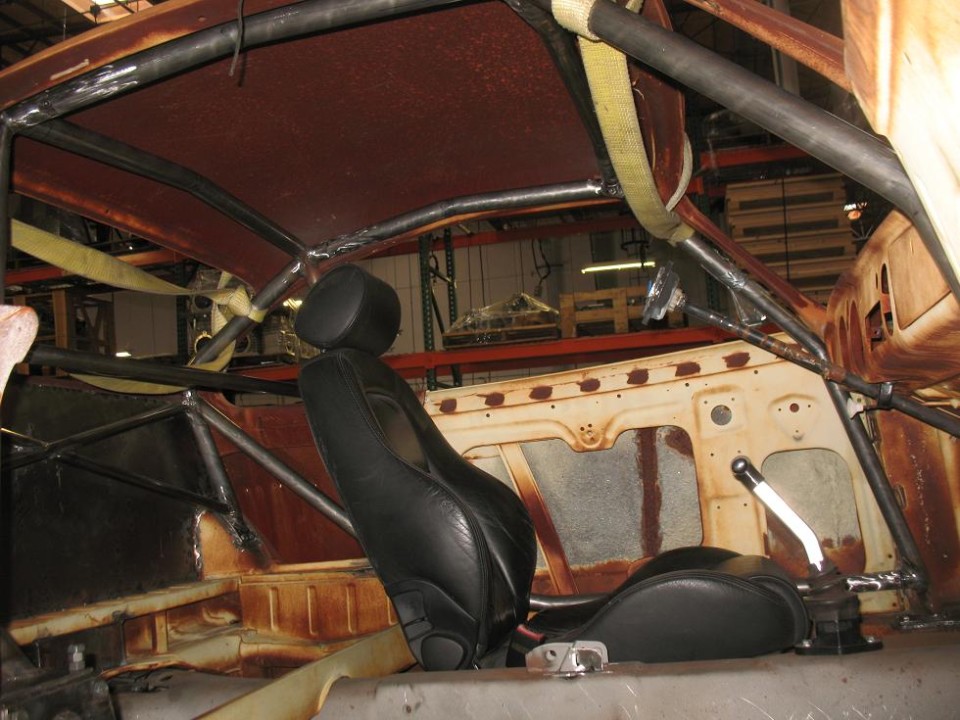
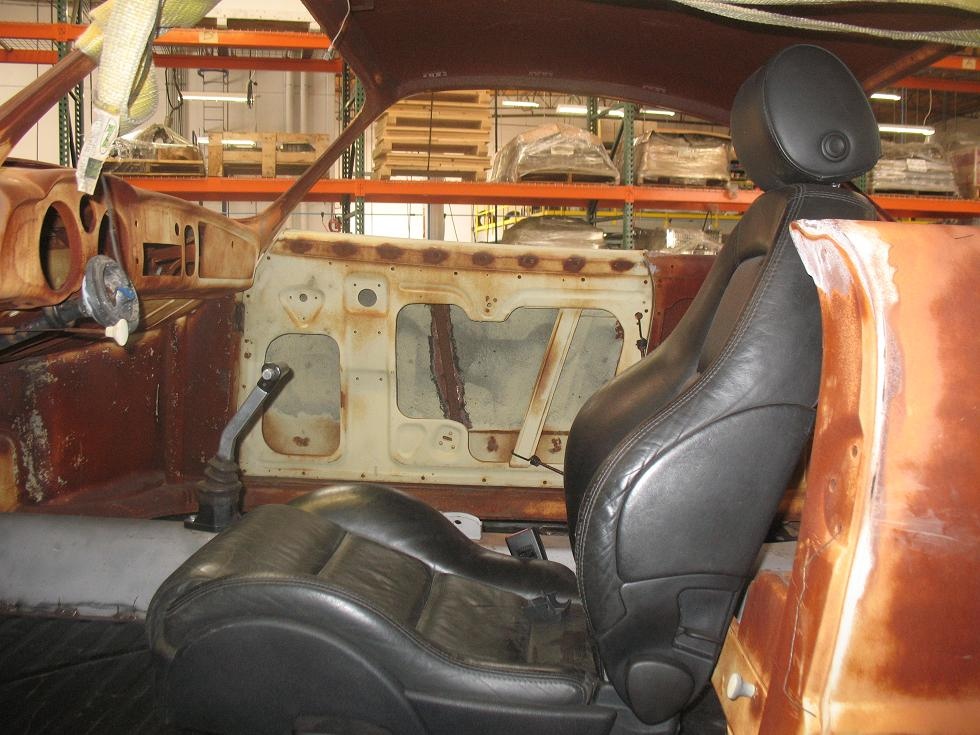
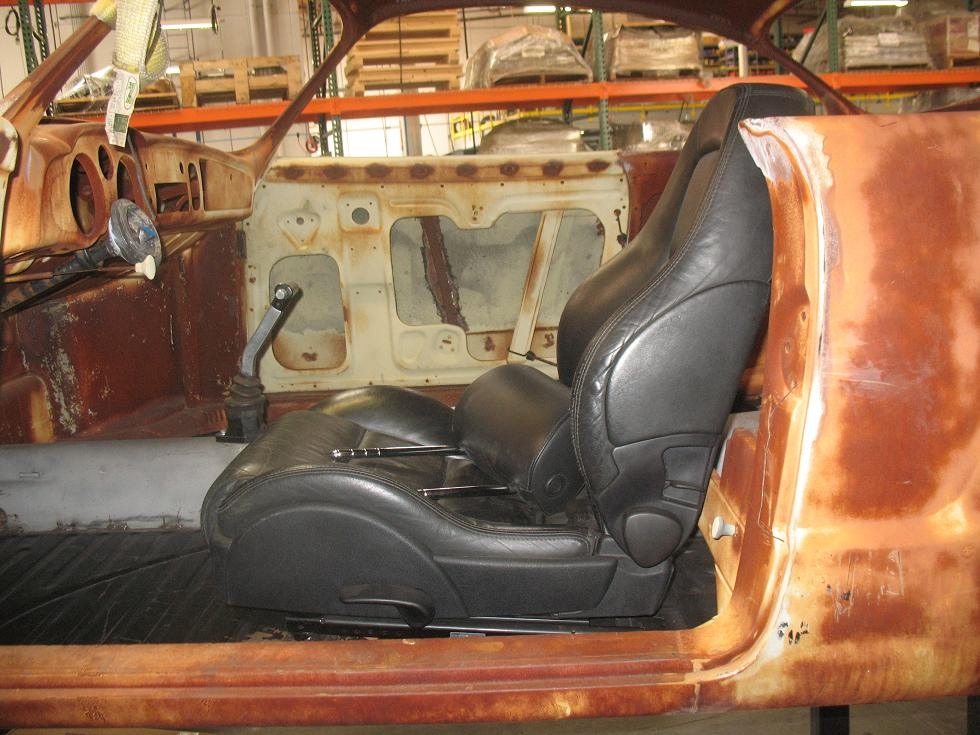
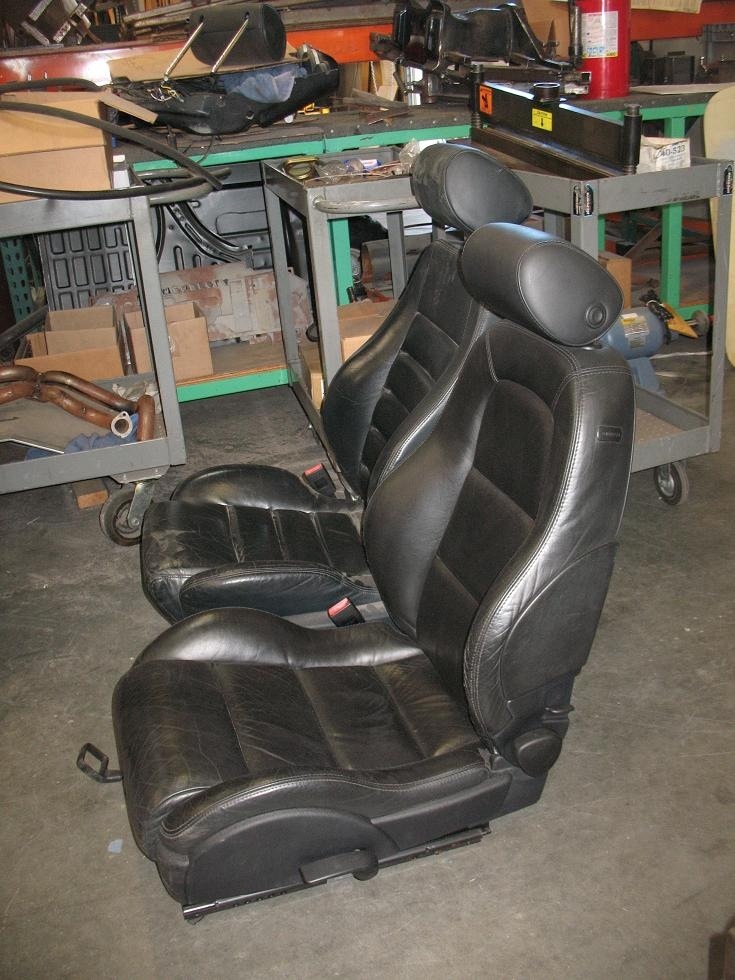
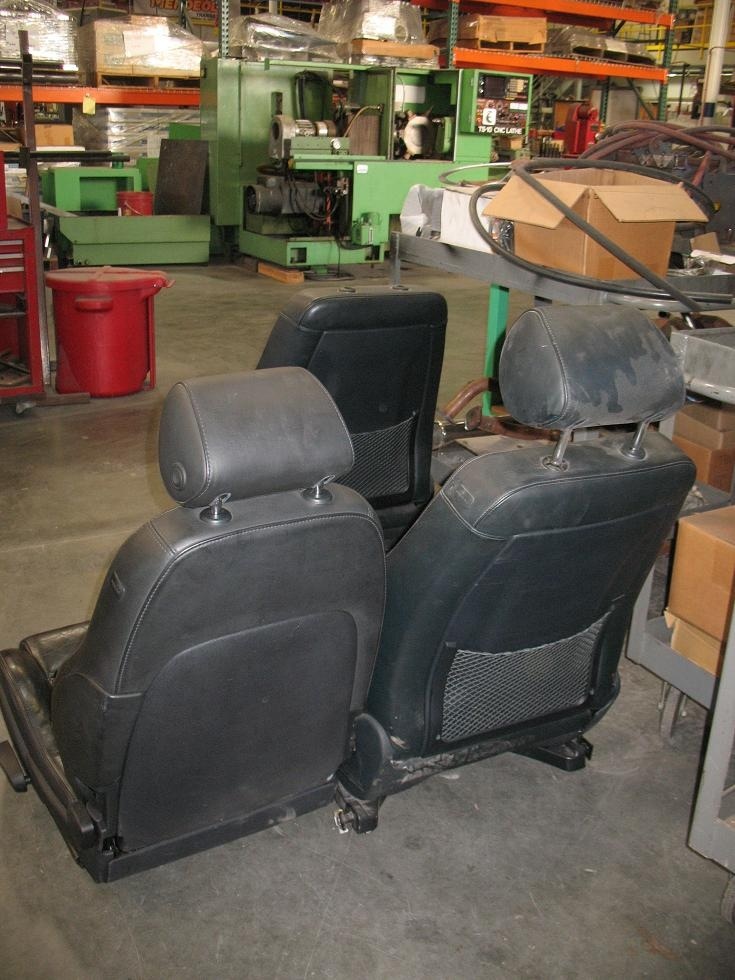
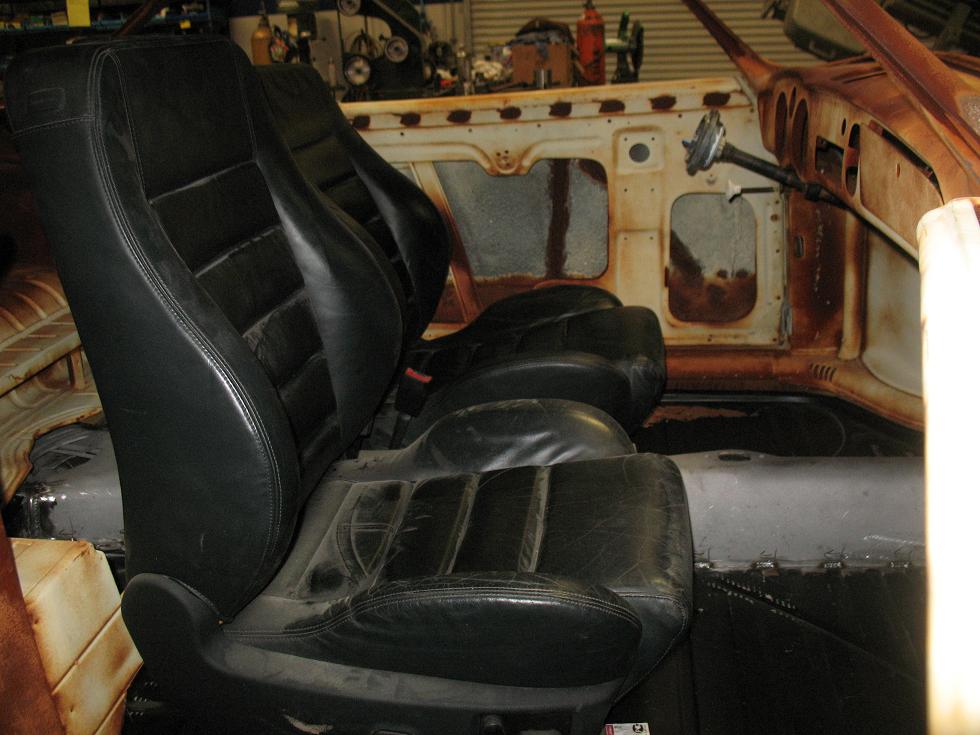
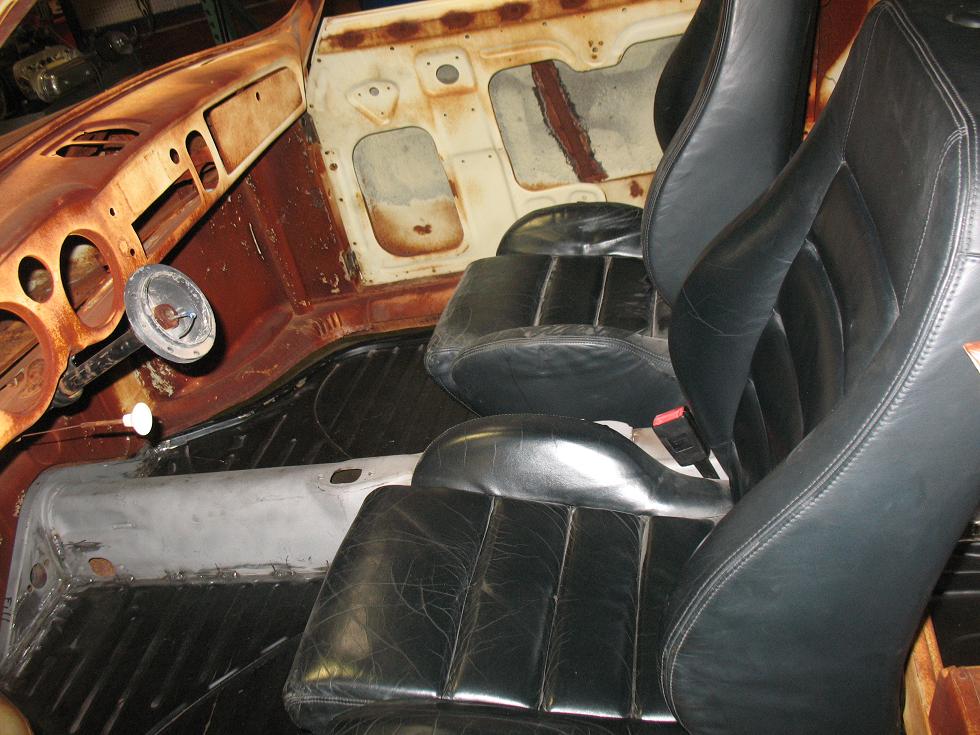
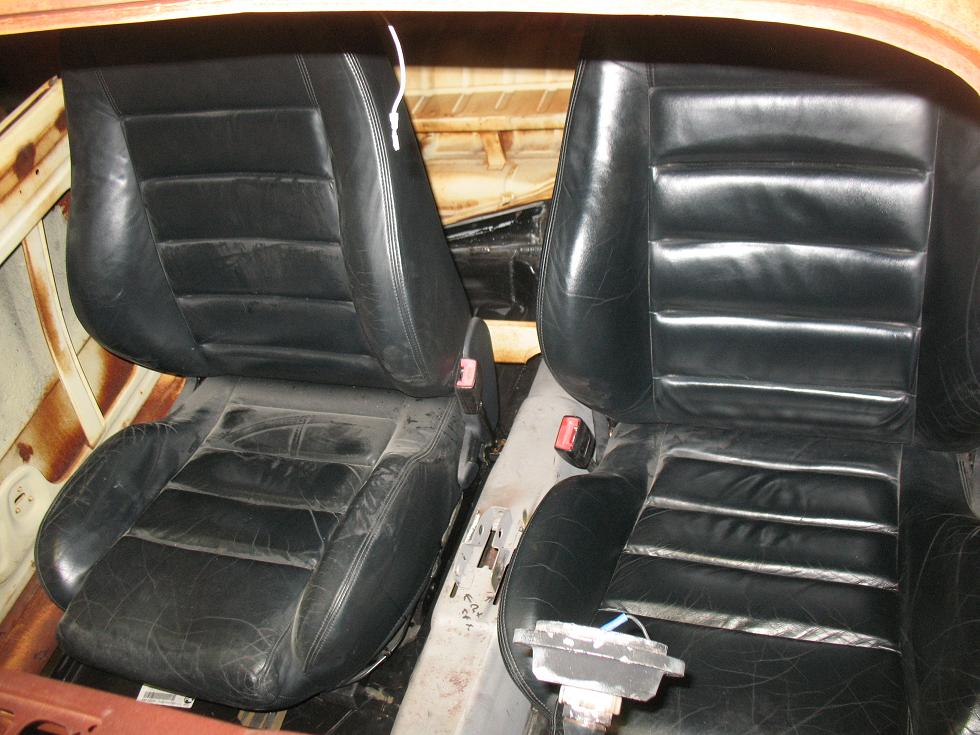
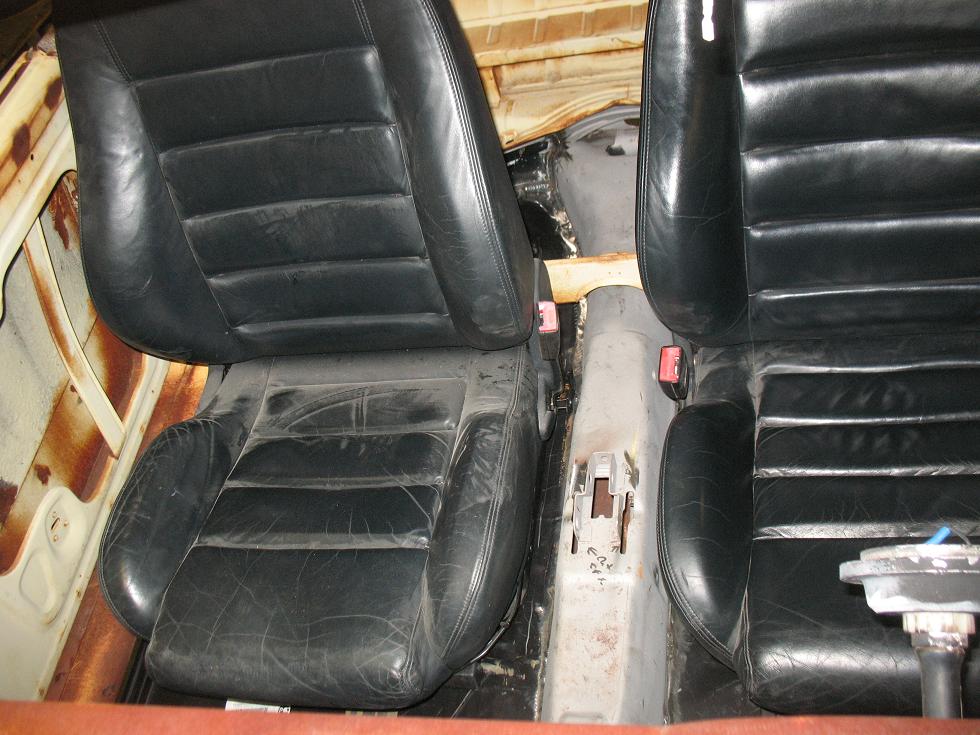
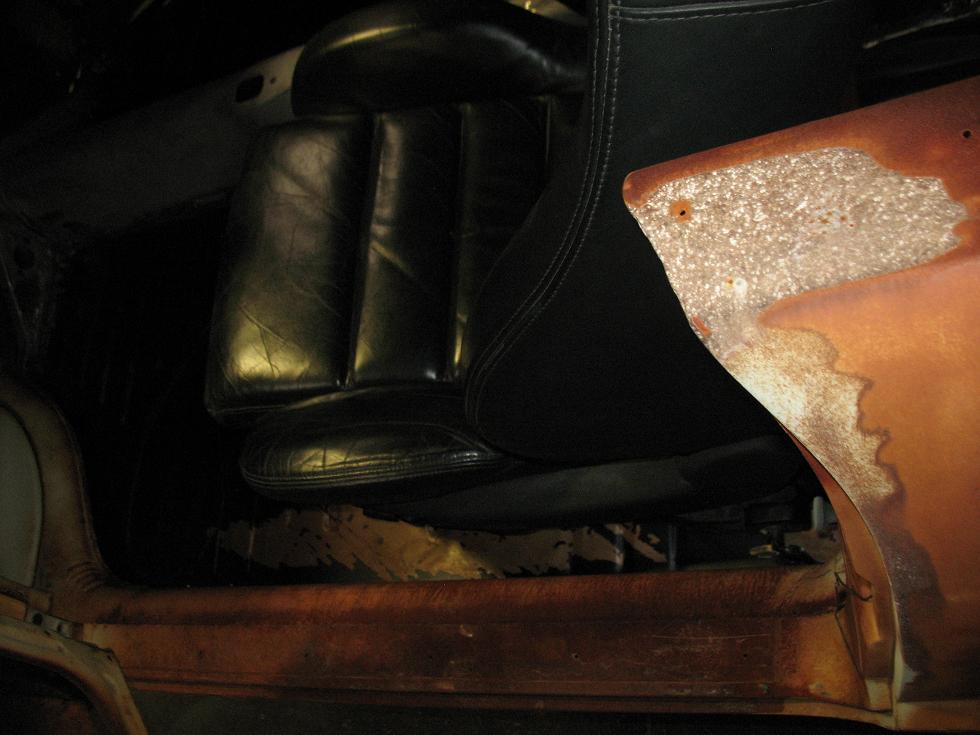
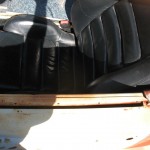
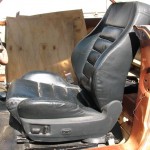
Seat work, coming together
- By basil
- 2 Comments
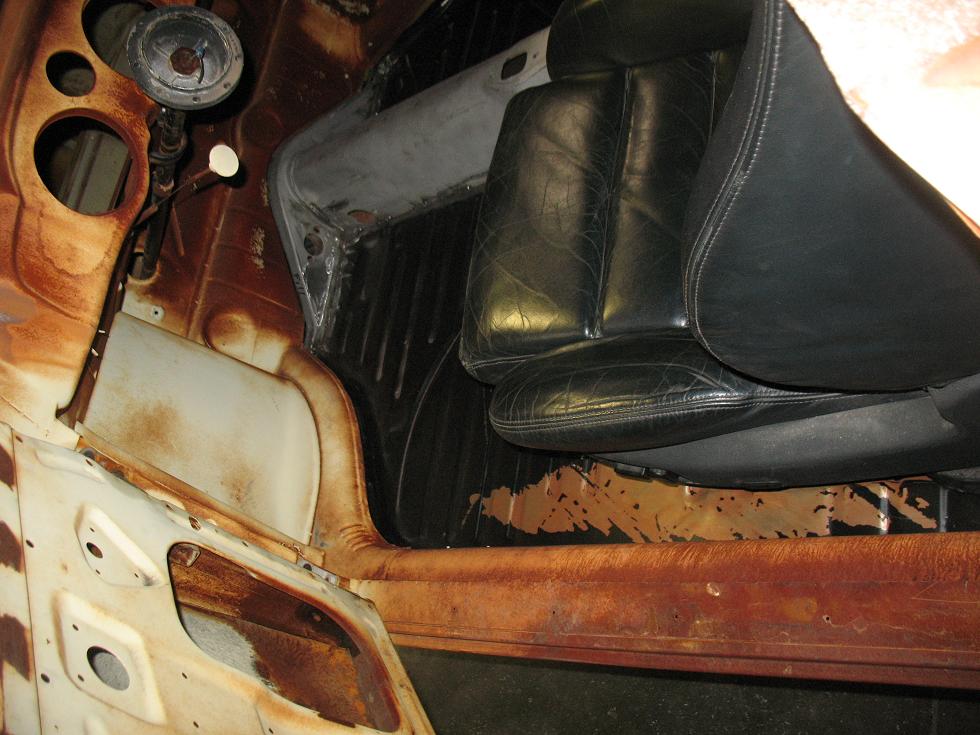
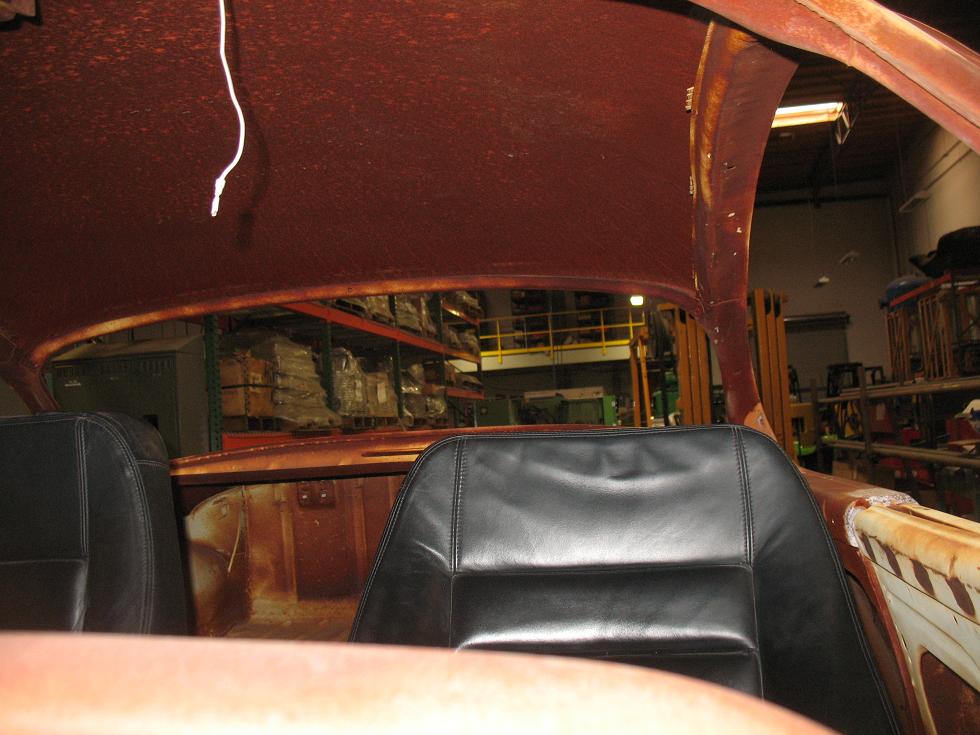
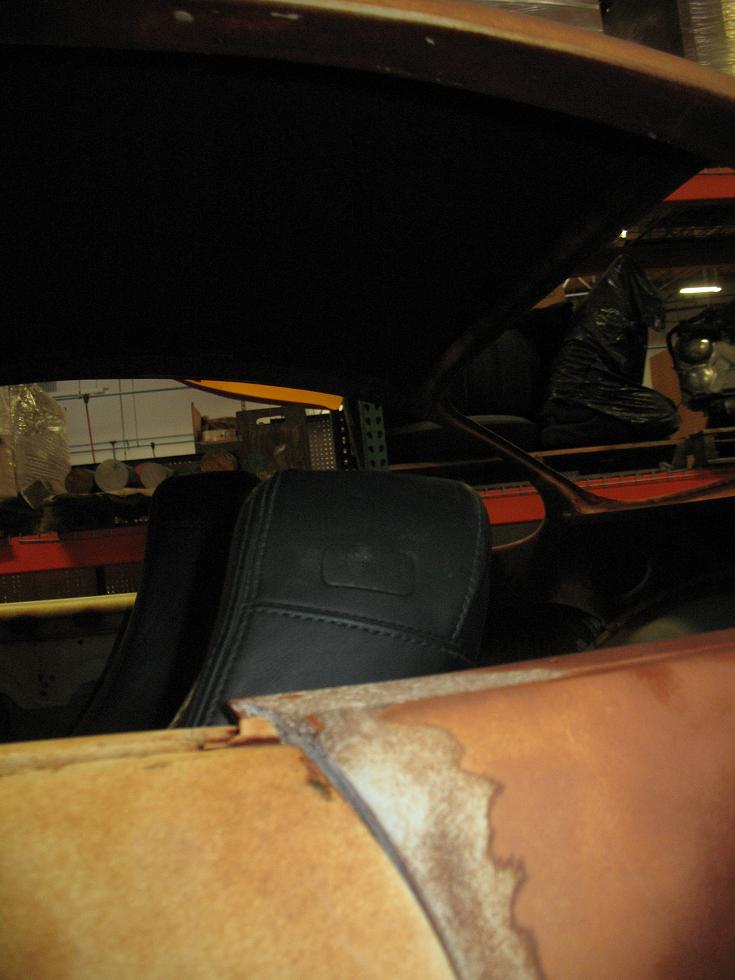
Kevin welded supports unto the pans for the Audi TT seats. Later, the driver’s seat was put into place. The TT seats fit better and seem to have a curvier look that accentuates the Ghia’s natural lines. We’re digging it very much!

18
Nov
Preliminary engine work.
- By basil
- No Comments
The heart of the beast is starting to take shape.


-
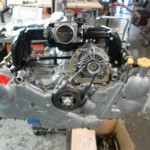
- Motor at Outfront.

-
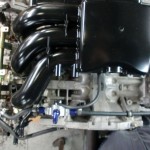
- EZ30R motor.

30
Oct
It takes two to make a thing go right..
- By basil
- 2 Comments
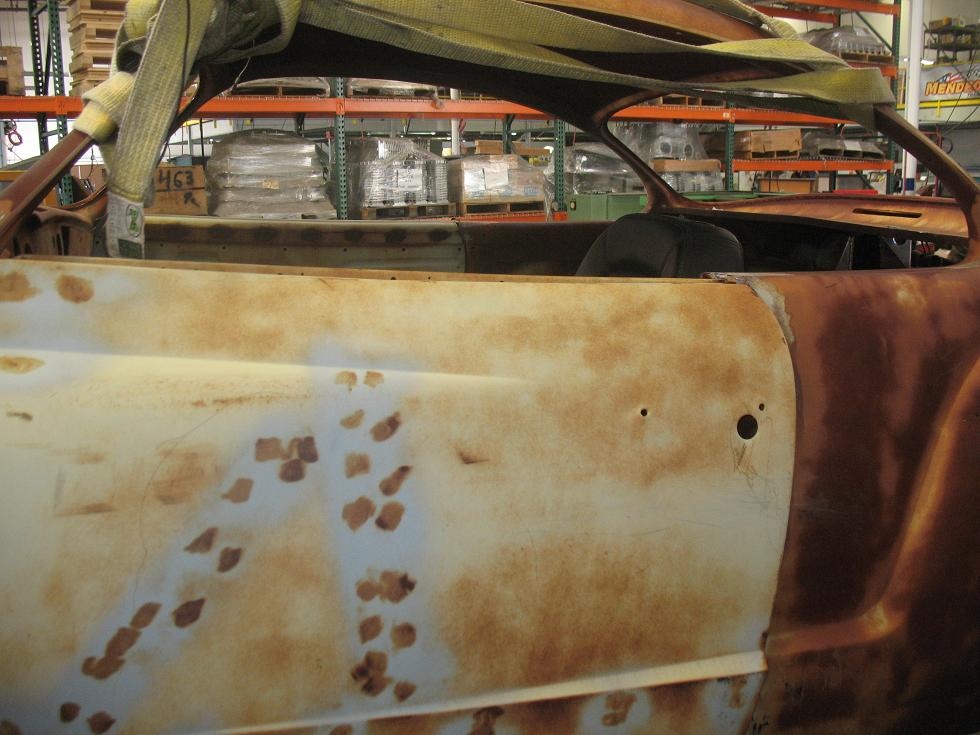
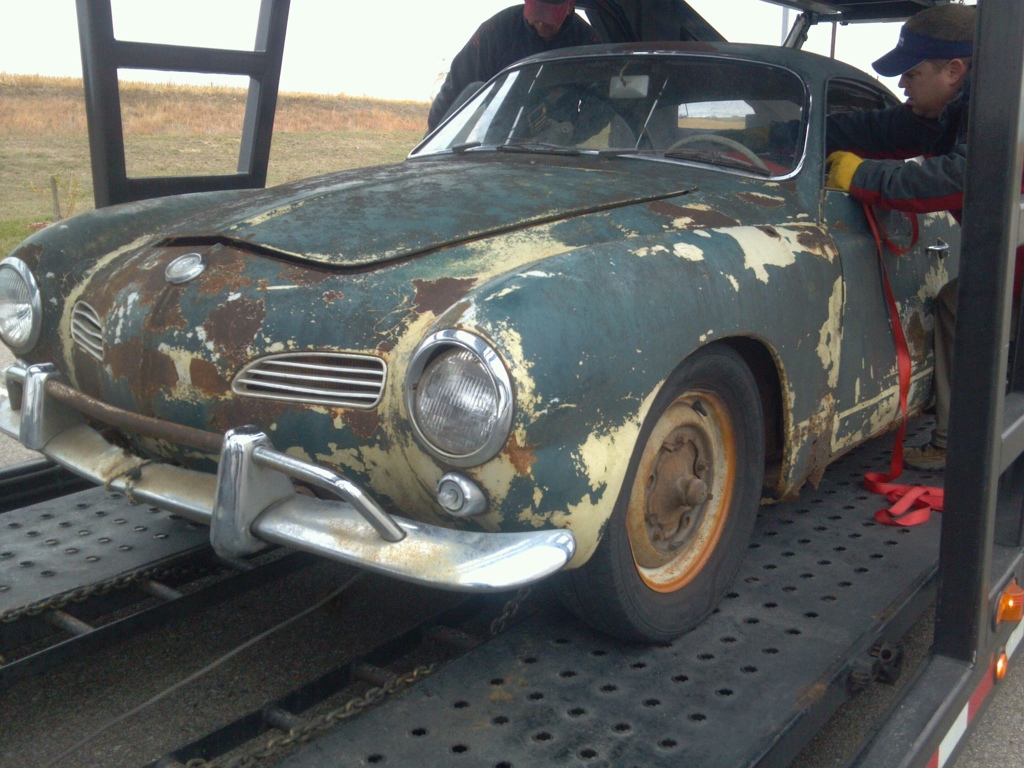
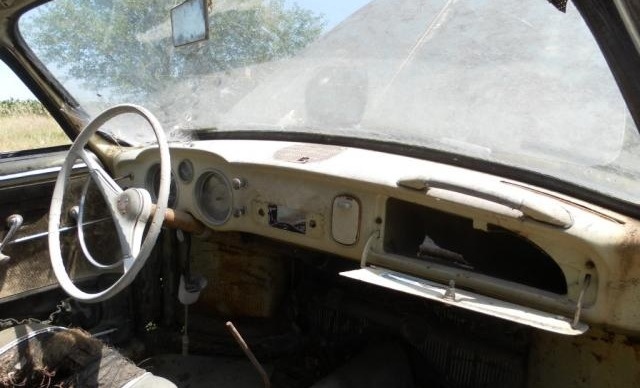
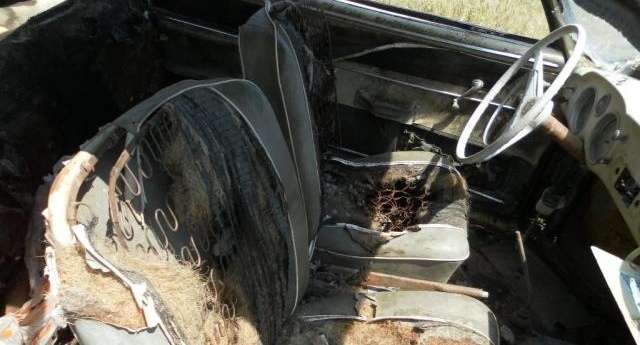
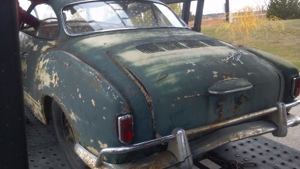
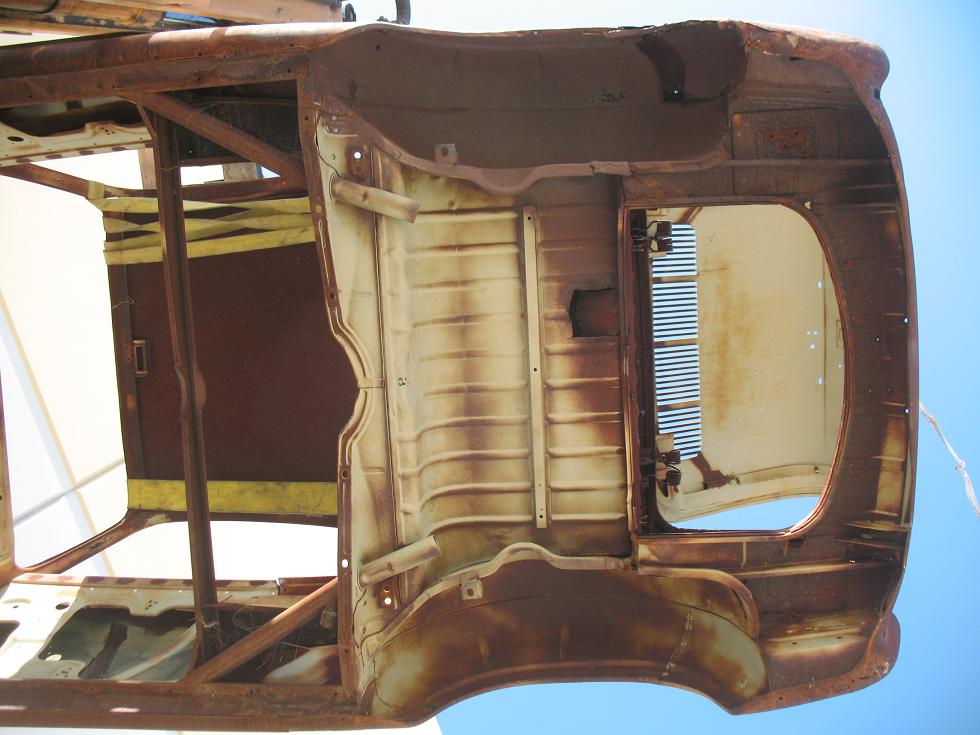
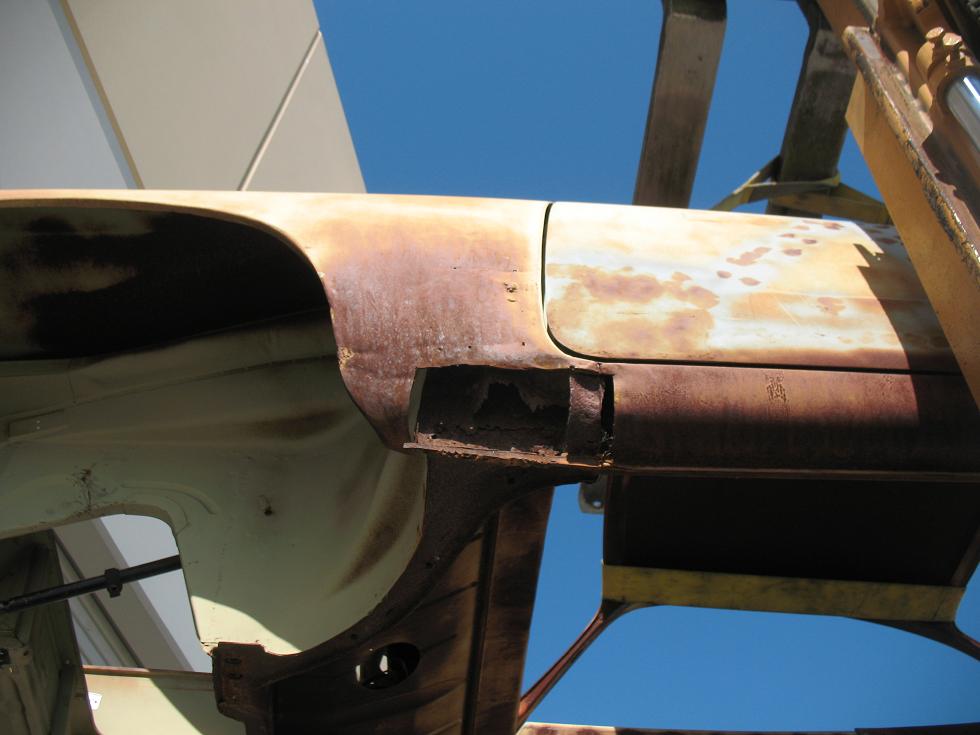
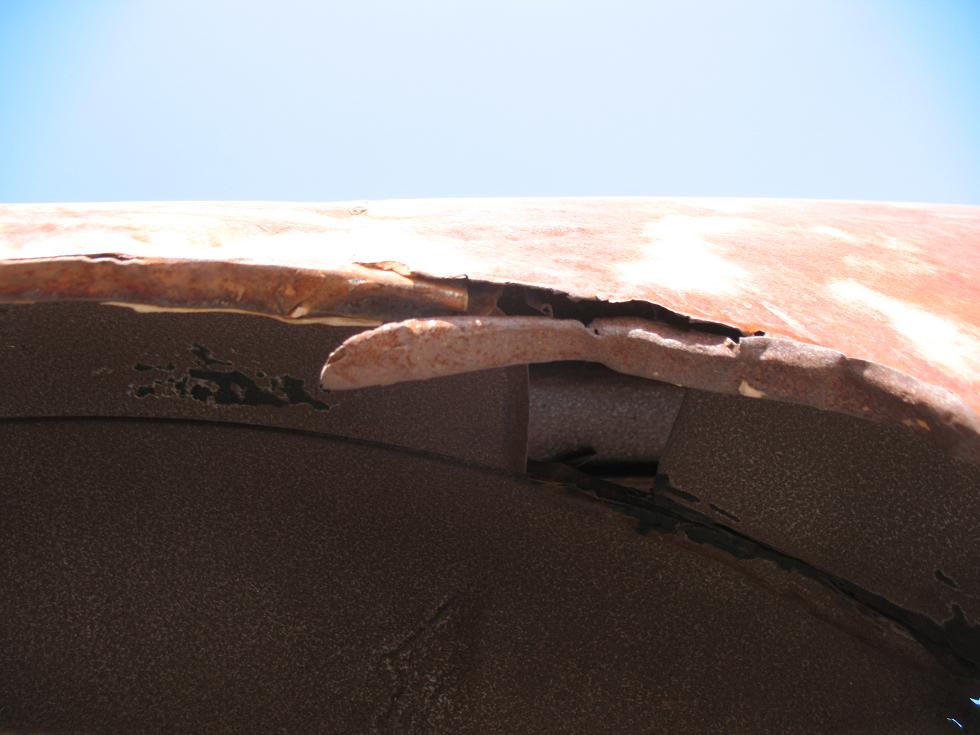
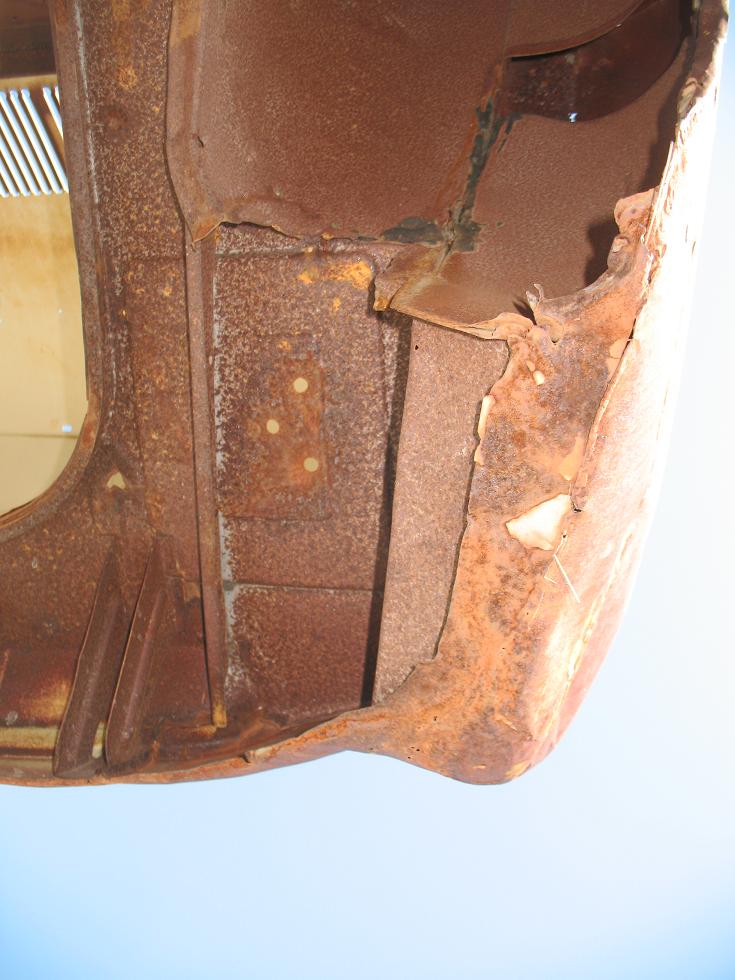
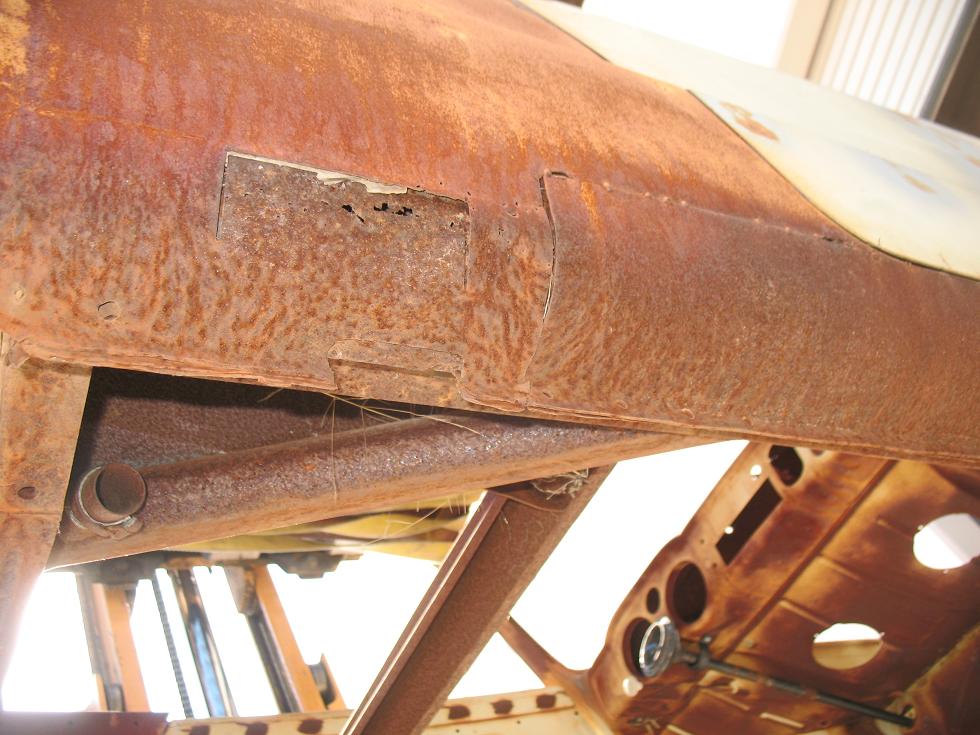
Picked up another ’58. Did the math on parts and this was an excellent buy. This thing is a total rust bucket basket case, but it’s got:
- all the glass except drivers door
- windshield trim
- bumpers
- lights and chrome ring
- front turn signal housings
- interior dash parts (+grab handle!)
- interior panel trim
- ’58 mirror and visor combo
- steering wheel
- interior and exterior door hardware
- internal door hardware
- possible donor panels for the rear
- front VW button
22
Oct
San Diego Visit..
- By basil
- No Comments
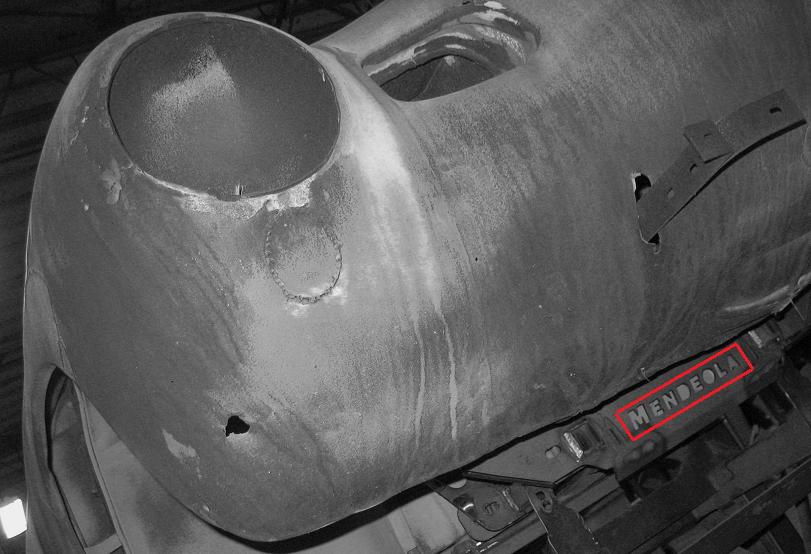
Dropped by Mendeola in San Diego, took a few pics.

-
- Shhh.. She’s sleeping.
22
Sep
Transaxle built!
- By basil
- No Comments
SubaruGears has shipped the transaxle. Should clear customs and arrive stateside in about a week.
Some pics of the transaxle build:

the hybrid gearing 5-speed

20
Sep
Build update..
- By basil
- 4 Comments
Lots of updates today:
- Motor.John at Outfront Motorsports is working on the motor. He performed a preliminary cylinder leak down test on all cylinders and the motor came in at 2%! A leak down test measures the amount of air needed maintain pressure within a static cylinder. Good readings come in around 5-8%. Seems like this engine hasn’t reached its break-in period. This is all very, very good news. John and I decided to go with the new AEM ECU (which supports the Subaru AVCS) but it’s still in beta and he will be prepping the motor to run with an existing harness setup. We’re not doing any cosmetics at this time.

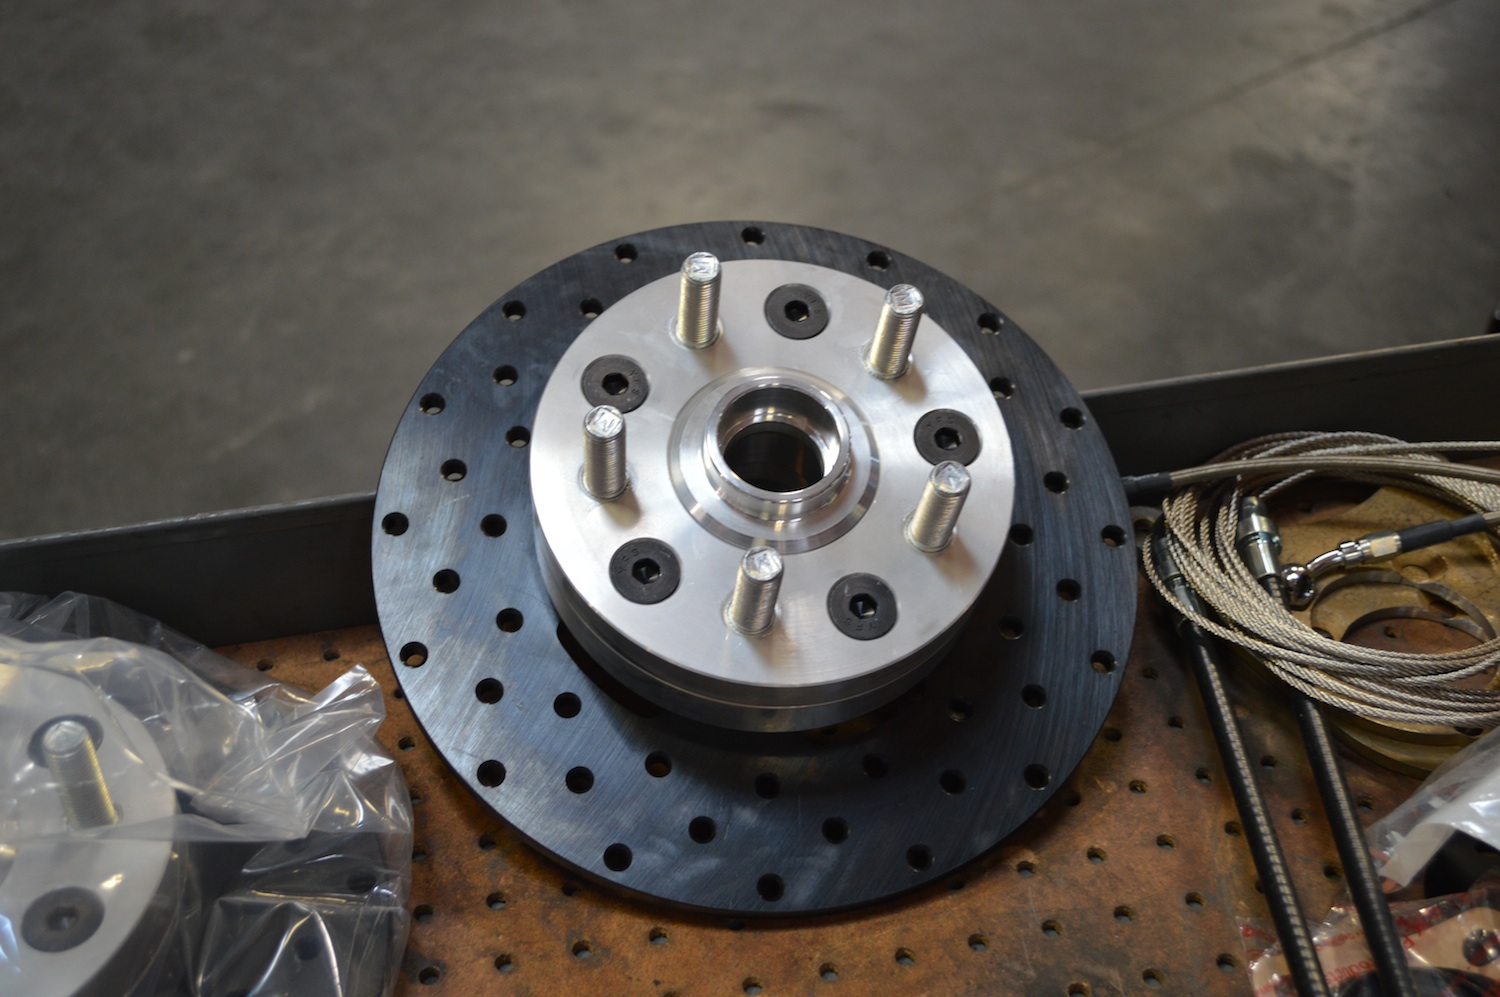
- Brakes. The race disc brake kit has been ordered from Airkewld. Pete tells me that they should ship in about a week and half. 4-piston wilwood calipers up front and 2-pistons in the rear. The rotor bolt pattern is 5 x 114.3 (see wheels below). The only problem I foresee with these is that they don’t have a mechanism for the e-brake setup. The e-brake will be required for state inspections here in Virginia.
- Transaxle. SubaruGears said that the transaxle should be complete by Monday and he’ll ship sometime next week, so we should have it in 2.5 weeks at the latest.
- Wheels. I have found two wheel types that I like. Both are 17×7 with with 5×114.3 bolt pattern. Finding 17″x7, 5×130 wheels that I liked was nearly impossible (everything that I loved was only 18×8.5) so based on Airkewld’s advice they will ship the rotors with the more popular 5×114.3 pattern. I remember the old school Momo five spokes back in the day.
Now – which do you like better? Some quick and dirty mockups with Photoshop:


10
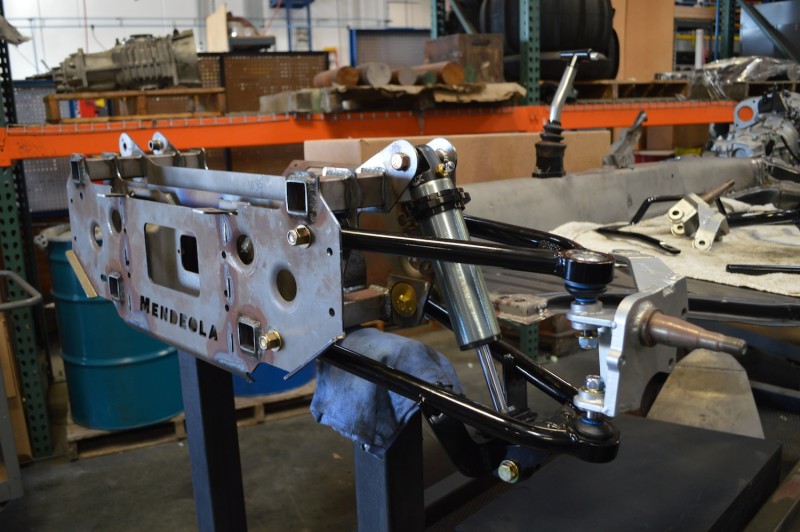
Aug
Mendeola chassis/body fitment
- By basil
- One Comment
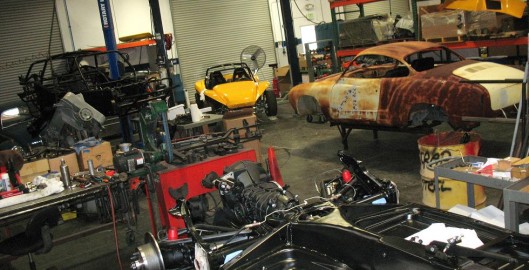
Mendeola testing the body/chassis fitment. It actually looks like a real car in the picture of the shop. Kevin also put both seats in the car to see how they looked. Still too big.
10
Aug
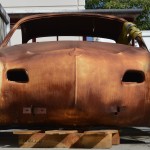
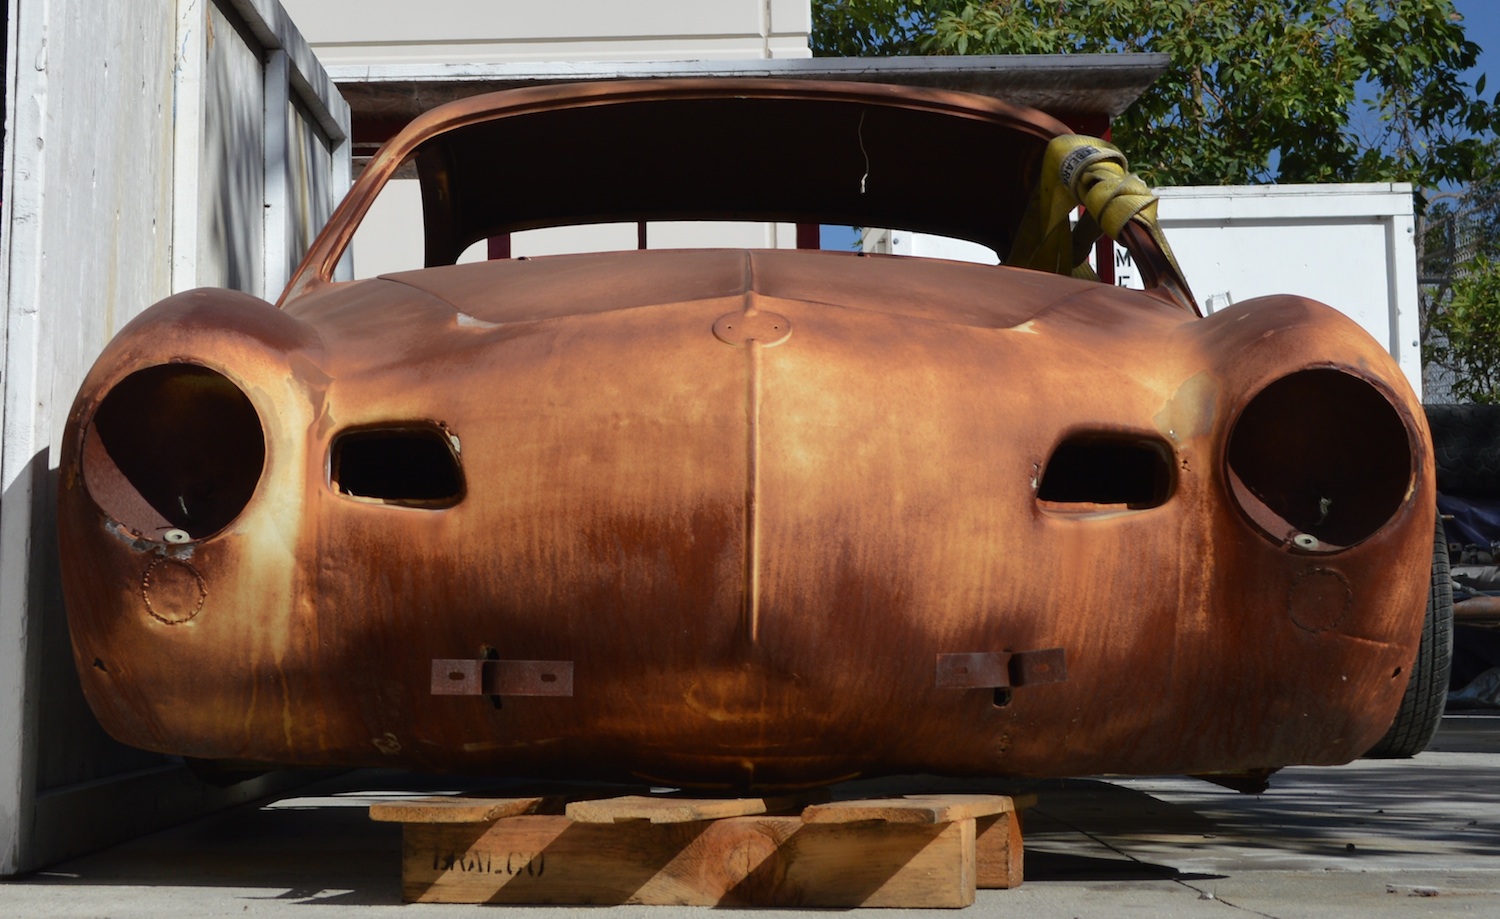
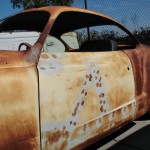
State of the body
- By basil
- No Comments
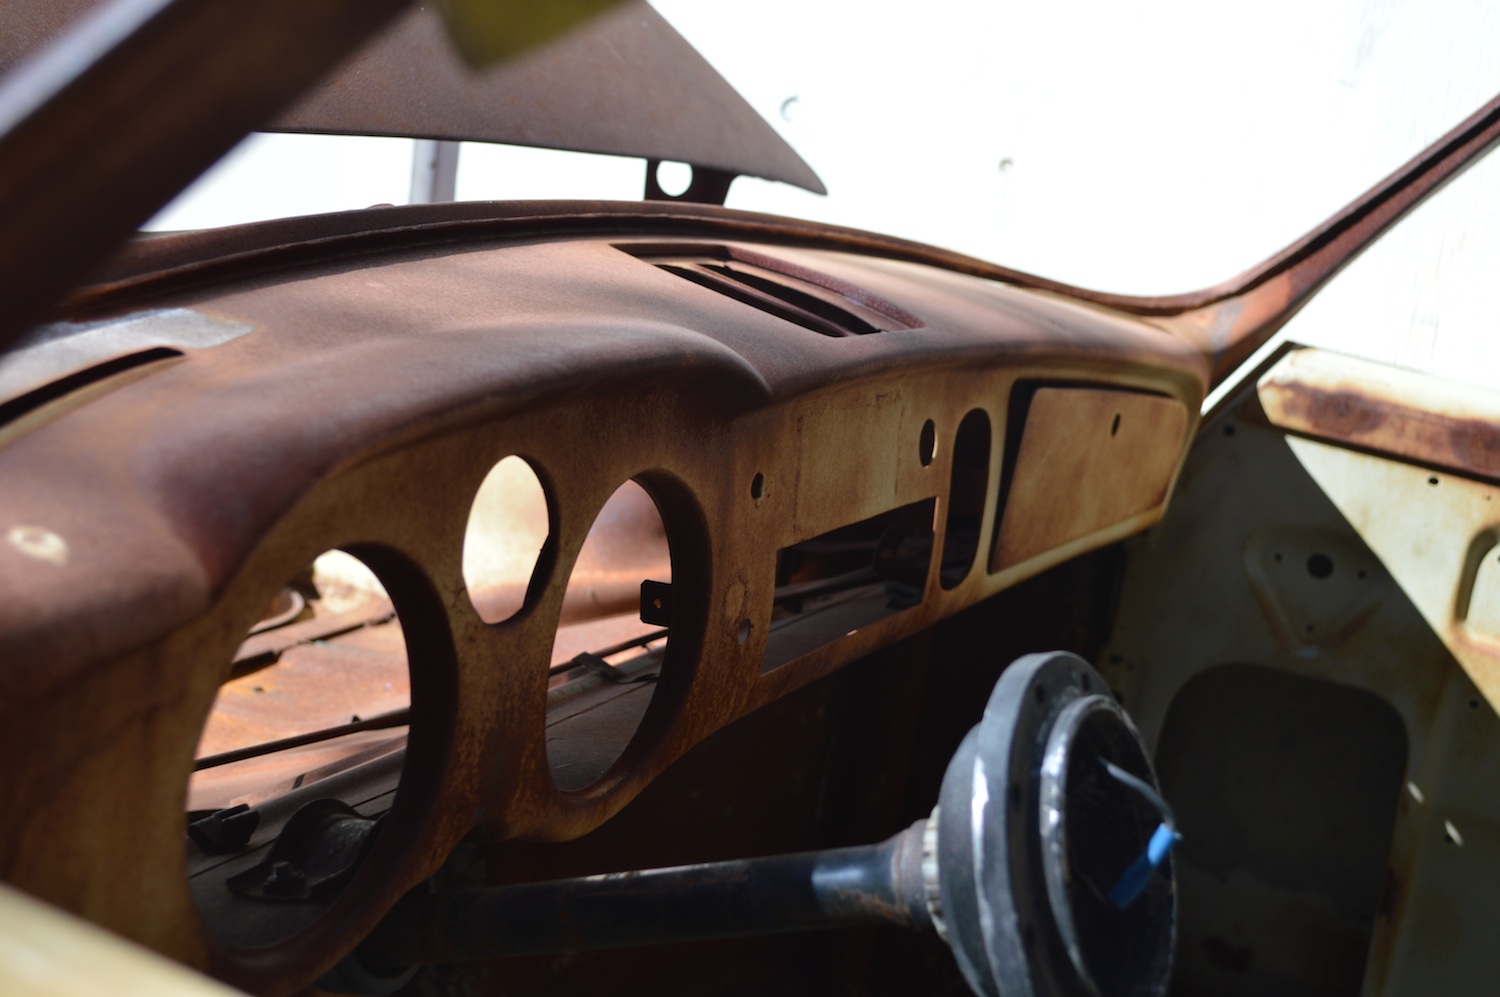
The body is going to need a bit of work – seems manageable.
BAD:
You never know what you get buying a car sight unseen online.
GOOD:
It’s a lowlight!
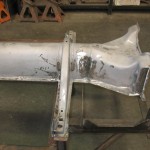
07
Aug
Body and Bulkhead
- By basil
- No Comments
Yesterday Mendeola pulled the body off to verify some measurements. The bulkhead is installed and the pan halves are going on.

03
Aug
The correct driving position
- By basil
- No Comments
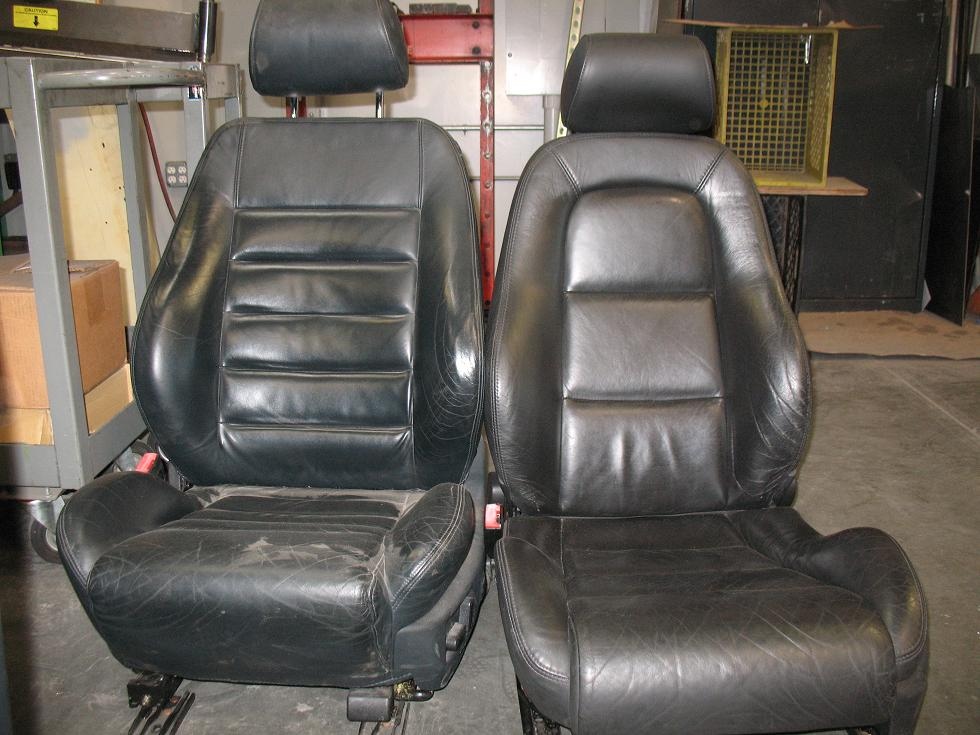
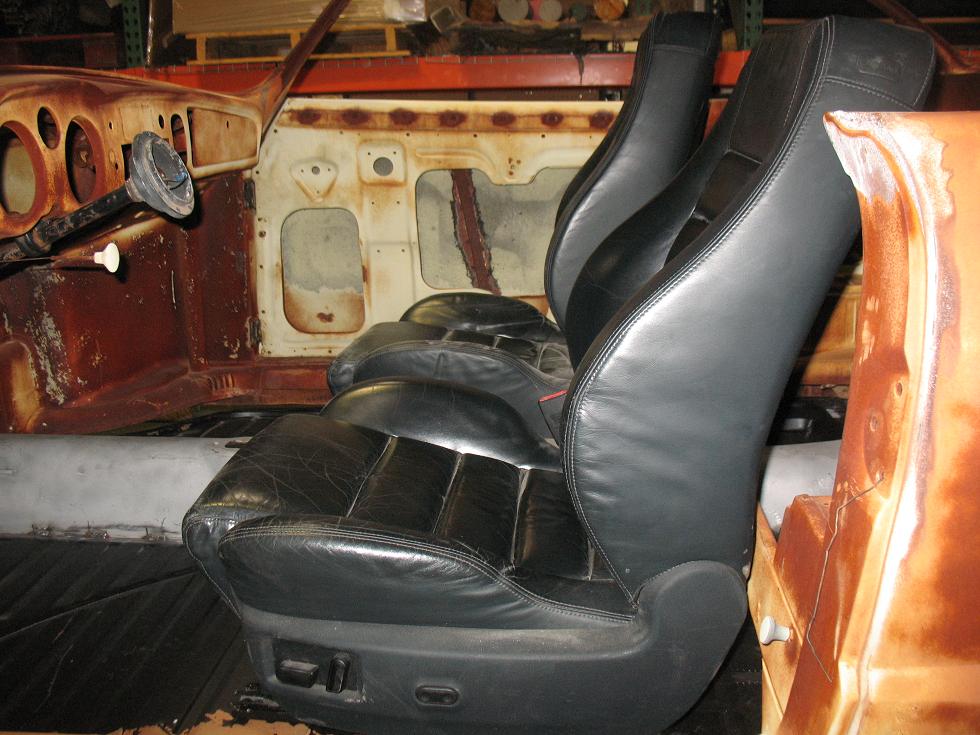
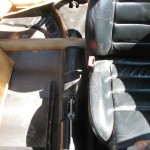
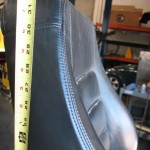
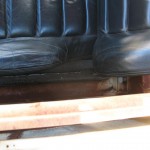
So, Ghia’s are small. I’m big. I need seating that fits the car and is “big man friendly” as my ex-special forces brother-in-law says. Kevin got the Audi S4 Recaro seats in this week and did a mock fitting in the Ghia.

Audi S4 Recaro – fresh off the truck
At this point, Kevin is saying that the seats are too big for the car. Before the build I told Kevin that I wanted my armpits to be about the same height as the door sill but I didn’t realize just how tall the Audi Recaro’s would be. We both had planned to run the seats without headrests to match the seats from the ’59 era, but they are still a bit tall because of all the power motors and frame under the seat. Kevin is 6′ and he only had about an inch of headroom when seating and the steering wheel was very low and between his legs. Not good.
So, I researched the proper driving positions and thought about solutions to the seat problem (really trying to protect my investment in leather Audi S4 Recaro seats!). Here’s the run down:
- I thought about swapping the steering column for one that was both telescopic and adjustable. I’ll need to talk to Kevin about this option. Considering something custom from Borgenson.
- A smaller steering wheel? Not sure if I want to look like a kid driving a go cart – even if it does have 300HP+ and does 0-60 in 4.2secs.. Still would have the height problem.
- Getting different seats and measure this time! Back on eBay the Audi Recaro’s would go. ;(
- Make the current seats work. This would require custom fab work. Kevin suggested maybe dropping the pan were the seat go about 4 inches. We could also remove the motors and such from under the seat, but we don’t have manual adjusters so that’s sort of pointless to try. I was also thinking that we could lob off half of the first bottom cushion section to free up some space, but that doesn’t solve the height issue.

Mockup of the Recaro in the Ghia
Notes on the proper driving position as summarized from Porsche Club of America (Yellowstone Region) page:
- You get better cornering and performance by having a low center of gravity. So the first order of business is to place the driver in the seat as low as possible. There are other benefits like chassis feedback so go read the page for complete details.
- The distance between the pedals and the seat should allow your knee to maintain some bend. A fully extended leg will not provide the leverage you need for braking and/or clutch work. And, you don’t want the steering column interfering with your leg movement.
- With your back squarely against the seat, the wrists of your arms should rest on the top of the steering wheel. Your hands should be able to drop over the steering wheel naturally. You can move/adjust the rear angle of the seat until you get this right.
- Hand position should be a 9 and 3 o’clock with thumbs on the inside steering wheel spokes. Also, make sure that all gauges are visible.
So, I think we will need to continue with other parts of the build until I can get out to the shop for a more precise fitment.

02
Aug
Chassis build started..
- By basil
- No Comments
Mendeola has started the chassis work.
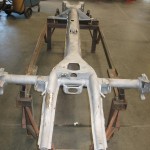
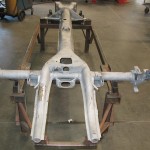
-
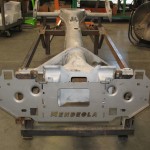
- Start of the new chassis.
Recent Comments